diy {fabric cuff}
Since I was going to be on stage in front of 2500+ women I thought it was a good excuse to go get a new outfit…or at least a top. However, I always have a 1 and 2 year old with me. Trying on clothes with those two is basically impossible. I tried working out at time to go shopping with Chris’ schedule, but he worked late nights and stores were closed by the time I could have gone. Since shopping wasn’t in my future I decided to take advantage of nap times and make myself a new accessory to wear with an old outfit….I made a cuff….also known as a wide fabric bracelet.
Disclaimer: Here is my annual “I don’t really know how to sew” disclaimer. I have never used a pattern, I don’t know technical terms, I am sure there are 100 ways to do this easier…you can take my rough instructions and perfect it.
Supplies:
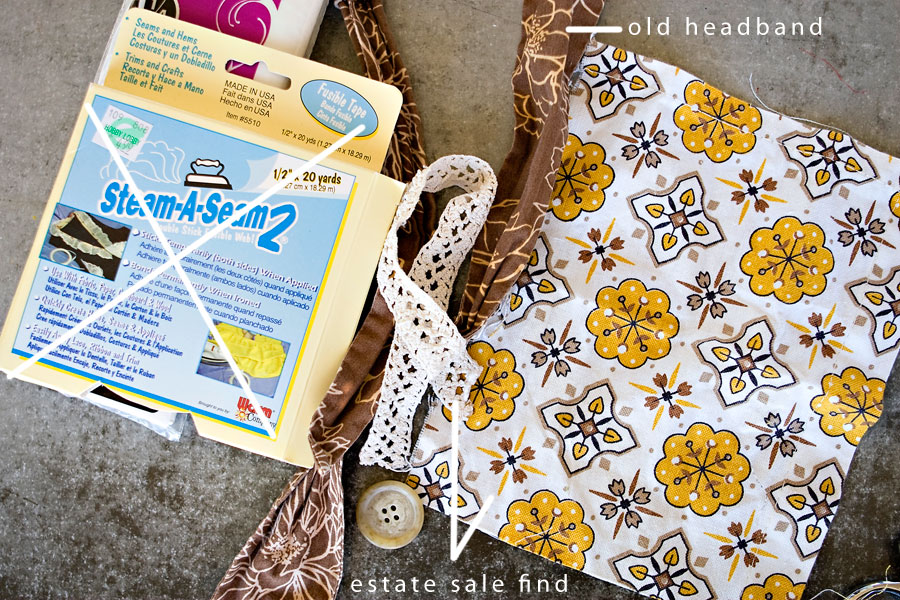
Fabric – I used an old headband and a scrap of heavy quilting fabric scored at an estate sale
Trim – mine, again, was scored at an estate sale
Button – mine was from my button jar (the ones that are replacements in case the original falls off. One day the original will fall off and I will remember what this button is supposed to go on. It will be too late then.
Iron-on fabric adhesive – the kind that fuses on fabric with an iron, double sided
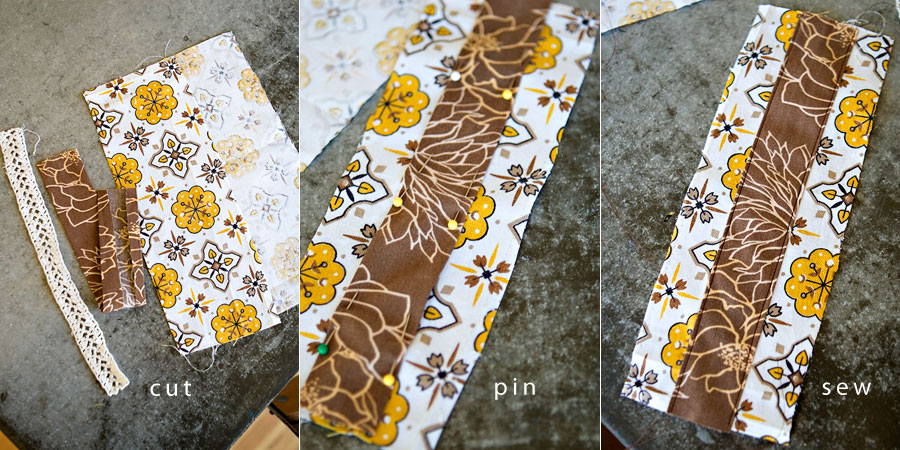
Step 1: Cut fabric to desired length…leaving extra on the ends
Step 2: Iron top band under, pin
Step 3: Sew down top bands long edges
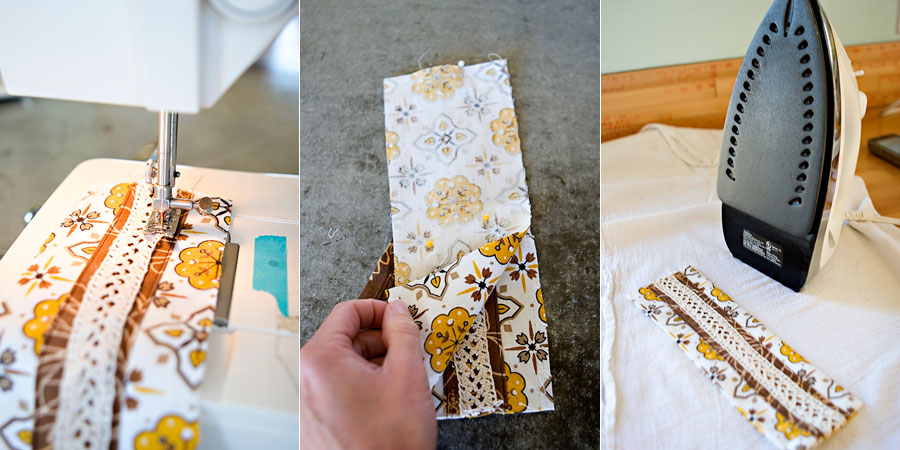
Step 4: Sew down top trim
Step 5: Face tops of cuff together, pin, sew together 2 long edges and 1 short edge
Step 6: Turn right side out, pull out corners using tweezers, iron down (using my kitchen counter turned ironing board)
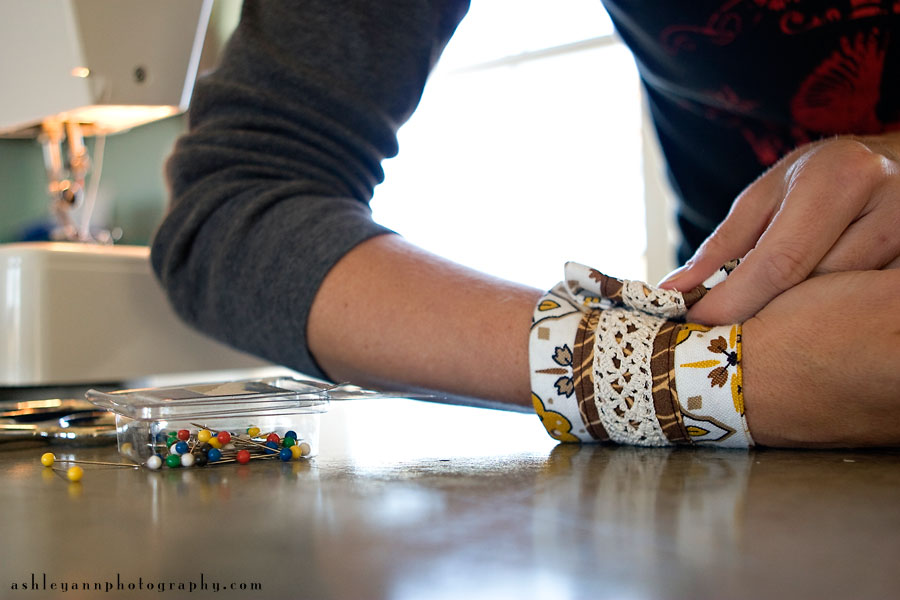
Step 7: Decide the size of your cuff. Yes, I am so technical….I didn’t use a tape measure for anything.
Step 8: Cut a rectangle of fabric to make an edging on one end of the cuff. Cut iron on adhesive to fit.
Step 9: Attach one side of adhesive, peel off backing, fold down sides like you are wrapping a present
Step 10: Iron it all together so it sticks…this is just to keep things in place until you sew it
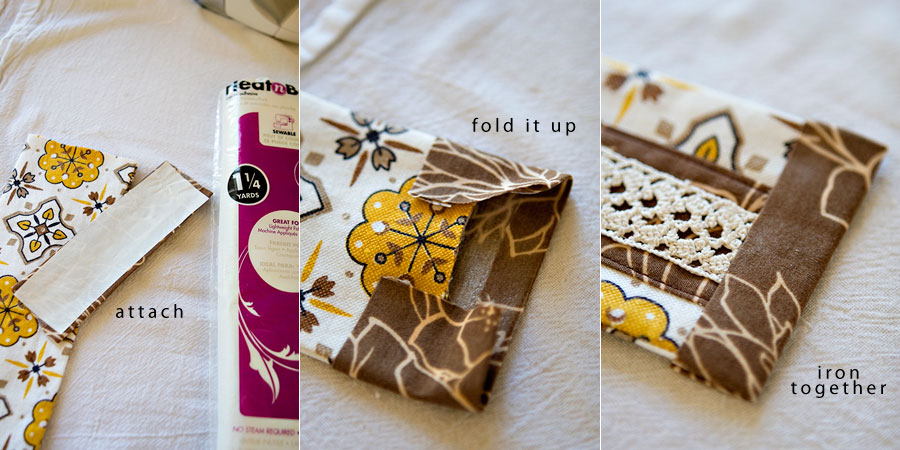
Step 11: Sew down edging
Step 12: Create a fabric loop for the button. I just folded over a long skinny piece of the fabric and stitched it down the middle.
Step 13: Measure circumference of button to make sure you don’t make the loop too small
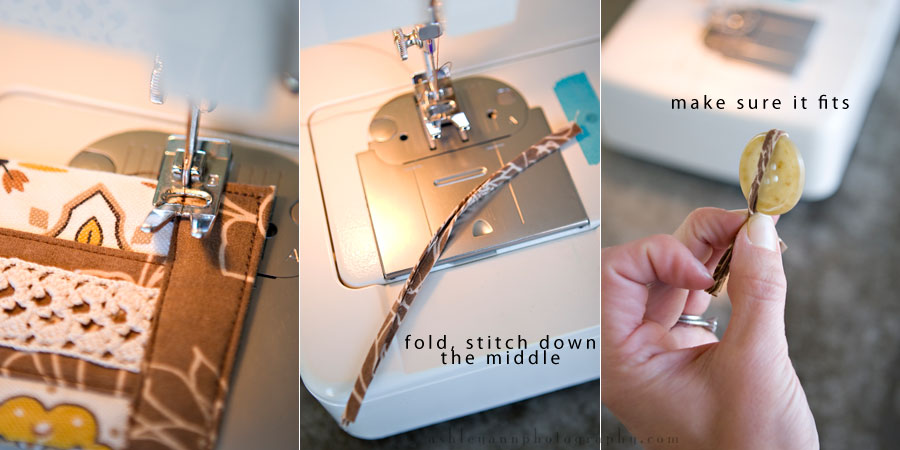
Step 14: Decide where you want to attach the loop
Step 15: Handstitch the loop
Step 16: Sew on the button
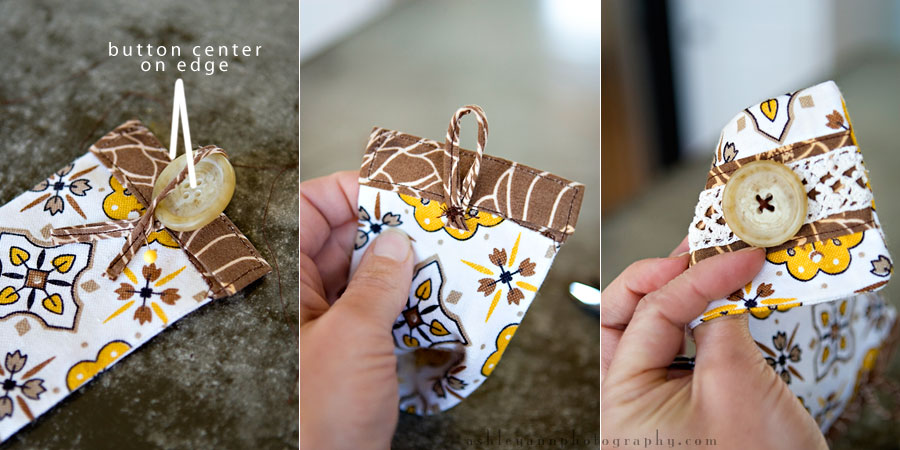
The inside of mine looks pretty rough, but I was making it up as I went. Next time I think I’ll use snaps or figure out a different way to attach the loop and button so you can’t see in on the underside. I used the large button to hold down the other end. It is far from perfect, but it works.
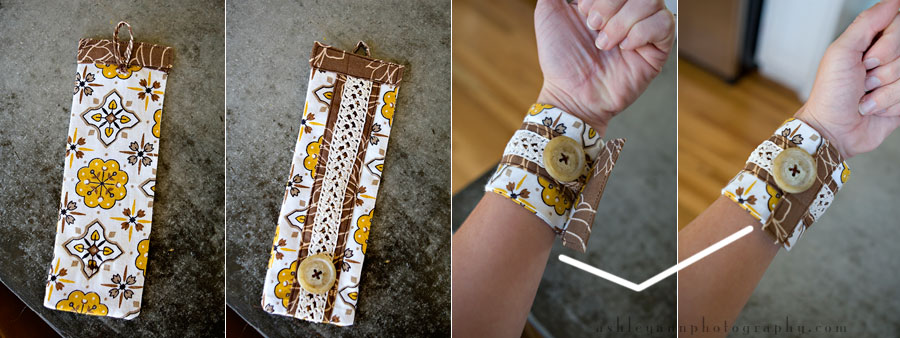
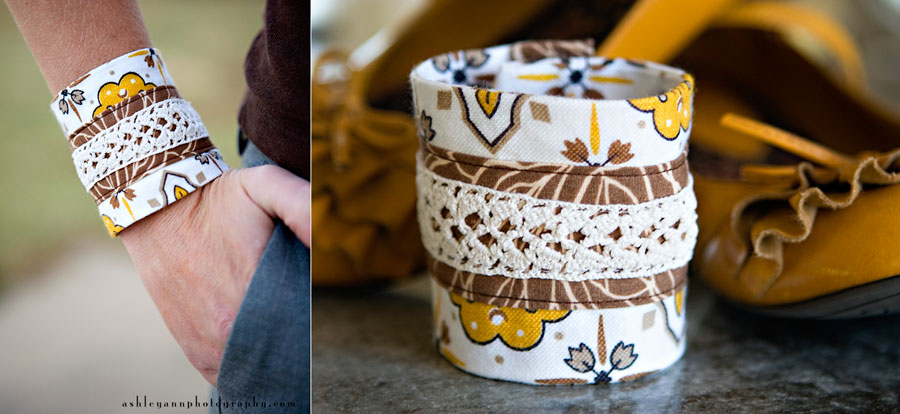
Chris asked if I thought someone might take this design and sell it on etsy….if you do, just send me a version to enjoy!
