DIY {wire frames}
I will preface this by saying this is not genius, original, or my idea…I saw it years ago somewhere…who knows where now. Preface is now over.
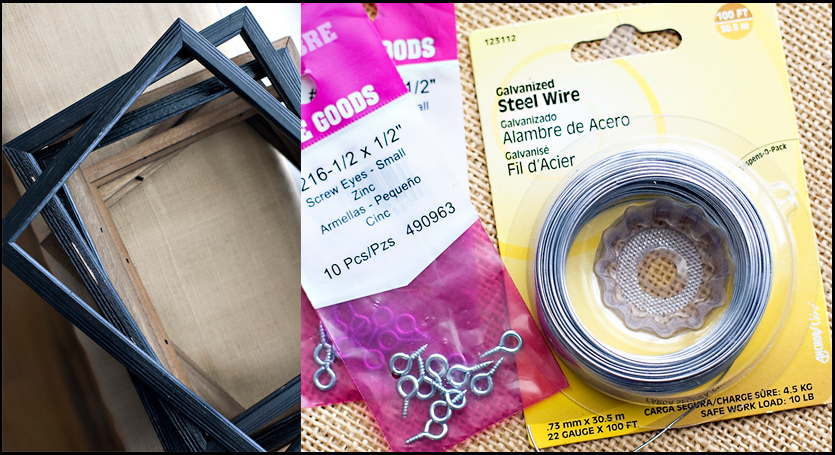
I like to change pictures, drawings, little items out all the time. Frames with glass make that difficult, so one alternative I use is frames with wire. This is a super cheap and easy way to display photos and other items. I thought I’d share a little tutorial on how to make your own. I purchased 8 frames from Hobby Lobby for $1.00 each. These eventually will make their way to Chris’ office, but seeing how they have been in my “to do” closet for 4 months it will probably be a while.
Supplies:
Wood frames (the cheaper the better, because the wood isn’t hard)
Small screw eyes
Wire (steel, threaded, braided – anything that is bendable)
Step 1: Remove glass from frame. Spray paint the color you want. Mine were just brown wood…I painted them black.
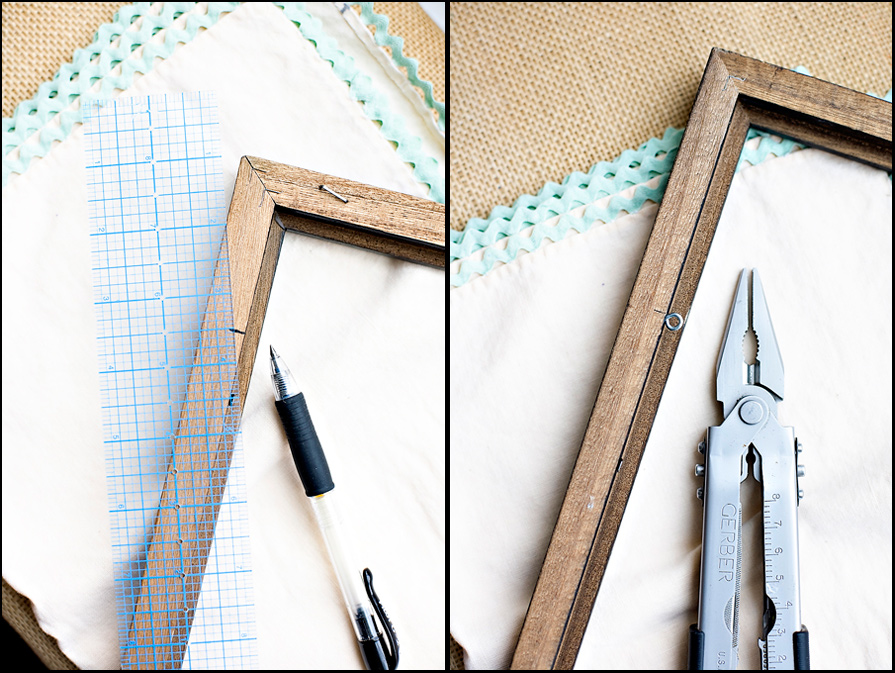
Step 2: Mark where you want the wire to go. On an 8×10 vertical frame, I marked it 2.5 inches down. You can do it vertically or horizontally…and more than one wire depending on your frame.
Step 3: Screw the eye hooks into the wood in the spot you marked. If your wood is soft enough you should be able to do this by hand. If it is harder you mind need pliers to help…you might even have to pre-drill the hold. This is where cheaper frames make it better.
Step 4: Thread the wire through one hook and wind it around about an inch long (if you don’t mind this area showing. I don’t). One tied on one side, pull it tight through the other hook and tie again.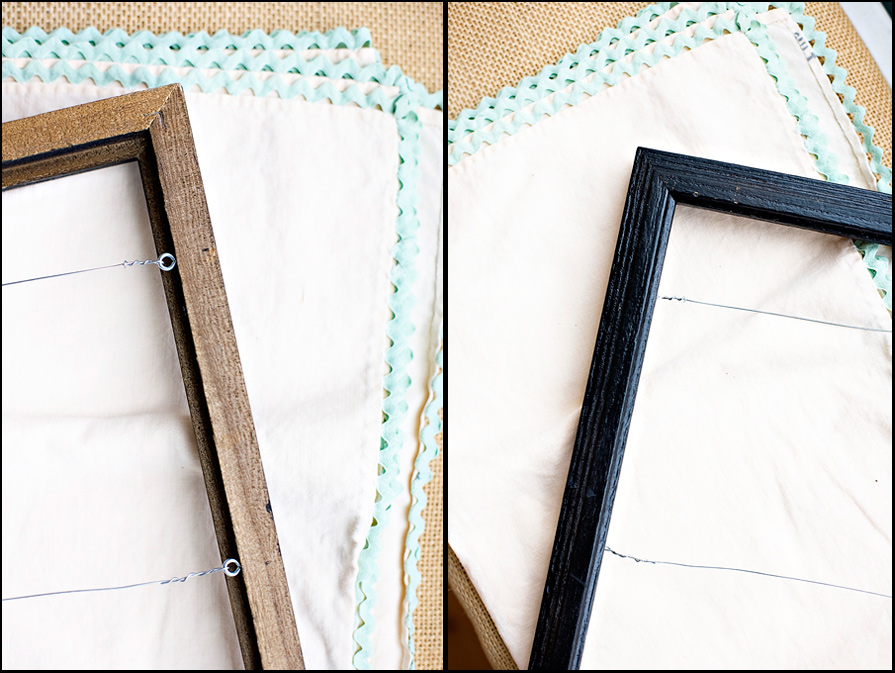
Now just add pictures, drawings, paper clippings, whatever….there are tons of ways to hold the items to the wire too. I just used paper clips here.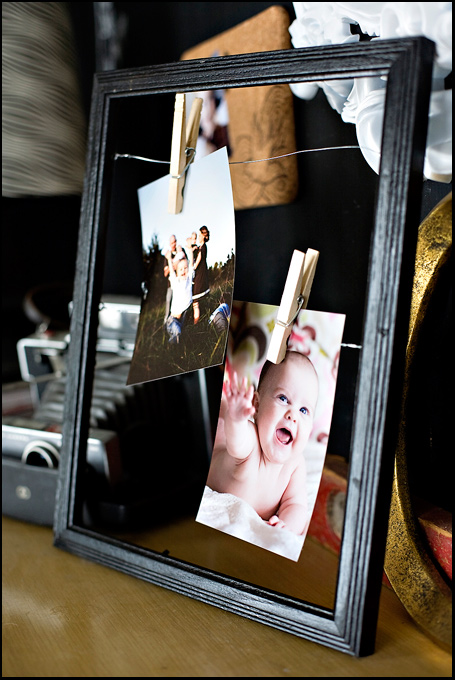
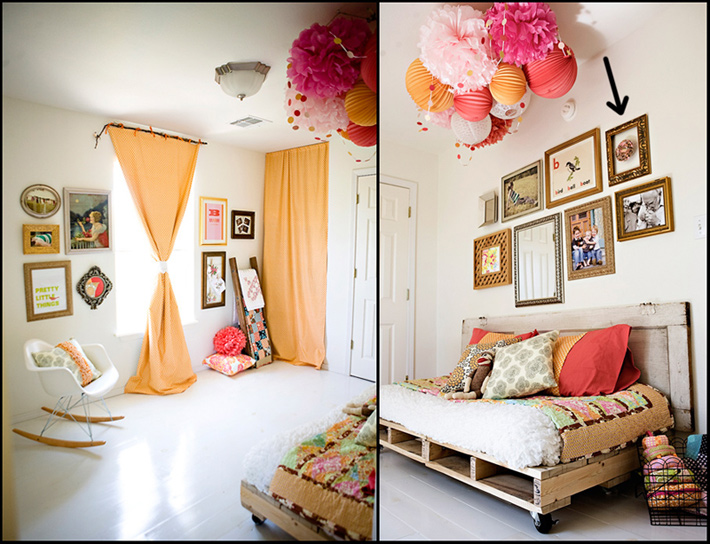
Here are some pictures of how I did this in Baby Sister’s room.
The first is her Cora Pin from Joy’s Hope. I used the pin already attached to the flower to hold it to the wire. It kind of looks like it is floating.
Here I used clothespins to hold vintage hankies to the wire.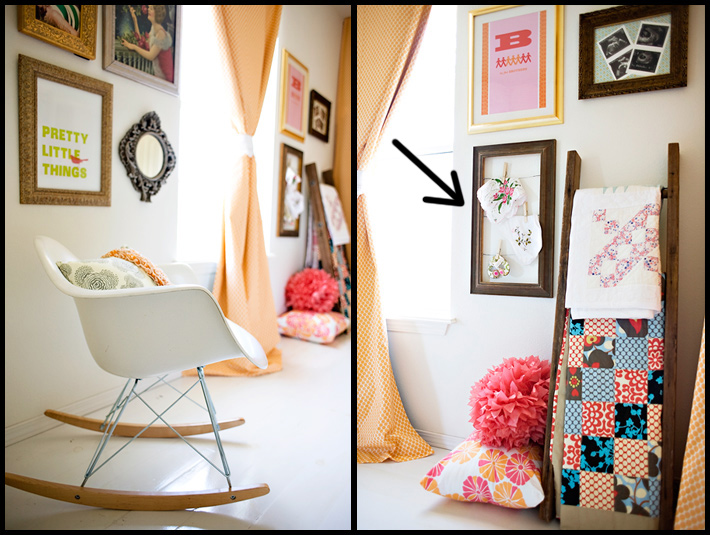
And on a different note…our dirt arrived. Boy Heaven.
Next year I am going to order more dirt and all the boys are having dirt birthday parties. It would require a lot less work and I think they might just enjoy it more. And I would be the coolest mom ever among the preschool – first grade crowd.



Disclaimer…yes, I know it is sandy. Yes, we will be doing a lot to it before it makes its way to the garden.
.
.
I think I finally made it through all my reader’s etsy stores. If you posted a link and you haven’t see your store listed on a post or in the Shopping in Your PJs page, leave a comment on this post. Several of you had your stores closed when I went to feature an item, if you are back open leave a comment on this post.

Lucky you, I have several weeks of reader store giveaways lined up! Some fun stuff…
For those of you with shops that aren’t on etsy, I plan on doing a little feature on those later…just a heads up.
