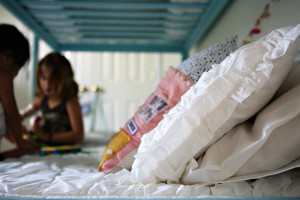
DIY {painting an Ikea bunkbed}
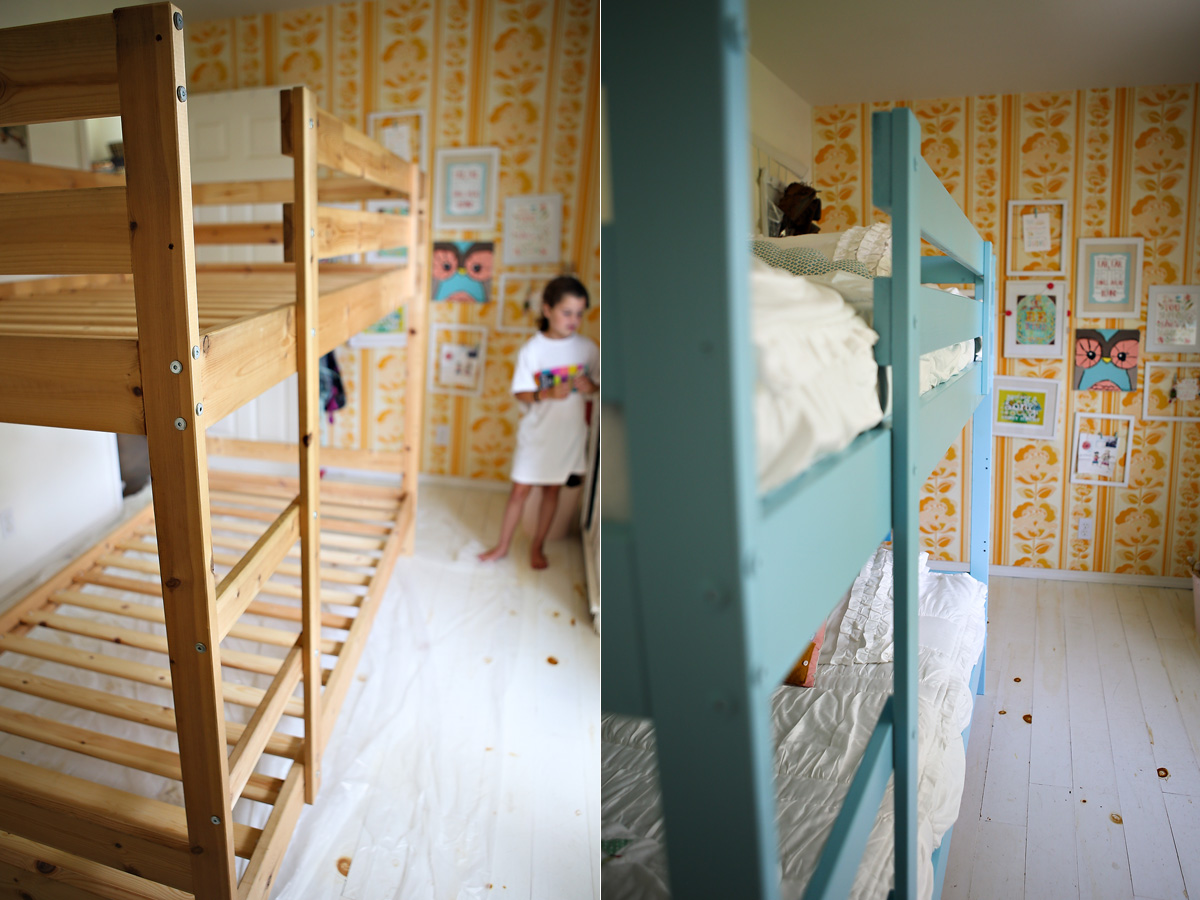
Almost exactly 3 years ago we transitioned the girls to bunkbeds. The original plan was to paint the beds, then it was to just paint stripes. I ended up simply adding washi tape stripes to the bed because we were in an overwhelming season. Painting the bed was more than I could handle at the time.
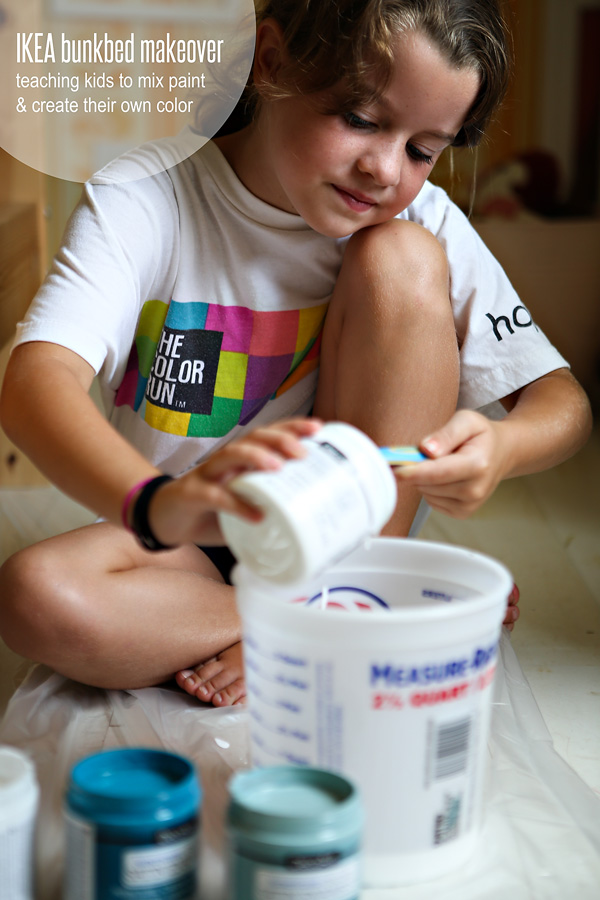
The girls have been asking to paint their beds for a couple months. They agreed on painting it ‘blue’, but the exact shade was debated. Instead of going through tons of paint samples, I picked 3 colors of paint and let the girls mix their own. It provided a great teaching moment in regards to teamwork, compromise, valuing another opinion…and color theory.
The girls wanted a light shade a of blue, so we started with 50% white and they slowly added more color until they found a shade they both liked.
My supplies:
- IKEA MYDAL bunkbed
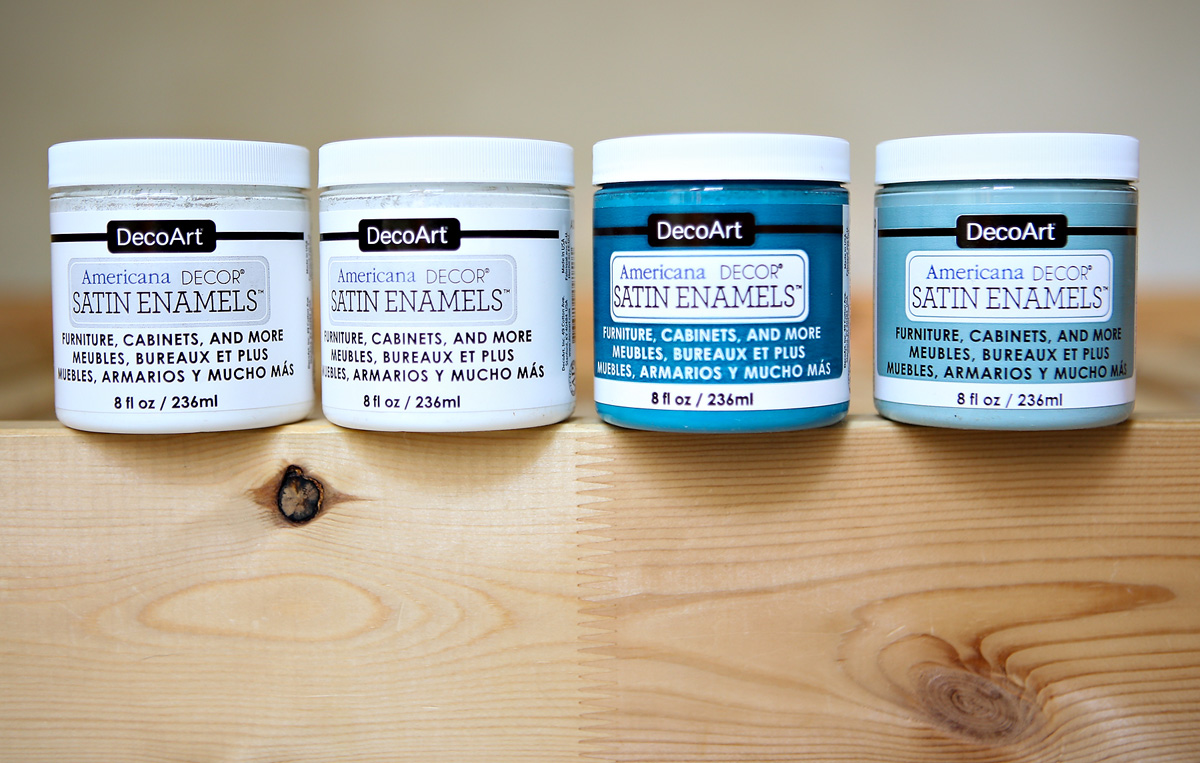
- 16 oz DecoArt Satin Enamel in Pure White
- 4 oz DecoArt Satin Enamel Seaside Blue
- 8 oz DecoArt Satin Enamel True Teal
I chose the Satin Enamel for this project for several reasons. I’ve worked with DecoArt for years, so when they asked if I would like to try the Satin Enamels…it was an easy yes. Since I was painting bunk beds, I needed durable paint that was non-toxic with a hard finish. It was also important to me that I NOT HAVE to sand the beds. I cannot imagine having to sand them. Nope.
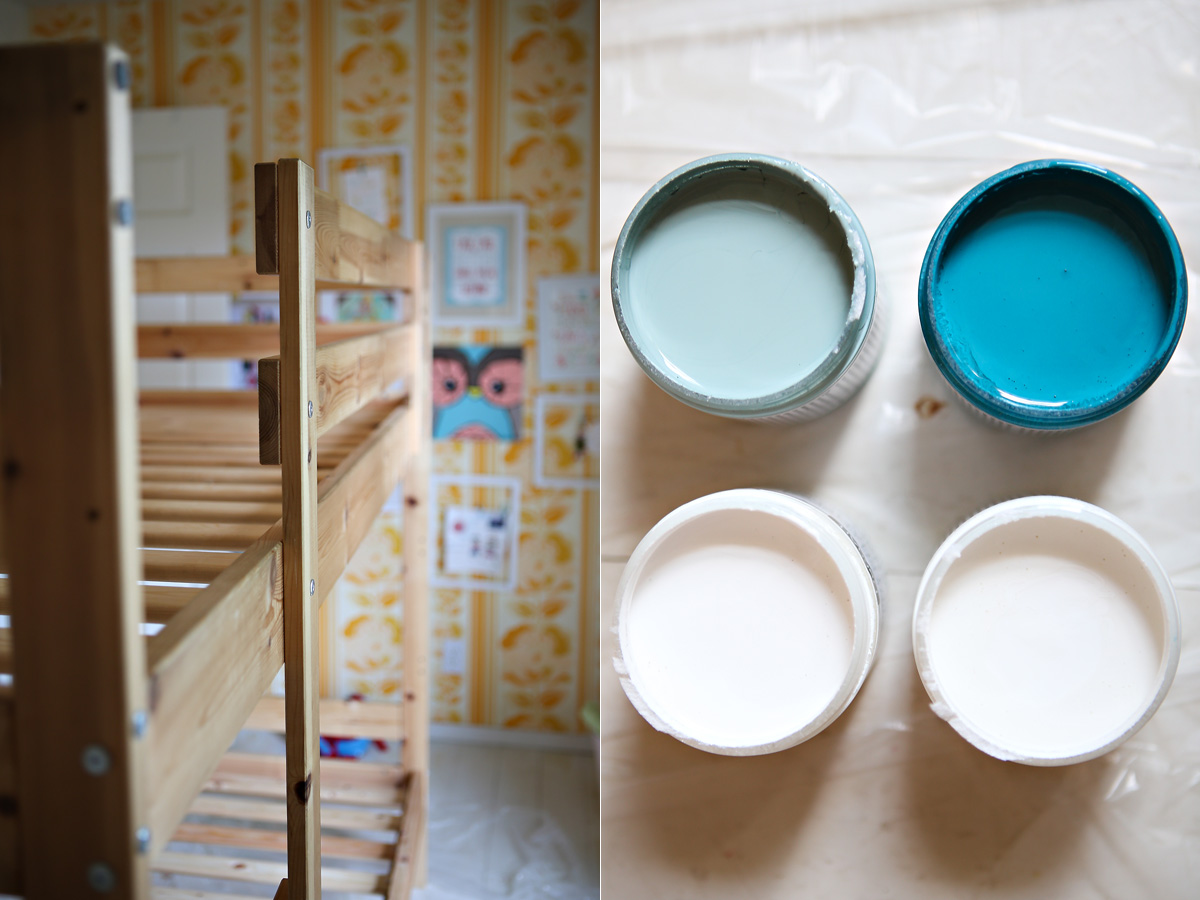
 The girls started by pouring 8oz of the white and 8 oz of the True Teal. They added just a bit of the Seaside Blue. Once those were mixed, they decided they needed more white because it was a brighter blue than they had in mind.
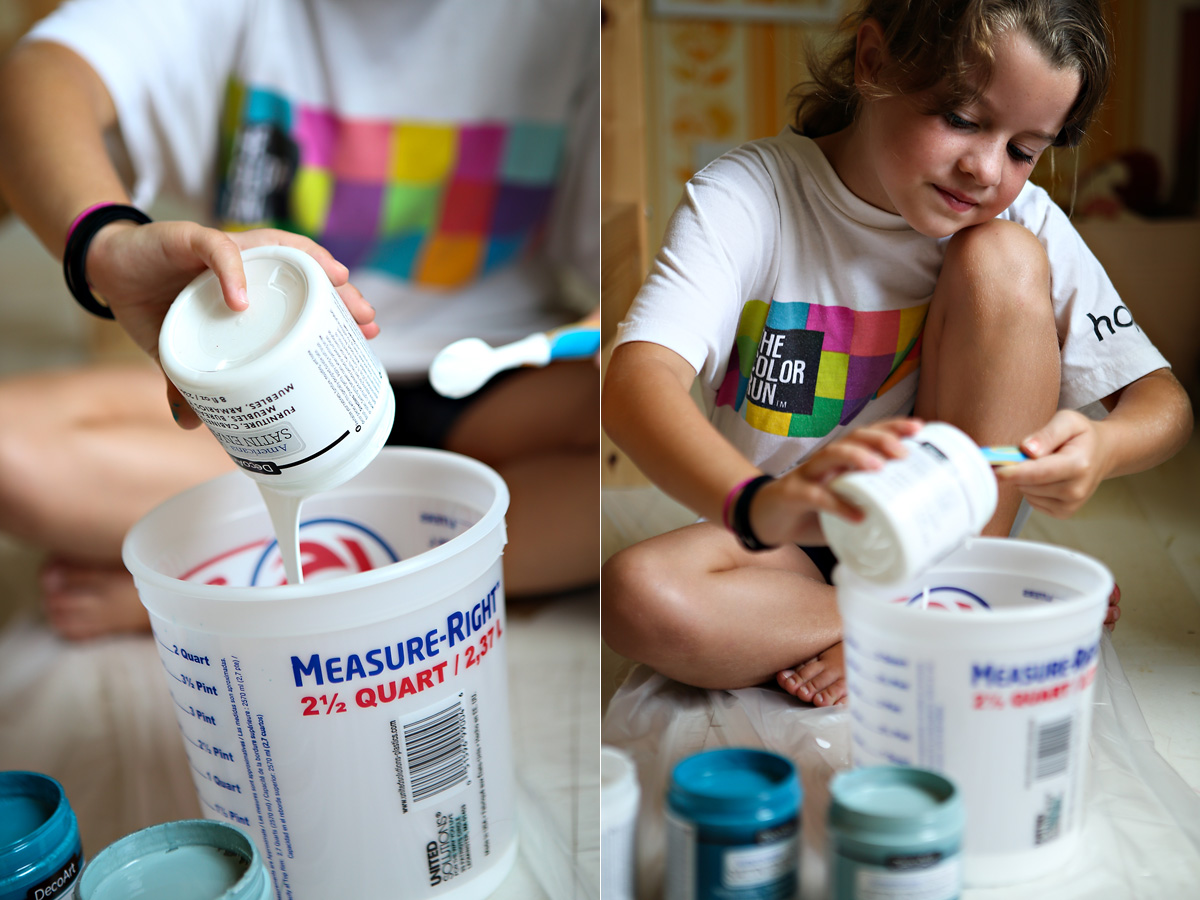
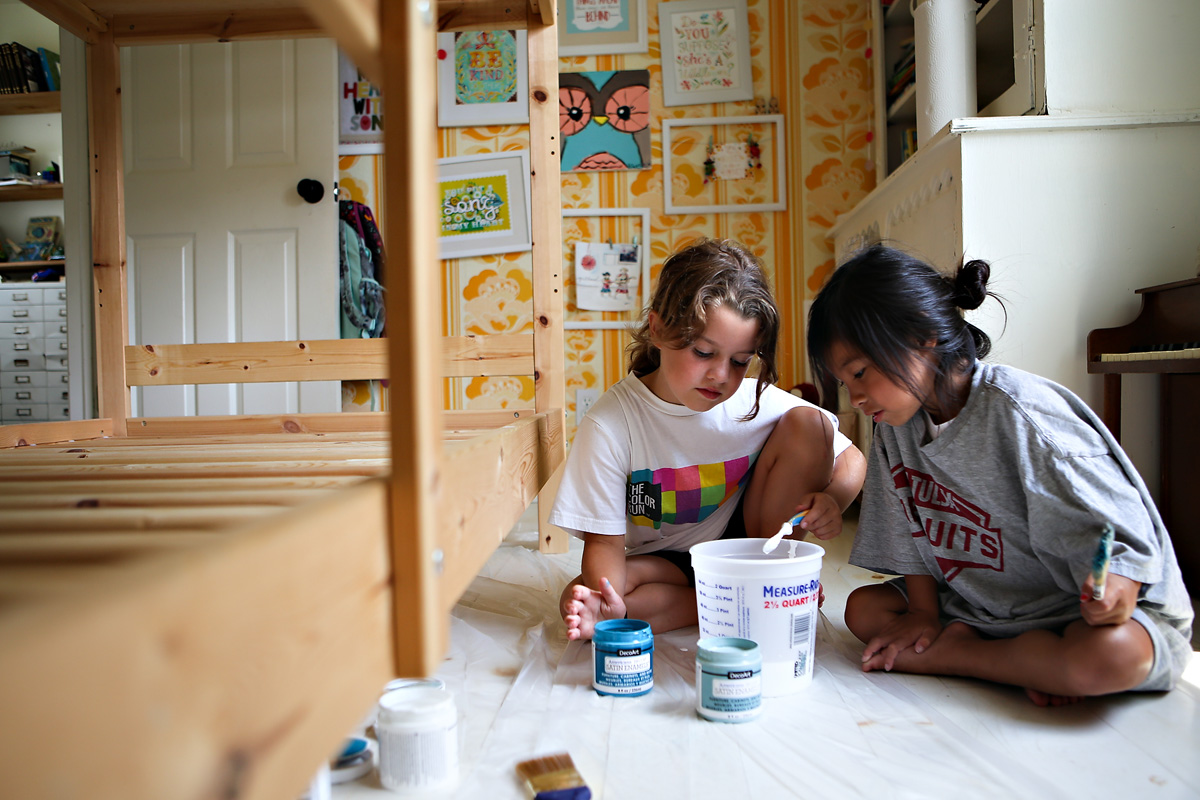 I told the girls the paint always dries darker, so we did a few test spots on the slats of the bottom bunk. The final mixture was 16oz White, 8oz Teal, 4oz Seaside Blue. I did help them with the mixing a bit because I needed to know the ‘recipe’ if we had to mix more! Once the paint was ready, we began painting.
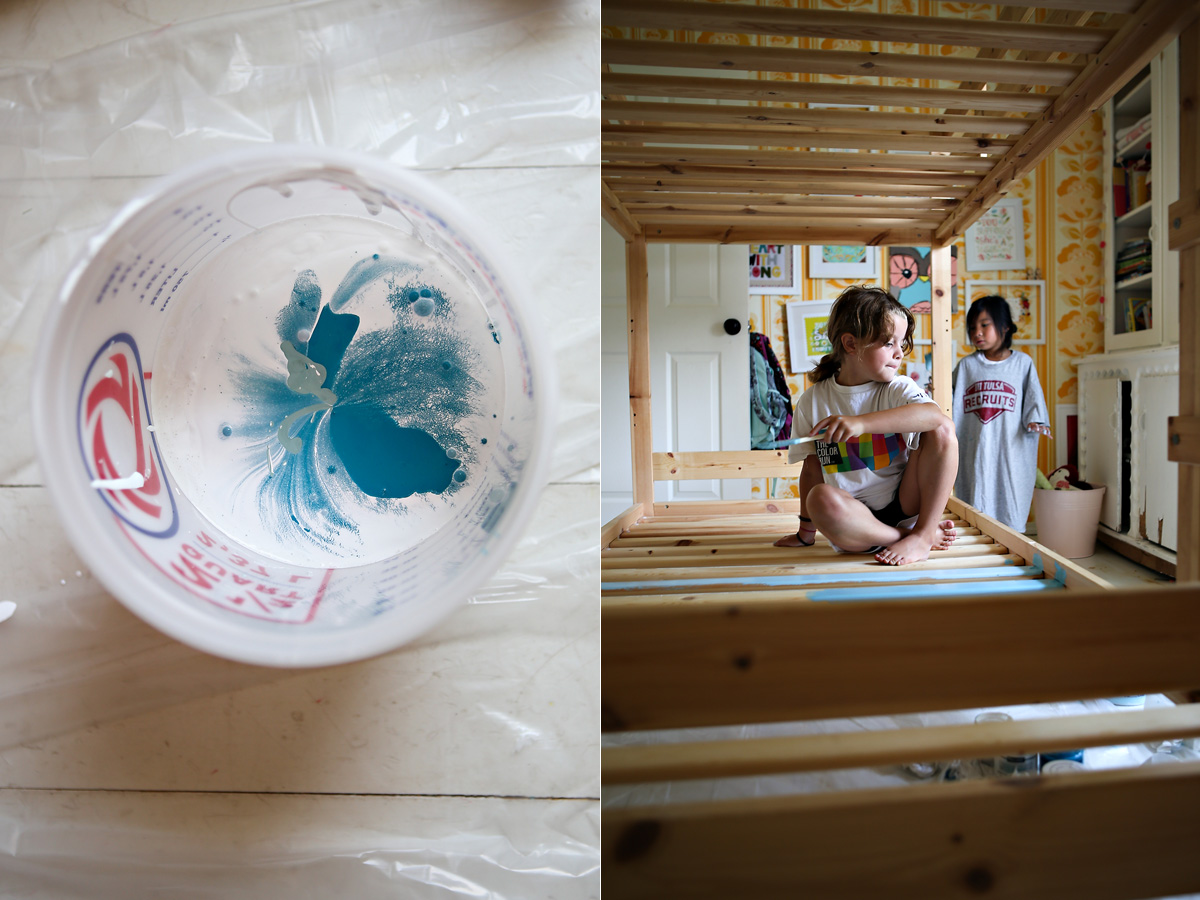 My kids always want to help paint. I let them paint alongside me, but with a few things in mind they do not realize.
Here are a few of my tips:
- Use a drop cloth
- Let kids have a small cup for their paint and a small brush. Small brushes make less mess!
- If they are just learning to paint, let them do an area that is hidden
- I always paint the high traffic and highly visible areas
- Teach them painting techniques like paint the direction of the wood grain and scrap excess paint off the brush
- Watch what they are doing and come behind to smooth out globs of paint before it dries
- Offer encouragement, but also instruction based on age
My eldest daughter has become quite the furniture painter. She’s practiced a lot with me over the years. She would have been happy if I surprised her by painting her bed, but she is so proud of her accomplishment mixing the paint and painting the bed herself. My younger daughter lasted about 10 minutes and she was done. It takes extra time and work to bring kids alongside DIY projects (or anything!), but it builds confidence and gives them practical skills. Totally worth the extra effort and mess.
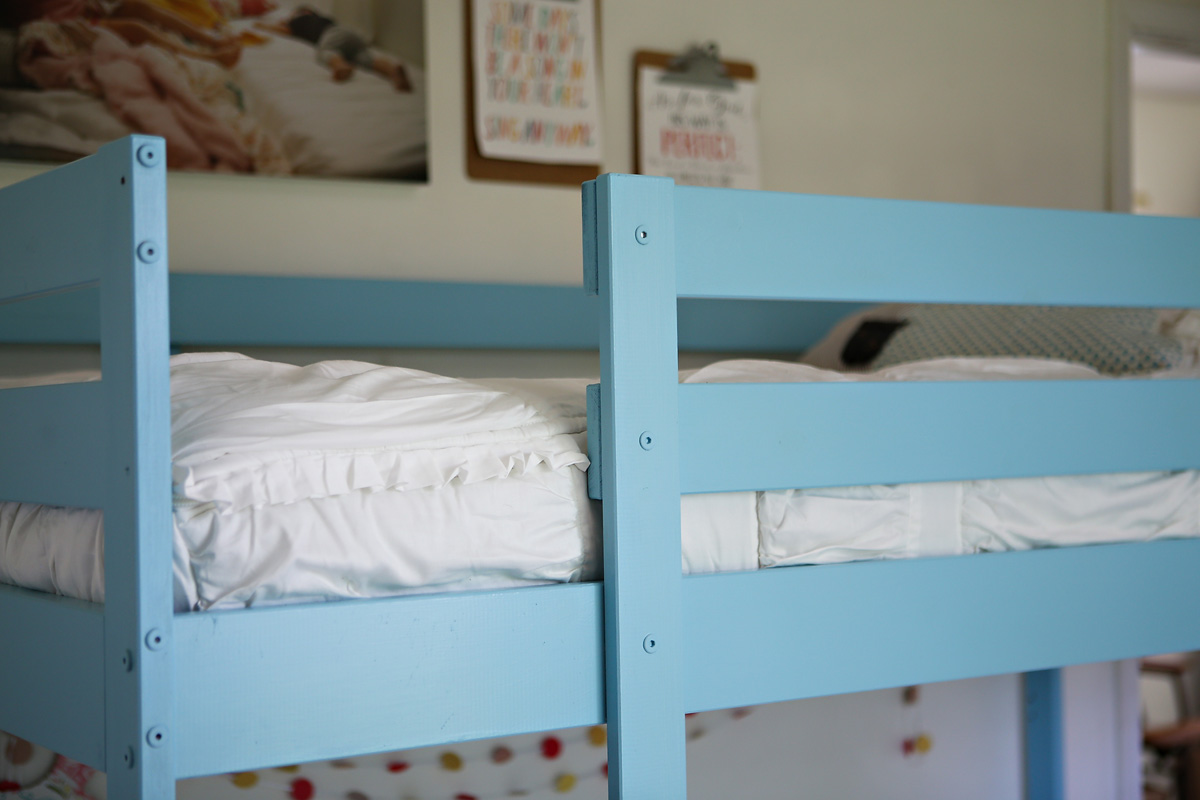
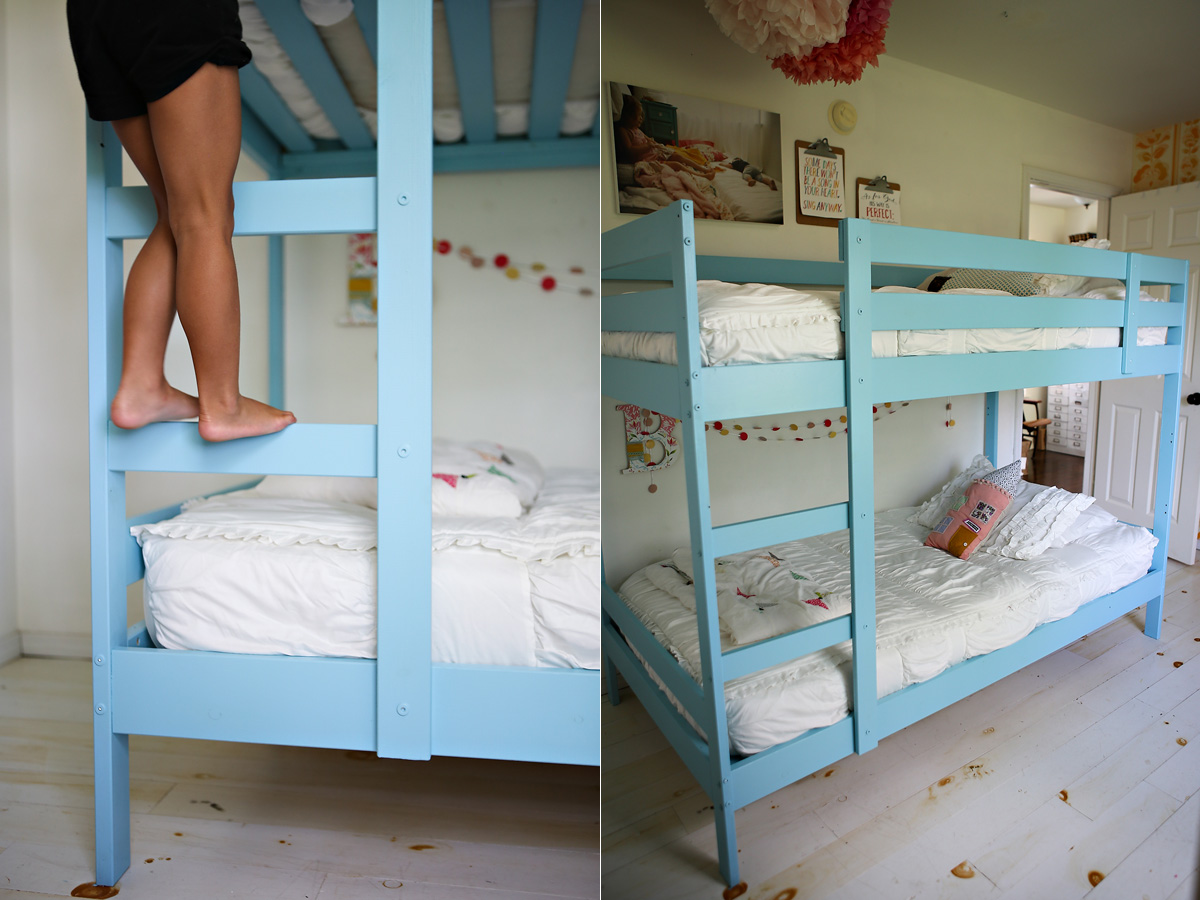
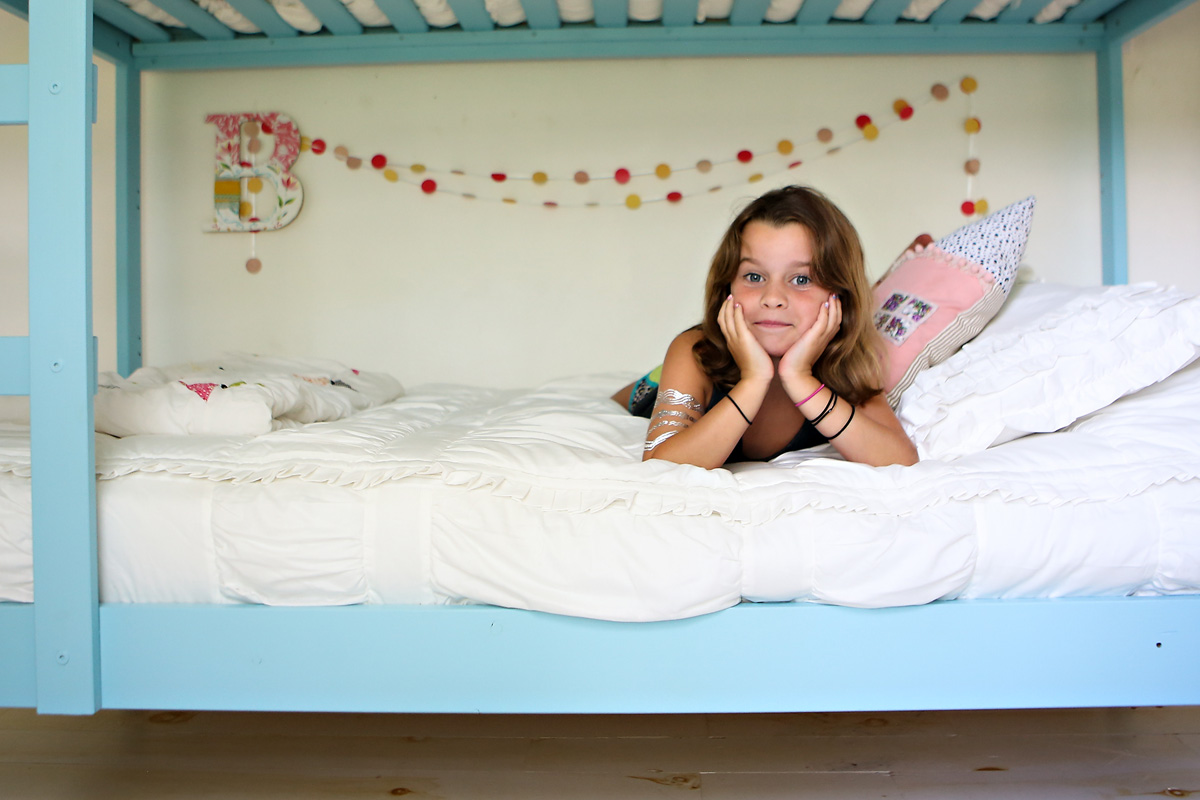 Their room is tiny and the bunks take up almost the whole room, which makes it so difficult to get pictures of the whole bed.
 Now to find my next painting project! You can find our more about DecoArt paints by clicking on the links below. I’ve partnered with DecoArt for several years as a blogger and am always so pleased with their products.
DecoArt
Website | Instagram | YouTube | Twitter | Pinterest | Facebook

