Explore CO {Taylor Park Reservoir ~ Crested Butte} & photo tips
I thought I would combine a travel post with some photo tips. I’ll start with some travel info and then the photo tips are included with the photos.
While staying with family in Crested Butte, we ventured to a few surrounding areas. We spent one afternoon at Taylor Park Reservoir. It was a low-key, beautiful getaway. The drive there was stunning – lots of fishing in the river along the way. The majority of people we saw in the area were there to ride ATVs – tons of trails. We just hung out on the beach. I thought for about half a second I might fall asleep under an umbrella, but 5 boys made sure that didn’t happen. The water was FREEZING, but we had plenty of fun on the beach. We packed lots of food, fishing poles, and a few ‘beach’ toys.
All the photos below are from one area – where we hung out.
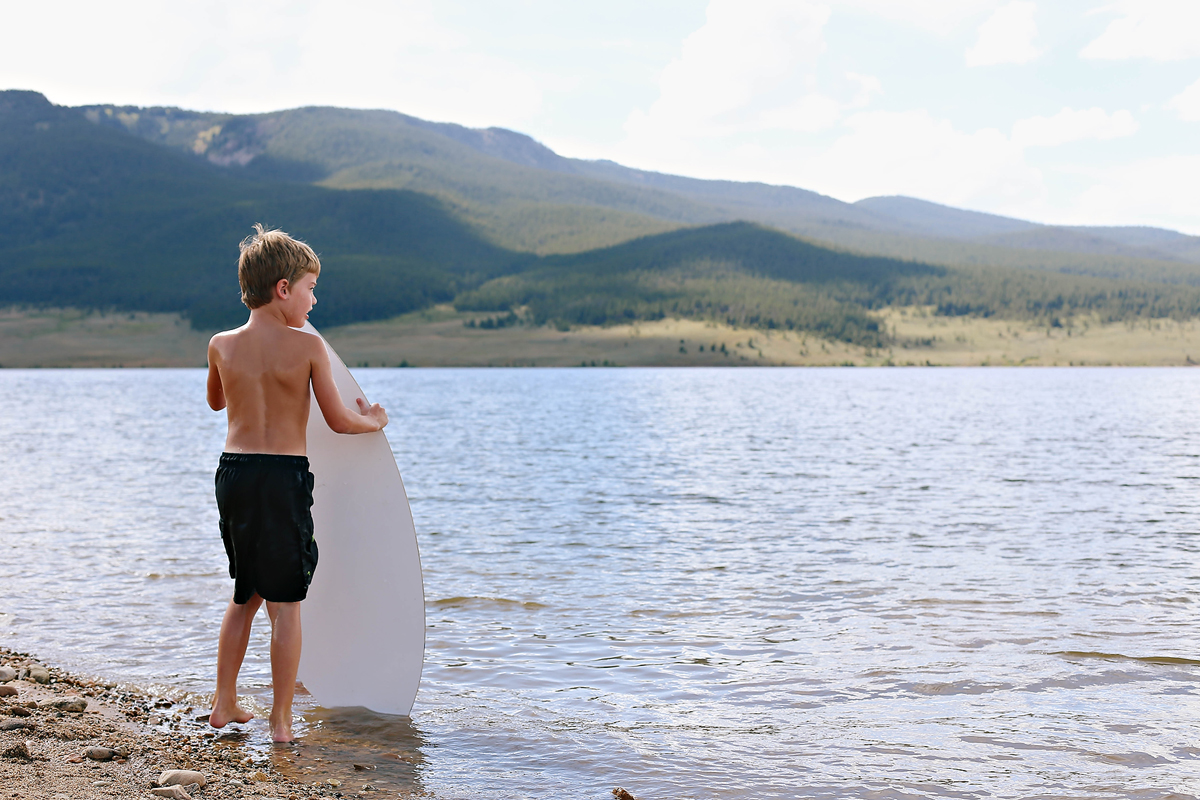
Photo tip: If you can, find an angle where your subject has ‘negative’ space around him. When I first took this shot I was at a lower angle. My son blended in with the mountains. By adjusting myself for a higher angle, I was able to get a shot where he really stands out. 50mm, ISO 100, 1/1250, f/5.0
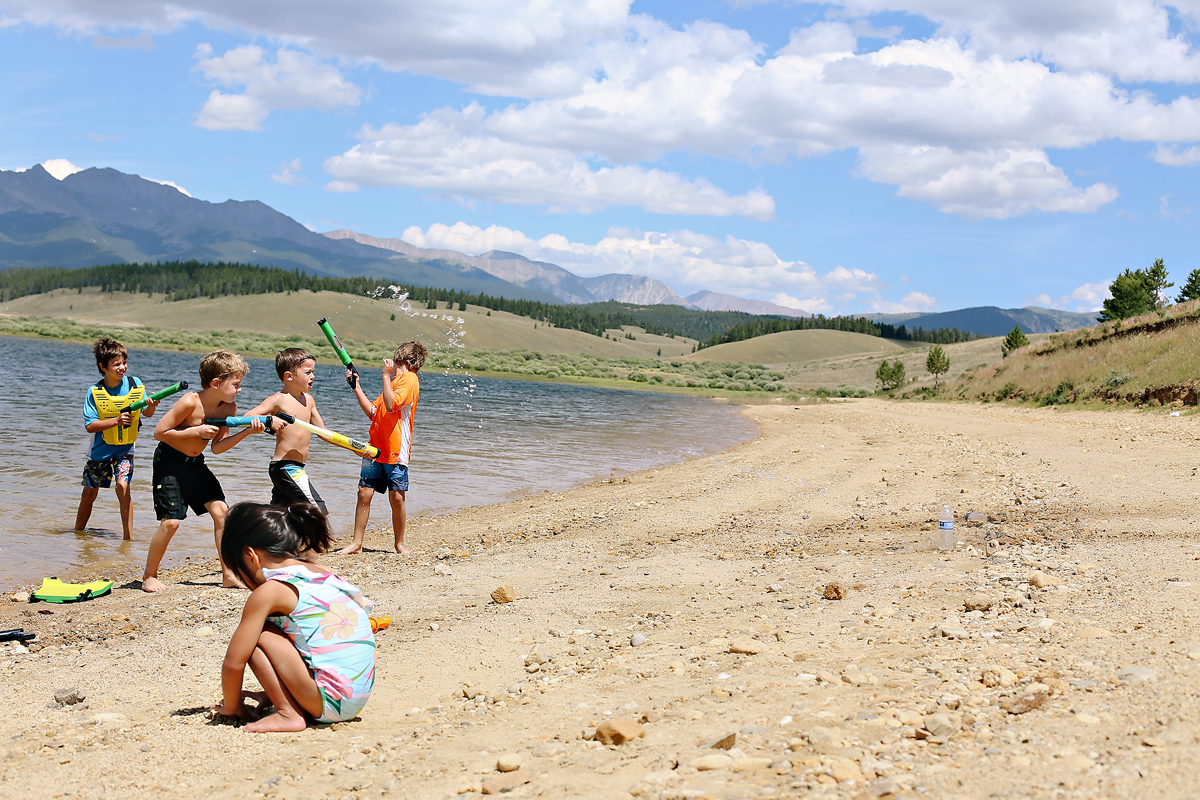
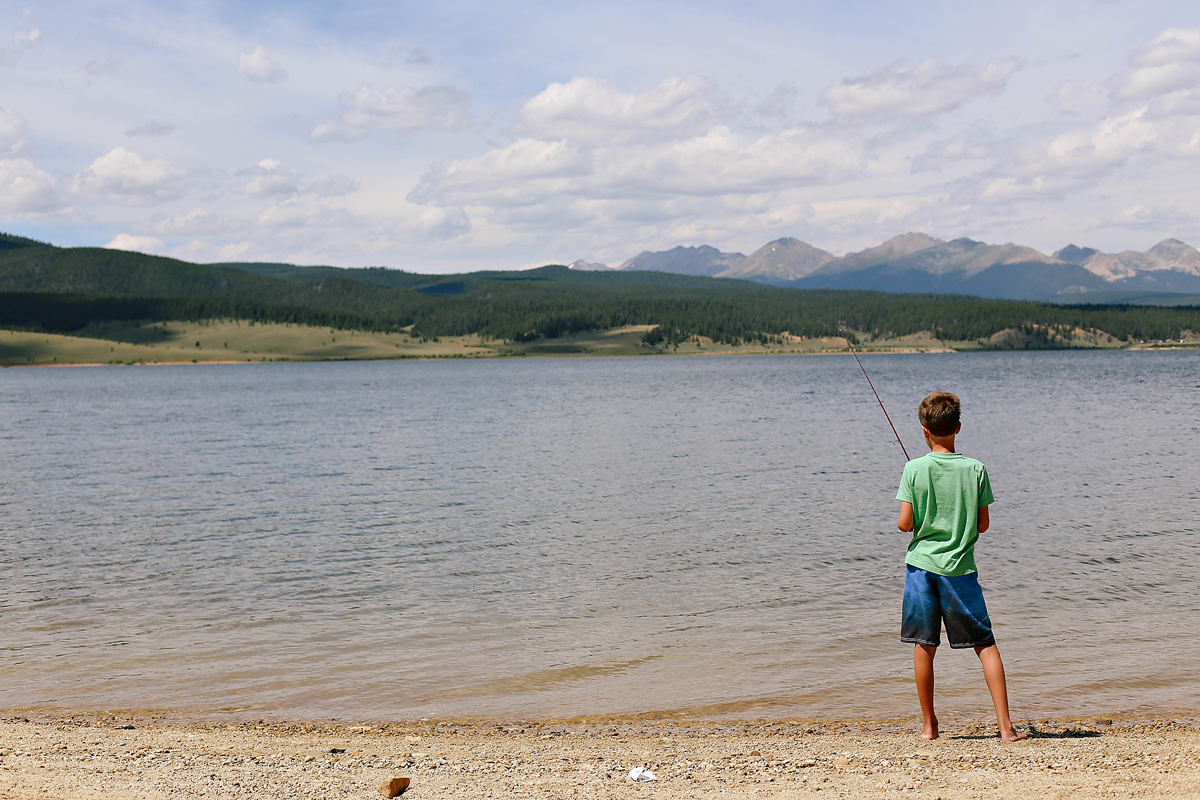 Photo tip: Pay attention to your horizon line. For the most part you want to keep your horizon line level. Sometimes photographers will slant a picture to make it more ‘artsy’. However, if you are slanting the picture for a specific reason it is better to keep the horizon level. In the next two shots, I was distracted by the boys and not paying attention to the horizon. When I look at both shots, I want to tilt my head to make them straight. You can often rotate an image on your computer to straighten it. If I try that with the first picture, I end up cropping out part of my daughter and the boys. Bummer..head tilting to view this it is.
 The next shot I was able to straighten the image on my computer without cropping out my son. You can see that straightening the shot did result in some cropping. To straighten this photo, used the beach line in the background to determine when it was level.
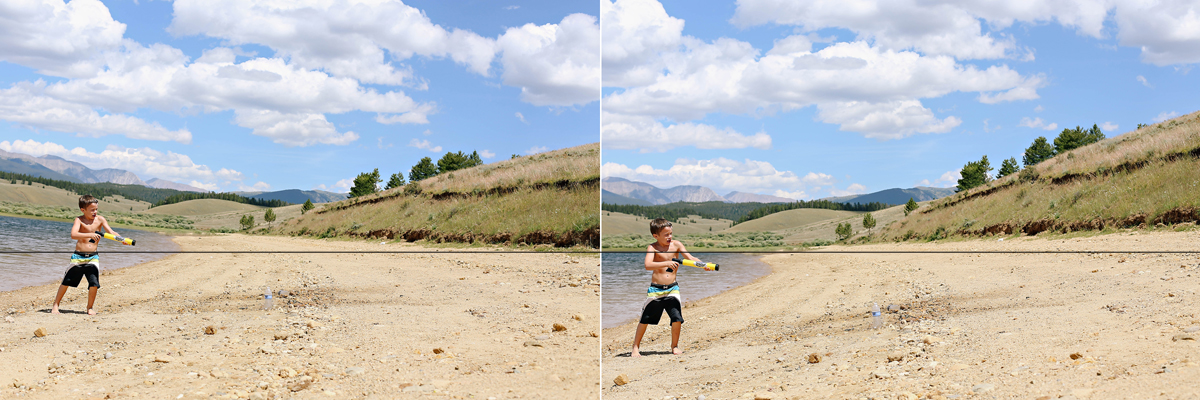 Photo Tip: Take advantage of the ‘burst’ function on your phone or the continuous shooting option on your camera. These functions allow you to take several images quickly with the press of one button. This shot was taken with my DSLR. Once he got up, I started shooting. The continuous shooting option allowed me to capture this image before he fell in the water.
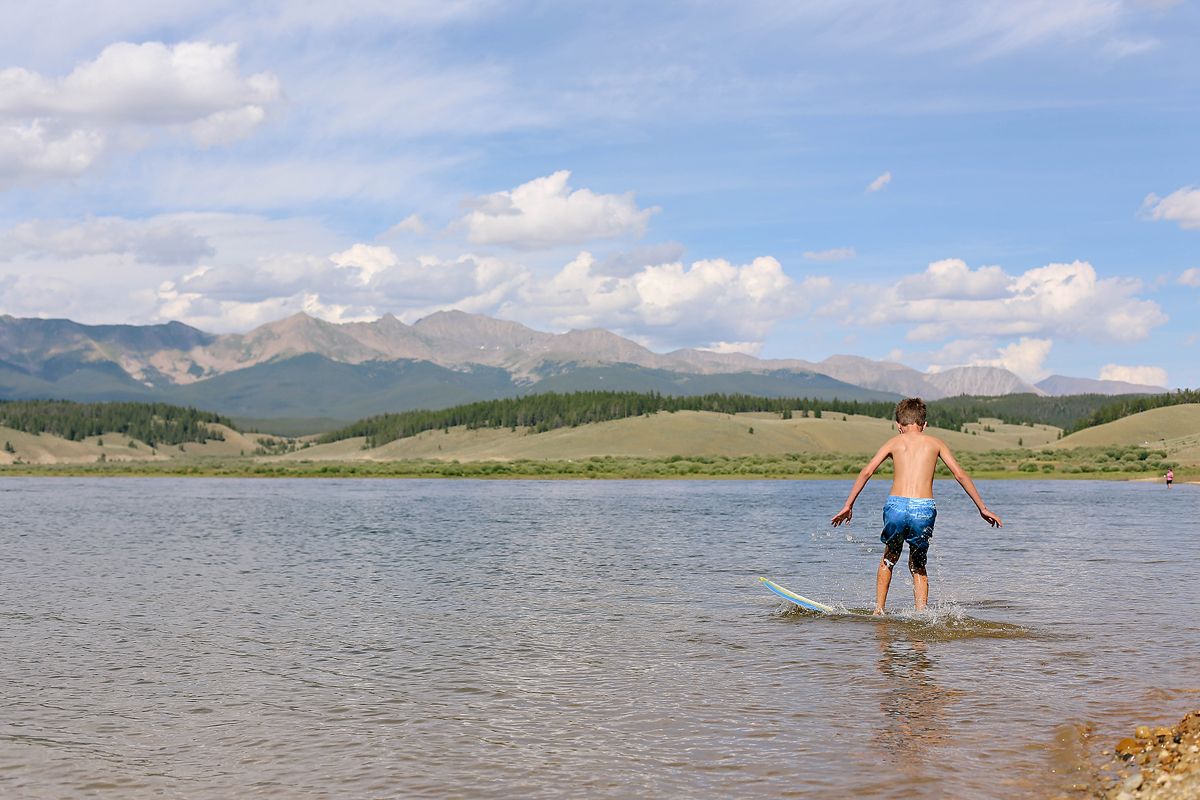 Photo Tip: When your subject is looking to the left or right, it often works best to place them on the opposite side of the frame. Since he is looking to the right, I placed him on the left of the shot. This gives him room to ‘look across’ the image, keeping the viewer’s eye on my photo.
I don’t have a photo tip for this one. It’s just cute. She caught a lot of stuff other than fish and wanted a picture with her catch.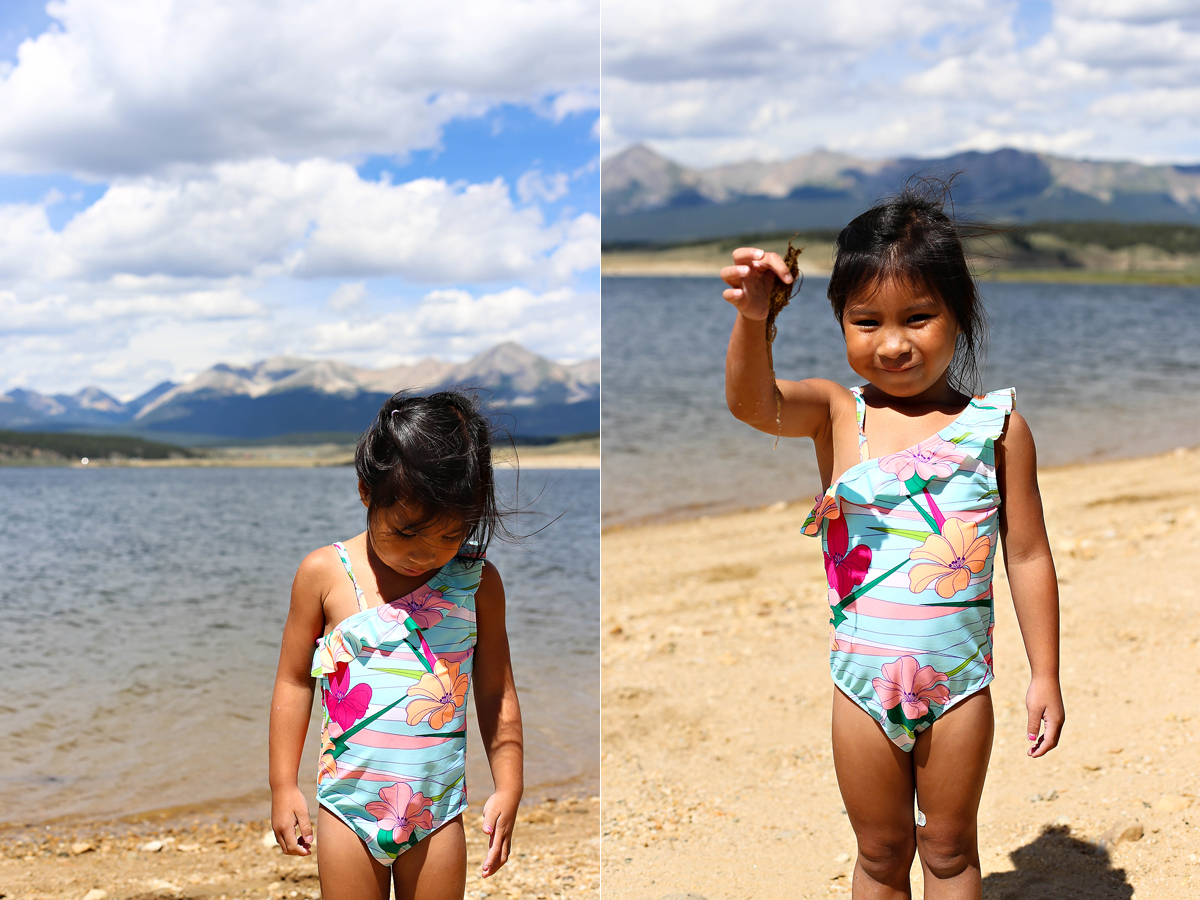 Like the shots above – I ‘framed’ her with the water and have her ‘looking across’ the image. 50mm, ISO 100, 1/640, f/3.5
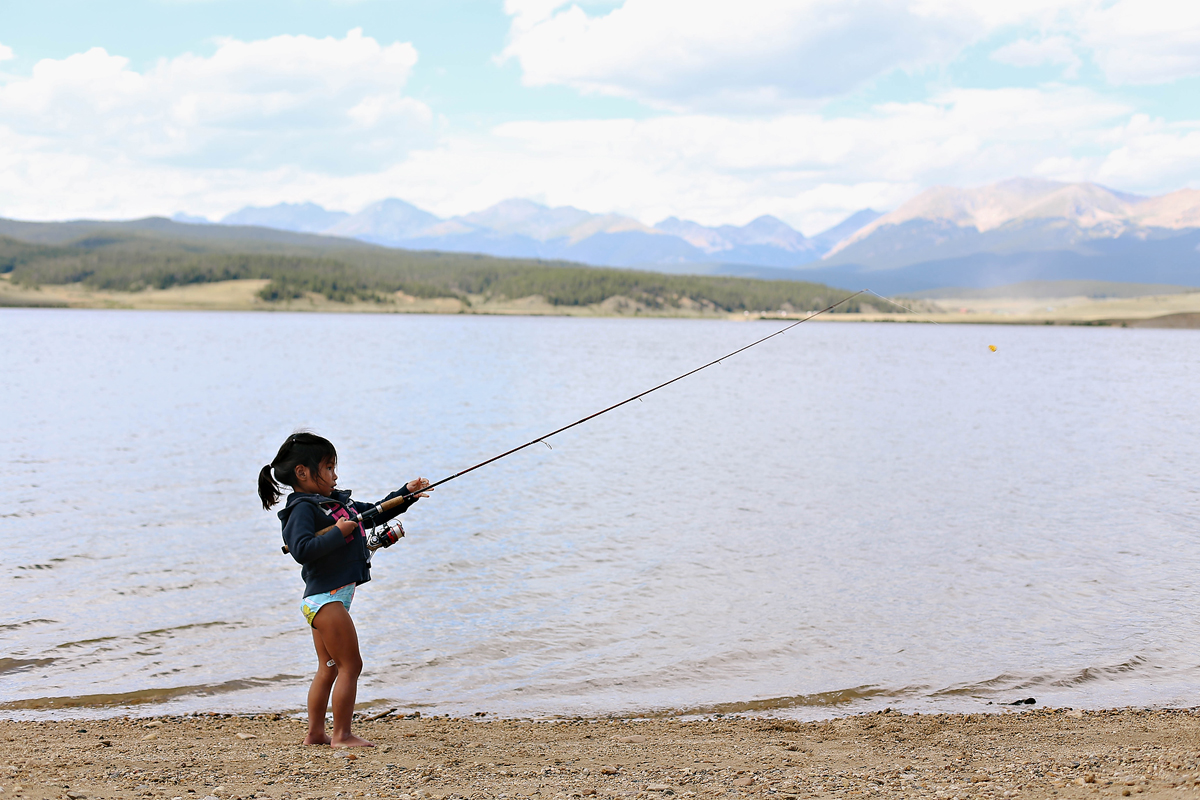 This girl spent a good hour with her uncle fishing. He taught her how to use his fishing rod and she was hooked. She didn’t catch a fish, but that did not matter to her. I took several shots of the two of them together, but I’m not sure if her uncle wants featured on my blog. My final photo tip is to capture your family/friends. It would have been easy to photograph just her in all her fishing cuteness, but I have a feeling one day she’ll like looking back at the photos with her uncle.
Also – swimsuit and a hoodie. Colorado, we are fans of you. 50mm, ISO 100, 1/200, f/3.5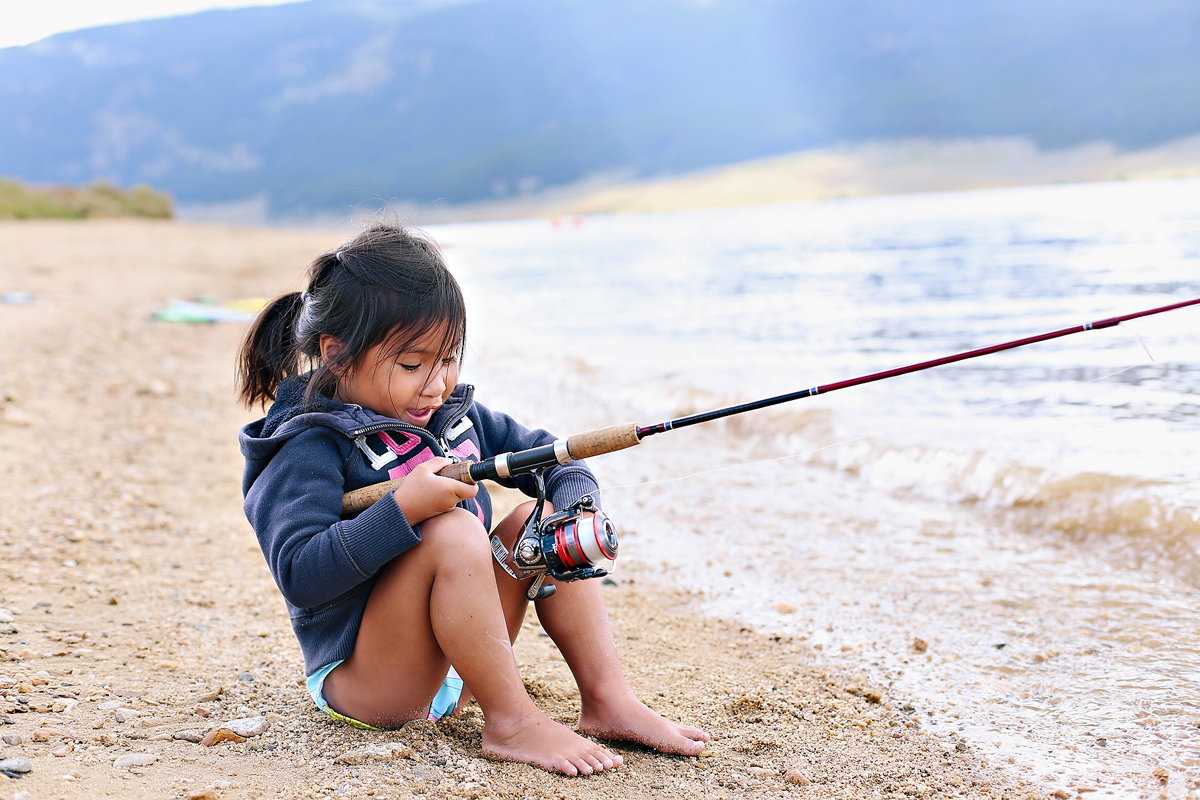 Just a reminder – this September will be my final SnapShop courses (phone and DSLR). If you are interested in learning more about how to capture every day moments, storytelling through photography and the basics of photography, click here to learn more about SnapShops.


