diy {push pin travel map}
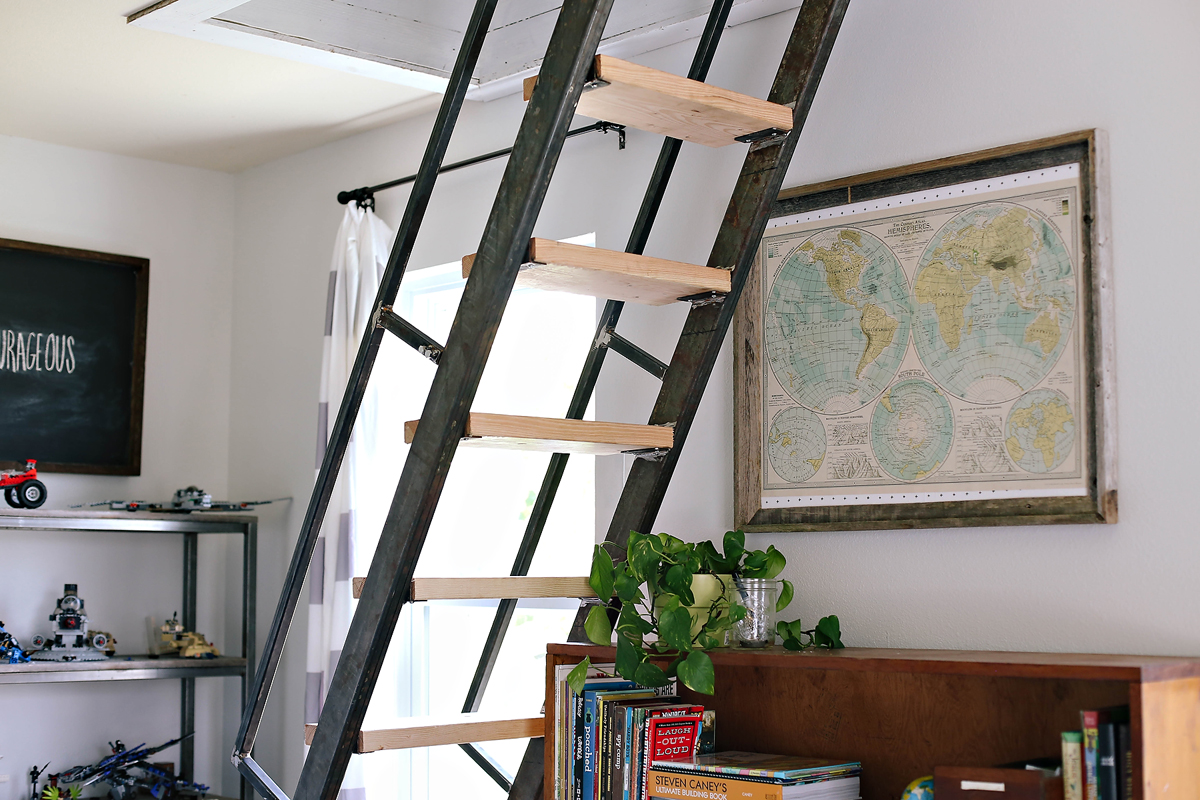
For the past several months (more like 6 months) we’ve been slowly working on the boys’ room. Progress has been slow moving, but we are nearly finished! I’ll post a full tour and give all the details next week. Today, I just wanted to share a quick tutorial for a push pin map.
I searched all over online for a map with colors I like that also either had current country boundaries or no country markings at all. We have some pretty big travel plans in the future and I wanted a map to start marking all places we hope to visit as a family. I could find plenty of vintage maps with the colors I liked, but the country boundaries were no longer accurate. OR I could find current maps with colors that were not what I was wanting. I finally found one at Urban Outfitters online.
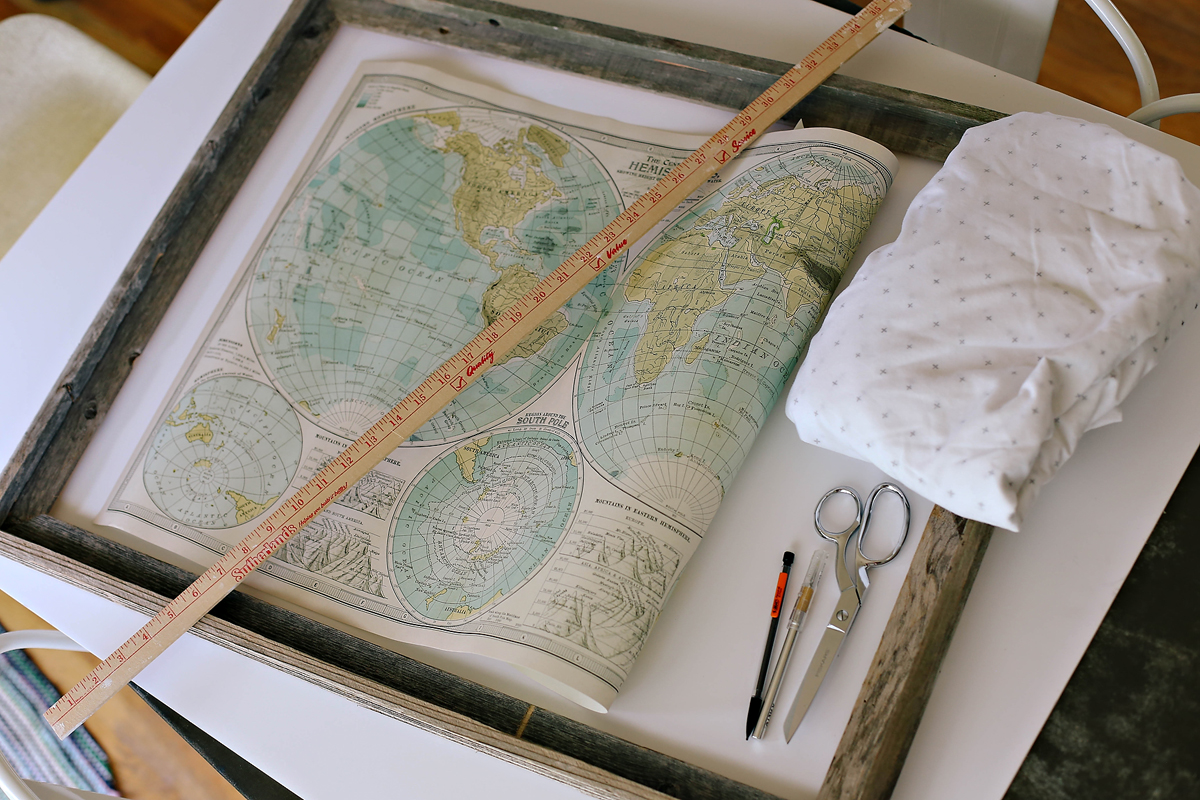
 Supplies: map, open back frame, foam board, X-acto knife (also fabric or paper for a background if your map doesn’t fit)
 1. Mark and cut your foam board to fit the frame.
2. I couldn’t find a pre-made frame to fit the map exactly, so I opted to add some fabric to the background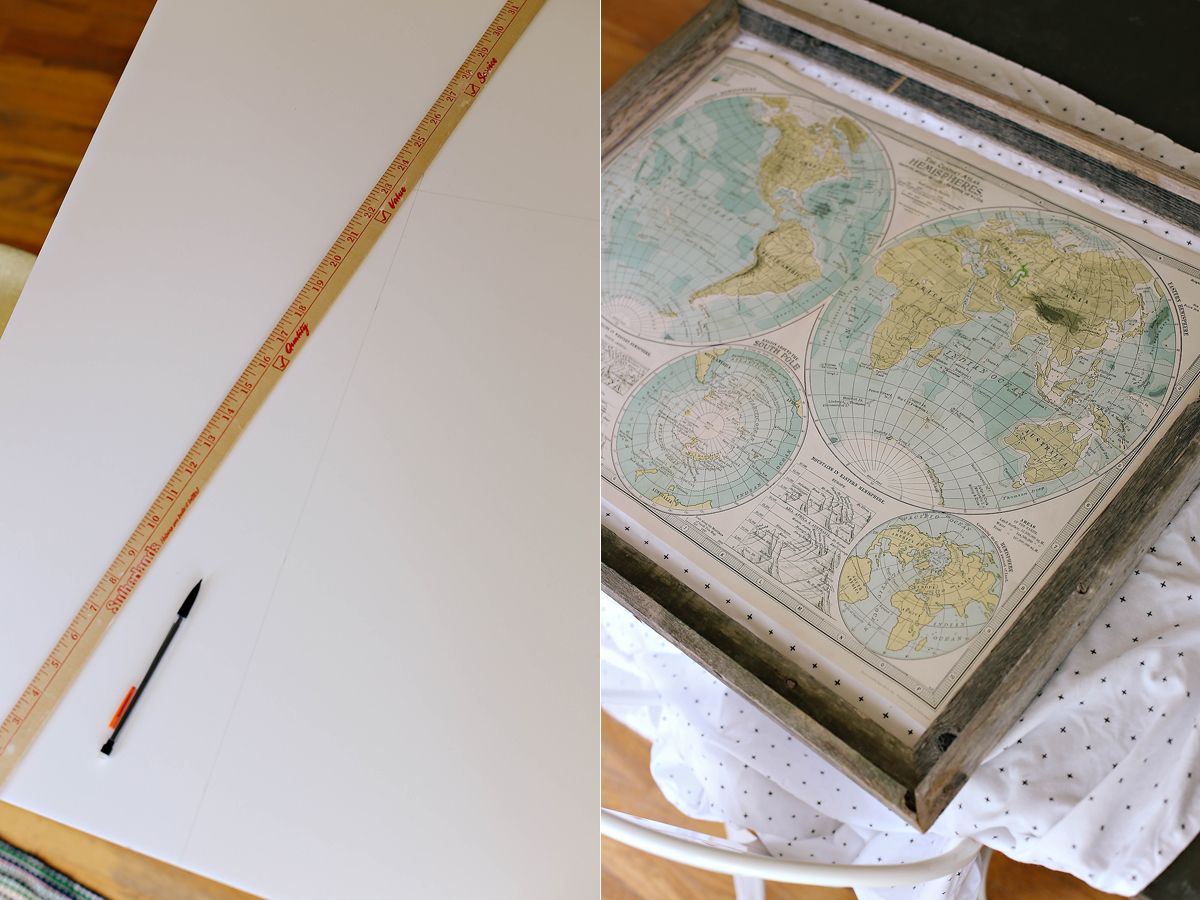 3. Using spray adhesive attach your fabric and/or map to the foam board
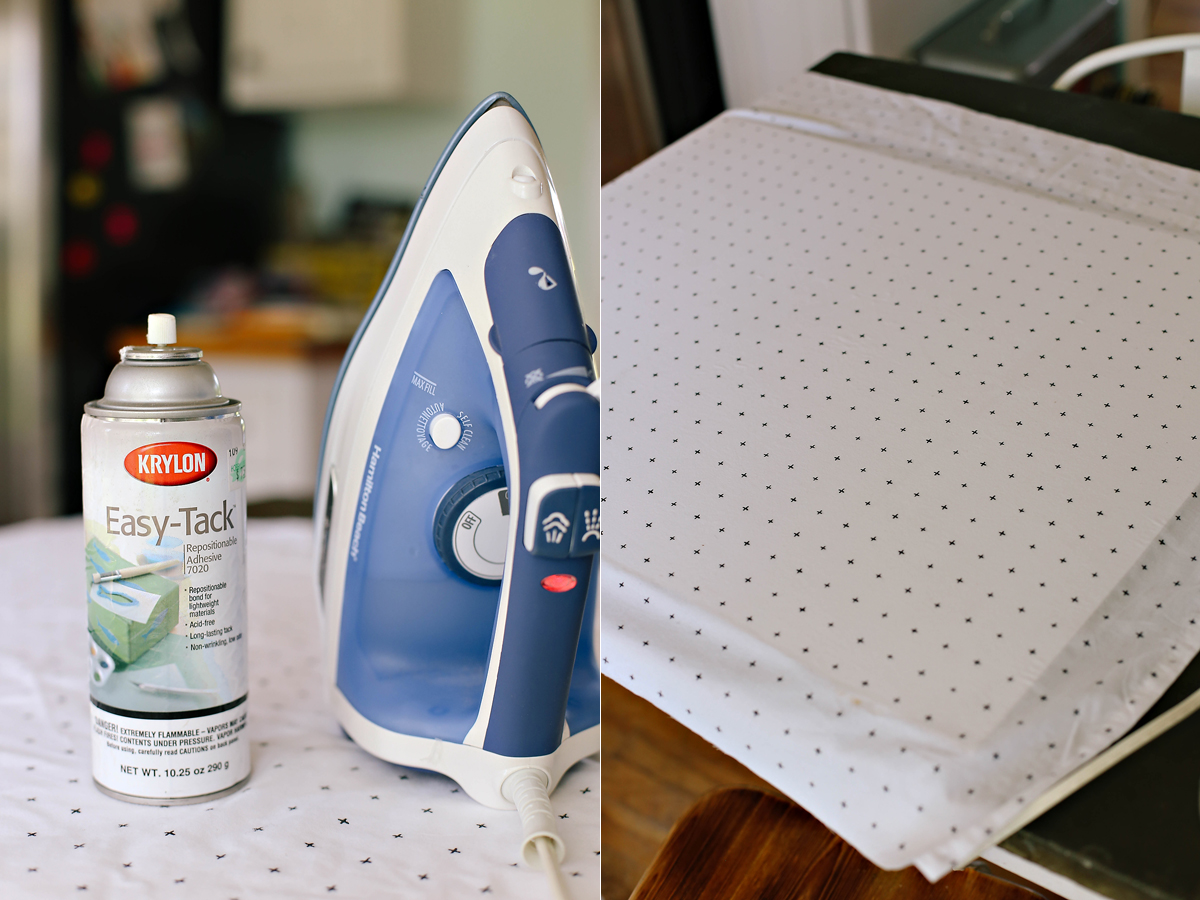 4. Trim extra fabric if needed
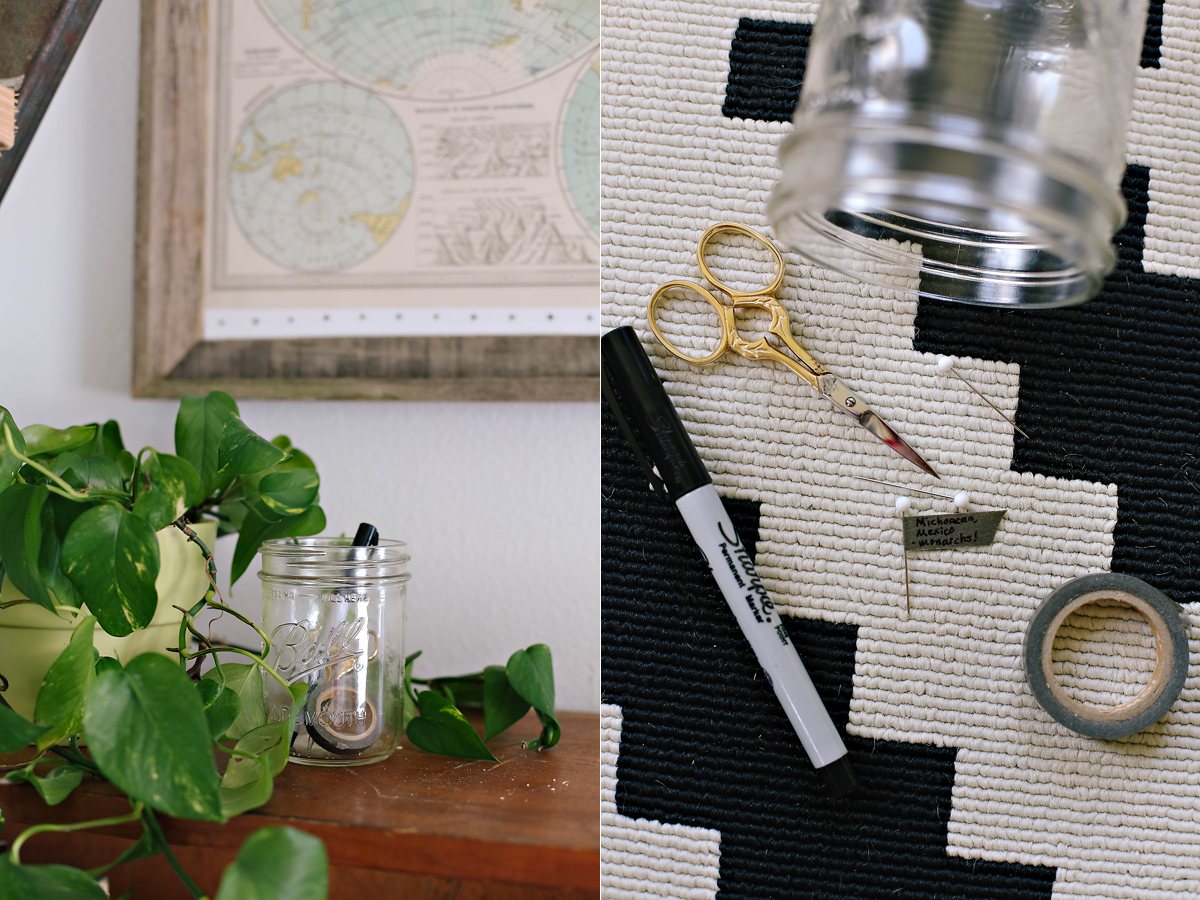
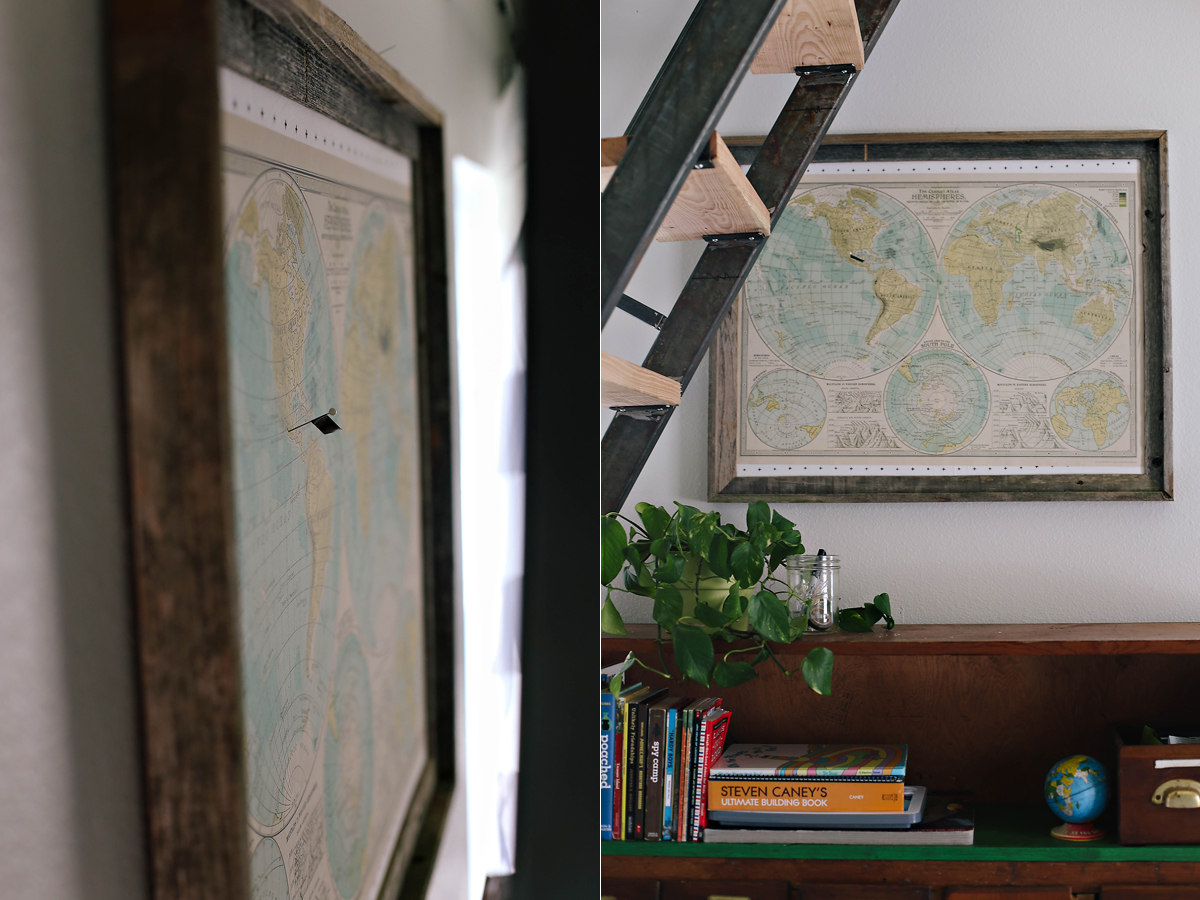
5. Tack the foam board into the frame using small nails. You don’t need a lot, just enough to hold it in place.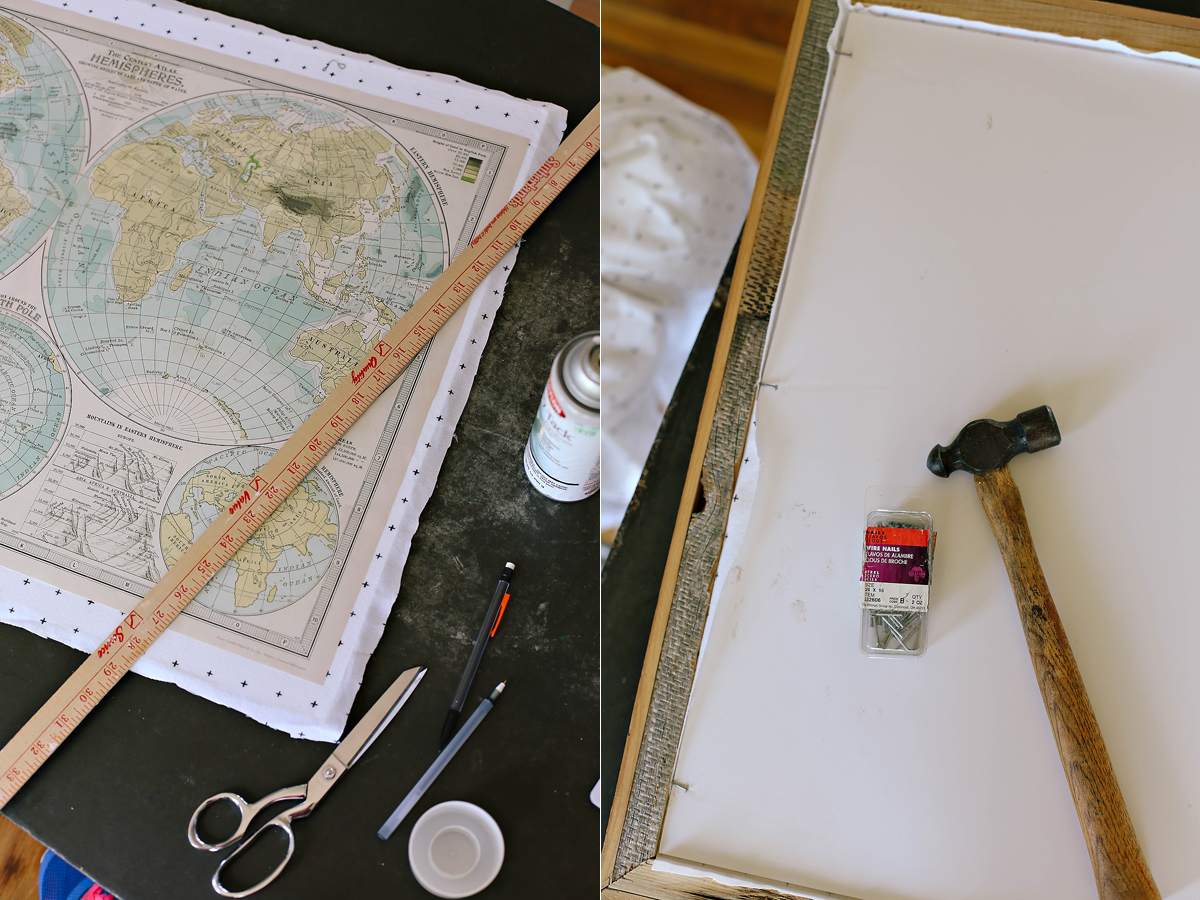 For the pins we will be using basic sewing pins with the location attached as a little flag with washi tape. My 9 year old has been dreaming of visiting Mexico to experience the monarch migration. It has been a dream since he was probably 4 or 5. I thought it was the perfect first pin. We have a whole list of more to add.
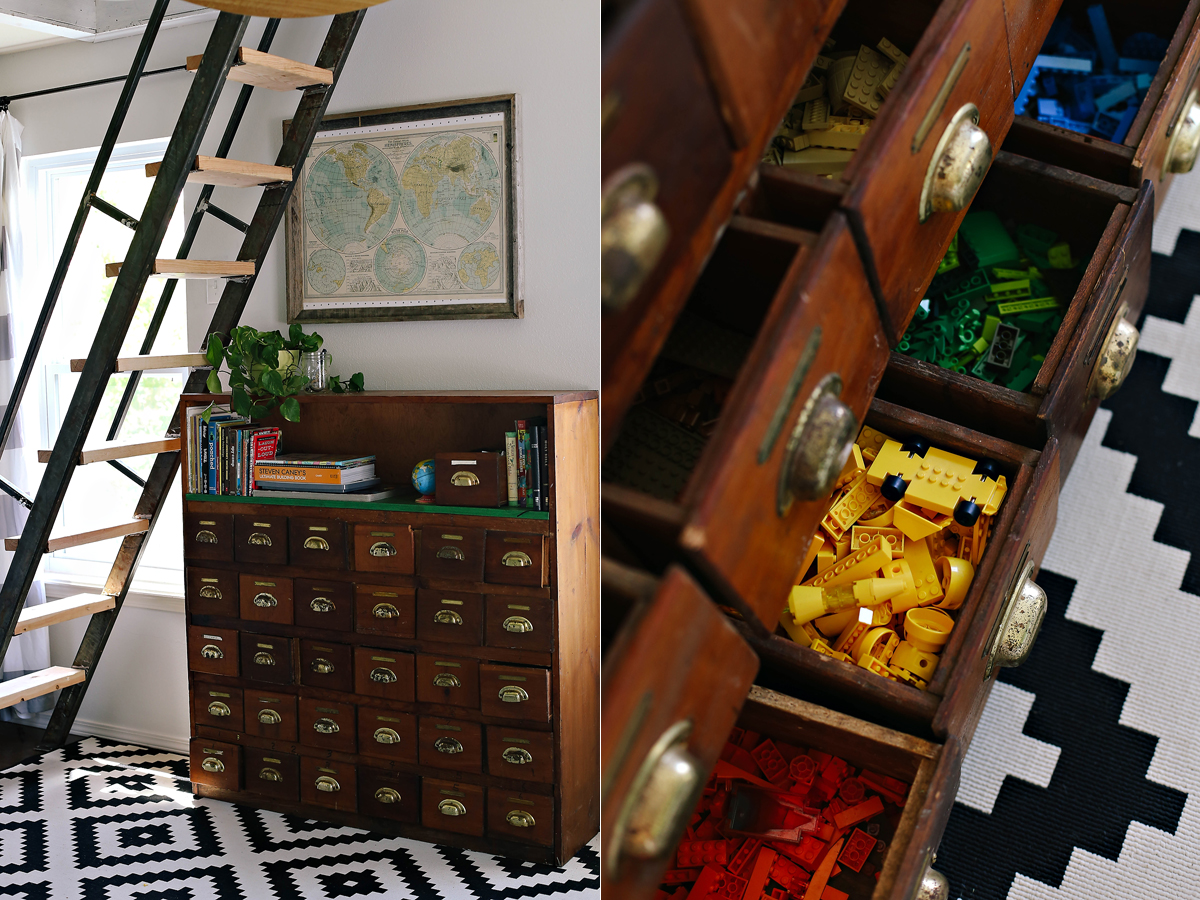 Somewhat related – my boys decided to organize their legos by color. I’ve dreamed of this for years…all that pretty organization makes me so happy. I’ll post more details about the cabinet, the lego organization, the room tour and the loft tour next week!


