diy {custom repaired TOMS}
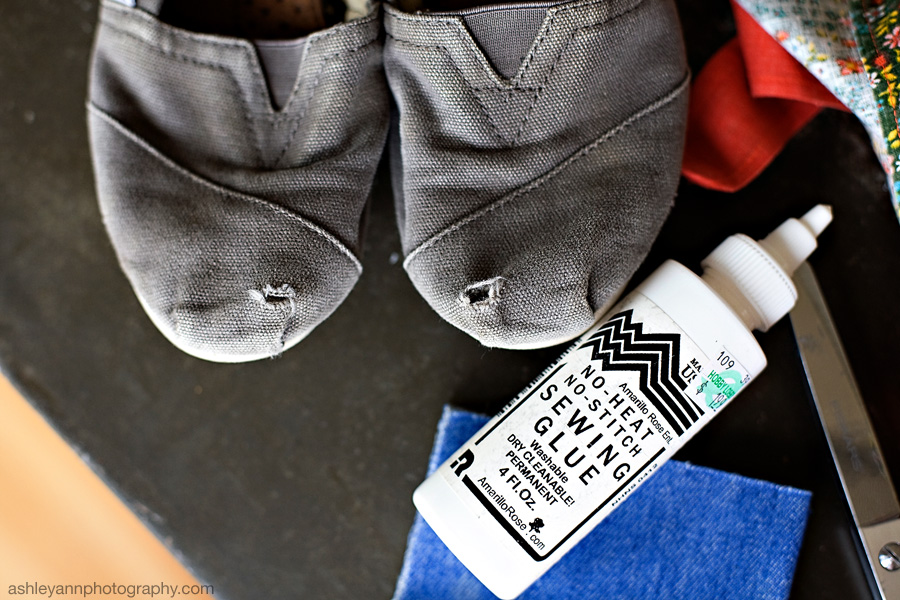
Don’t judge me for the well worn state of my TOMS…they are so comfortable. I’ve been wearing them for a few weeks with a hole in each – right where my big toes hit. I wasn’t ready to part with them. I’ve been wanting to do a little repair, but it had to be easy and fast. So, I shared the table with a few little people. They created Jedi masterpieces…I gave my shoes a makeover.
I don’t have the slightest clue how to sew new fabric on TOMS, but I do know how to spread glue with my fingertip. This is such an EASY repair…it took less than 10 minutes, and then about 30 for the glue to dry. It also only required things I already had on hand. Nice.
Supplies:
- TOMS with holes from your big ole’ big toes
- Semi-thick fabric that already has a hemmed edge (I used an apron I got for $1.00 at a flea market, I also opted for dark fabric so it stays clean looking longer)
- Iron-on denim patch (the kind for holes in jeans)
- Sewing glue (or fabric glue)
- A really good pair of scissors
1. Cut a piece of the denim patch a bit bigger than the hole. Iron it on the shoe. This is just to reinforce the area so your toes don’t create another hole soon!
2. Trim fabric a bit bigger than the front section of the shoe. The hemmed edge goes on the top of the shoe (where it already looks like a hemmed edge).
3. Cover the top half of the section with glue (not the entire area, do it sections at a time)
4. Press fabric firmly on shoe, match the hemmed edge to original hemmed edge of the shoe. Press out any wrinkles.
5. Slowly trim the fabric where it lines up to the sole of the shoe. Continue to spread glue over the remainder of the top and sides of the shoe, press fabric down. Finish with the front fold of the shoe. I folded my fabric the same way the original shoe is folded. After getting the other parts glued down, I glued the top fold and held it for a few minutes. Then just let it all dry.
Well, hello cuties. You look awfully nice without those holes.


