diy {peg rail and shelf}
I am about a month behind related to blogging. There was once a time I sat down at night and wrote a blog post about the day. It was a creative outlet and a way to think about what actually happened that day. It was also when my kids slept and the only real schedule I had to manage was mine!
I feel like a month behind is pretty good all things considered, so I am going with it!
Last month we hosted several different gatherings. Hosting is kinda a compromise around here. I prefer to never leave my house once I get home from Crossfit in the morning. There are others in this house that prefer people all the time…more people…more doing…more. more. more! If we host, I get to stay home and they get more people.
Anyway…back to this post. After we finished the kitchen, the wall with the fireplace drove me crazy. I had been thinking for months of what I could do on it. Wallpaper? Wood boards? Peg rail and shelf? I couldn’t find wallpaper I loved for the space, so in my head all fall I knew once December hit and school slowed down I was going to add a peg rail and shelf.
I thought I would walk you through the process of how I tackle a home project…in case you ever thought I actually have well thought out plans before I begin!
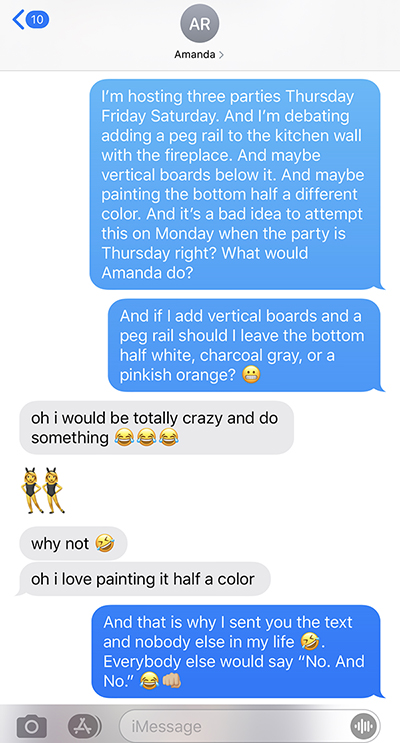
I began with a text to Amanda at 12:49pm on Monday afternoon:
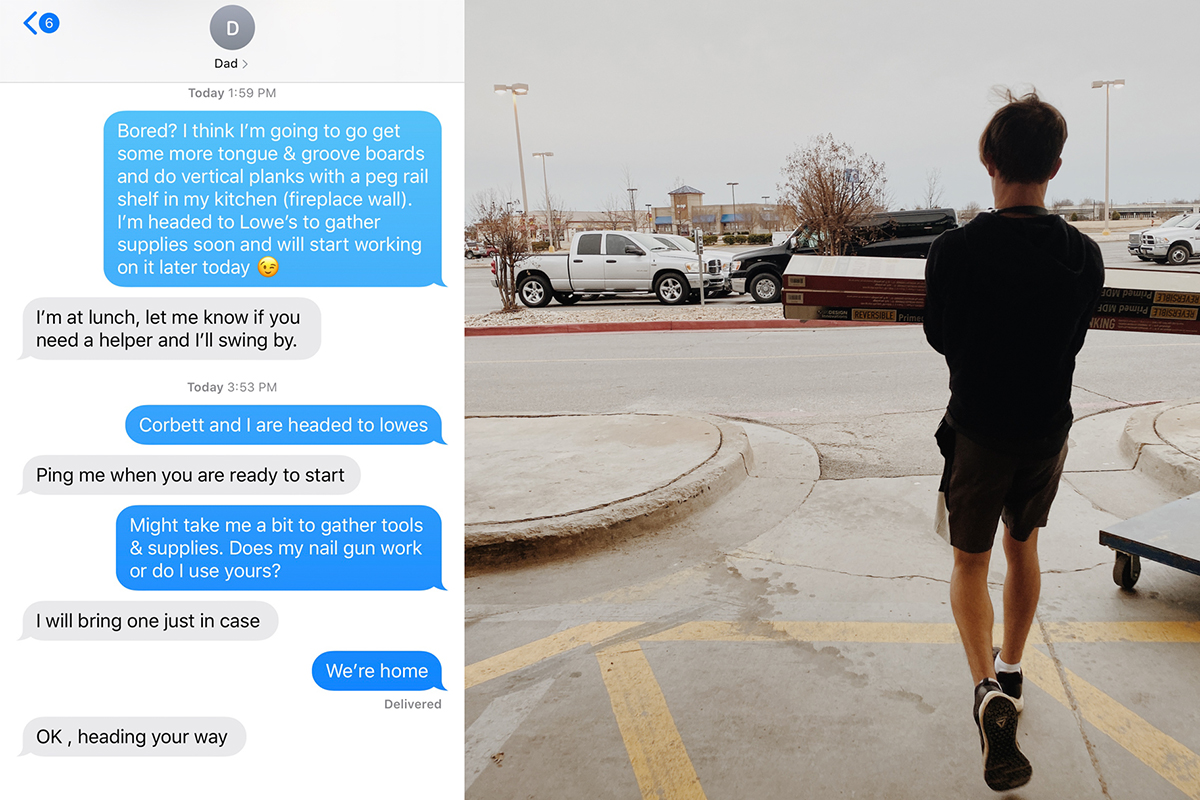
An hour after texting Amanda, I made up my mind and sent my dad a text…and got the ball rolling….
I got home and we began working around 6pm….I didn’t take many pictures of the process because we were working fast and making it up as we went. My dad is a perfectionist, but also great at improvising to make things fast and practical. It is a pretty great combo when it comes to my last minute, half-planned ideas.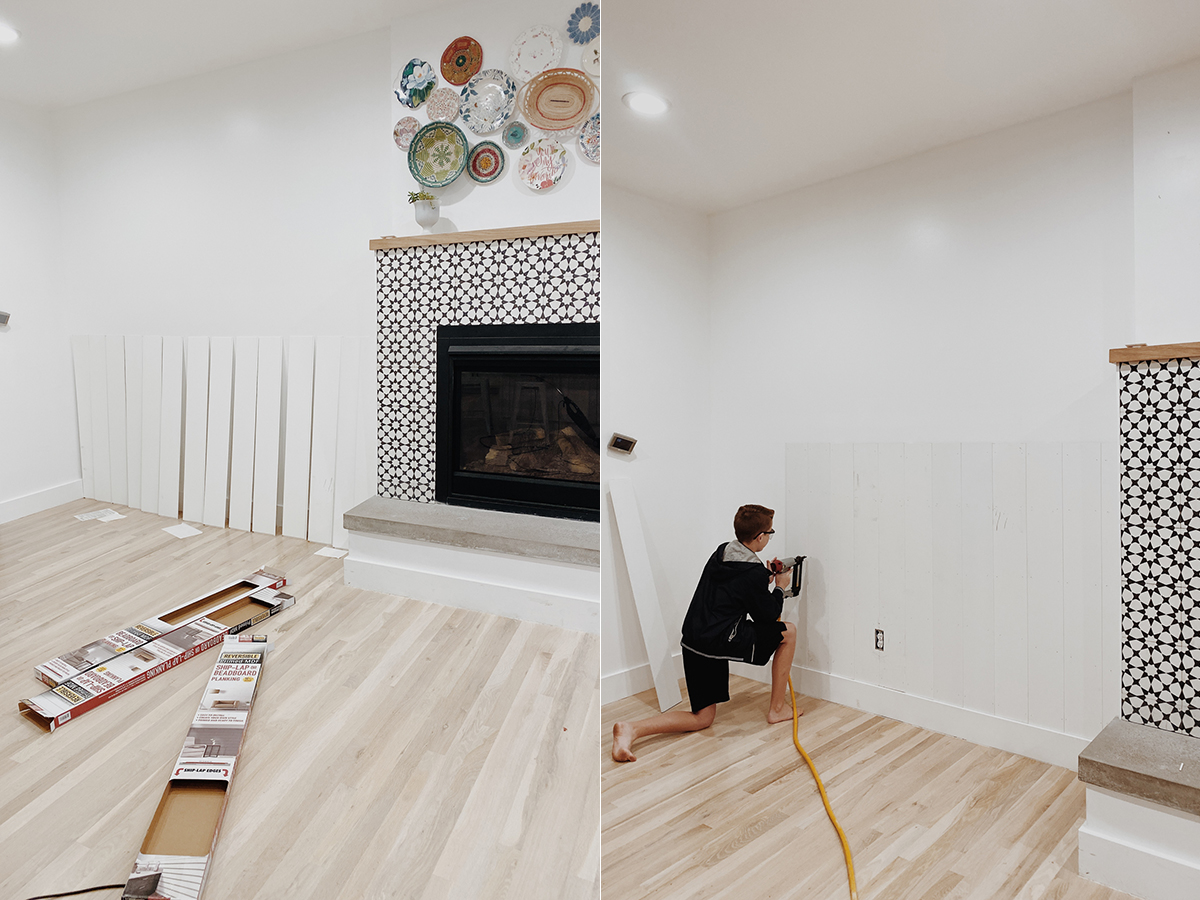
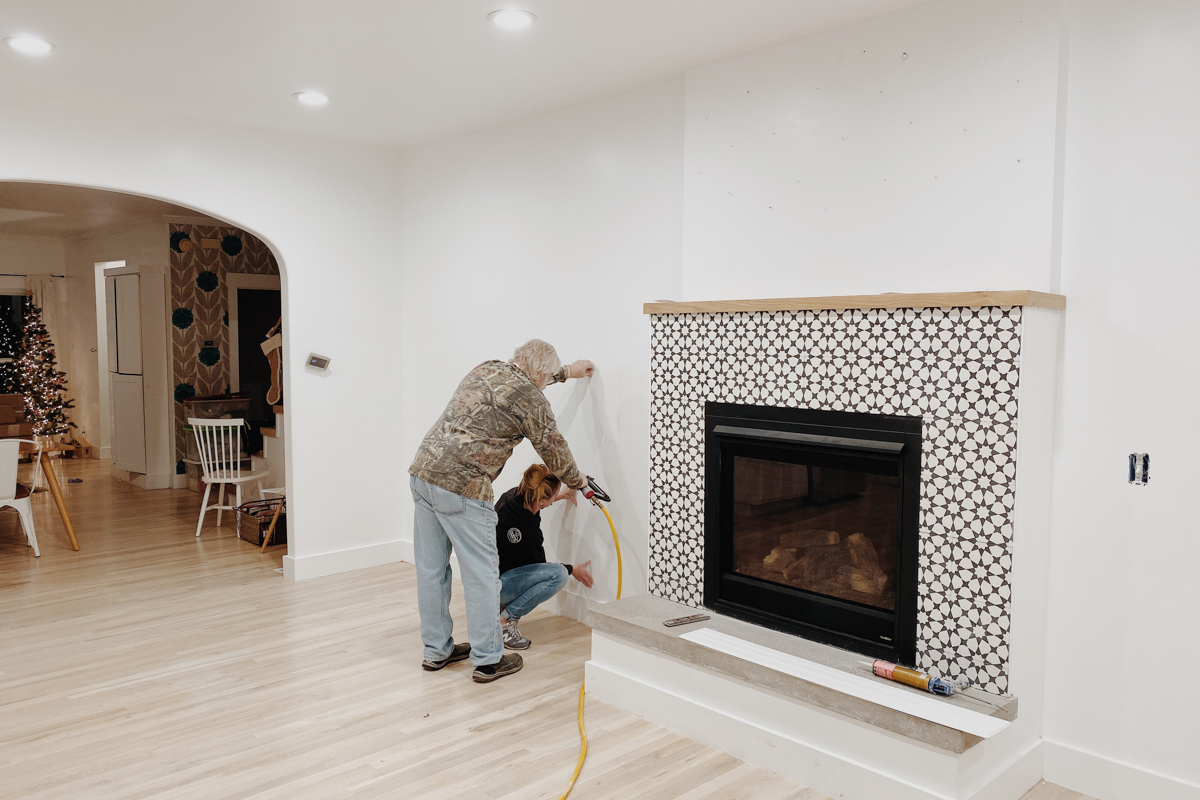
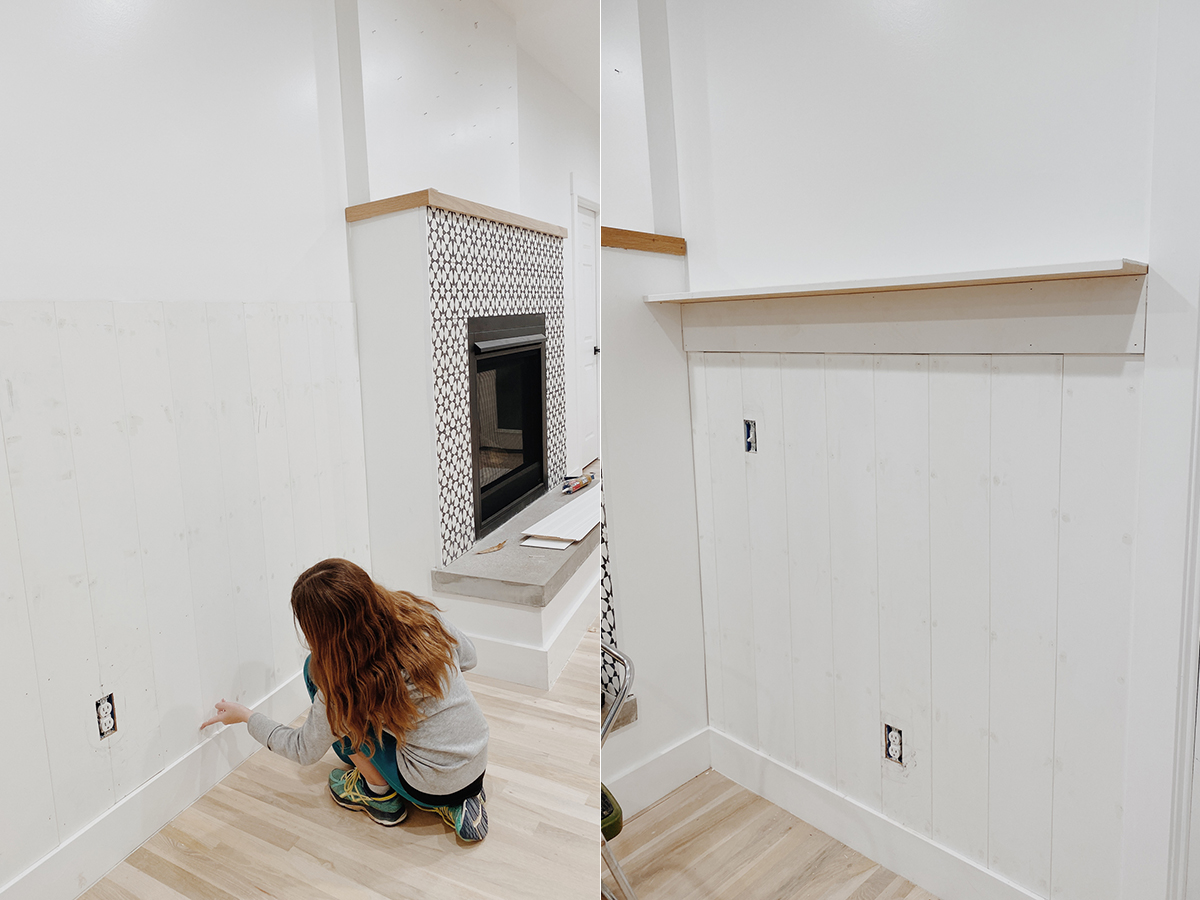
Monday night around 9pm we had everything constructed and I put on the first coat of paint. I decided to just go with the same white that the whole house is already painted. We had it on hand and I could always change it later.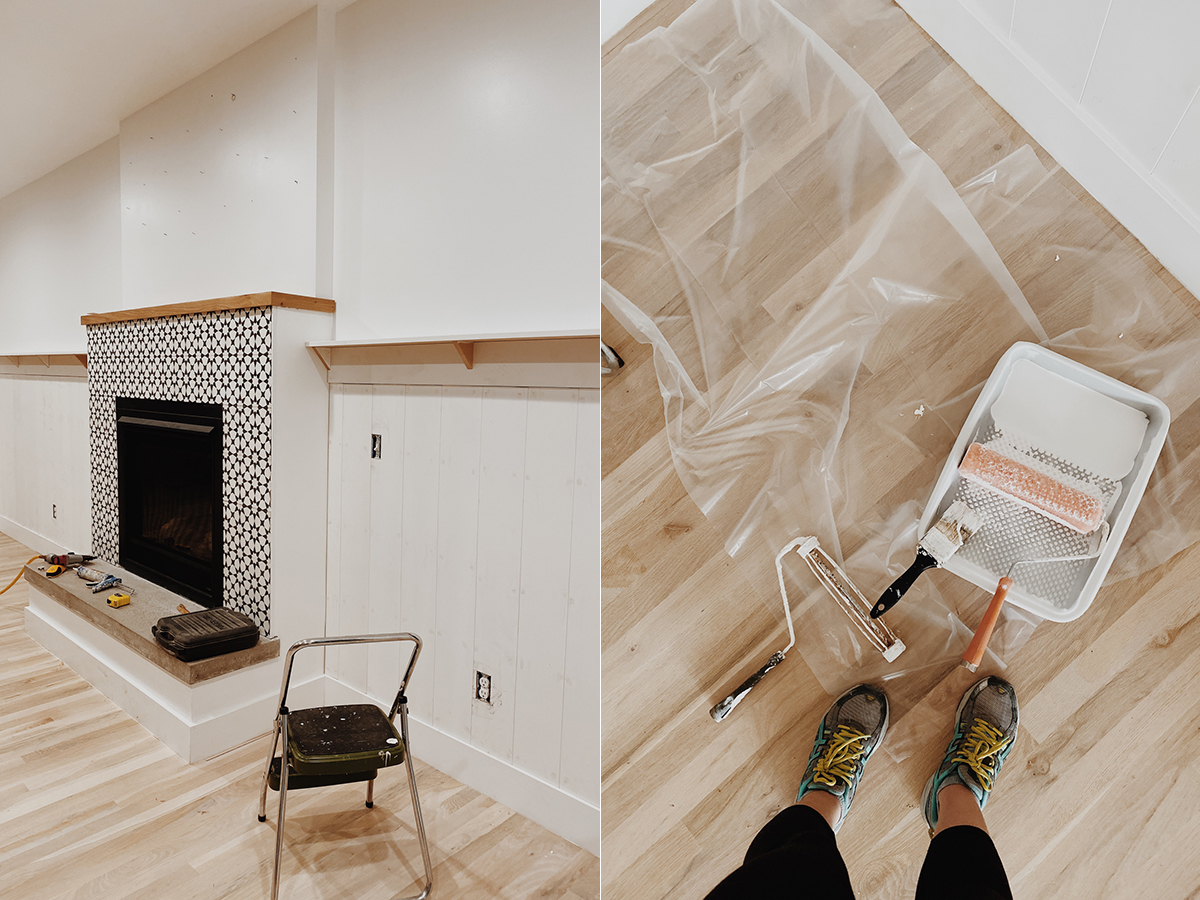
Tuesday morning I went to Crossfit and then came home to put on the second coat of paint. Later that morning my dad brought over the pegs (cut from a dowel rod) and we put them in place. I opted not to glue them in case I wanted to remove one for whatever reason down the road.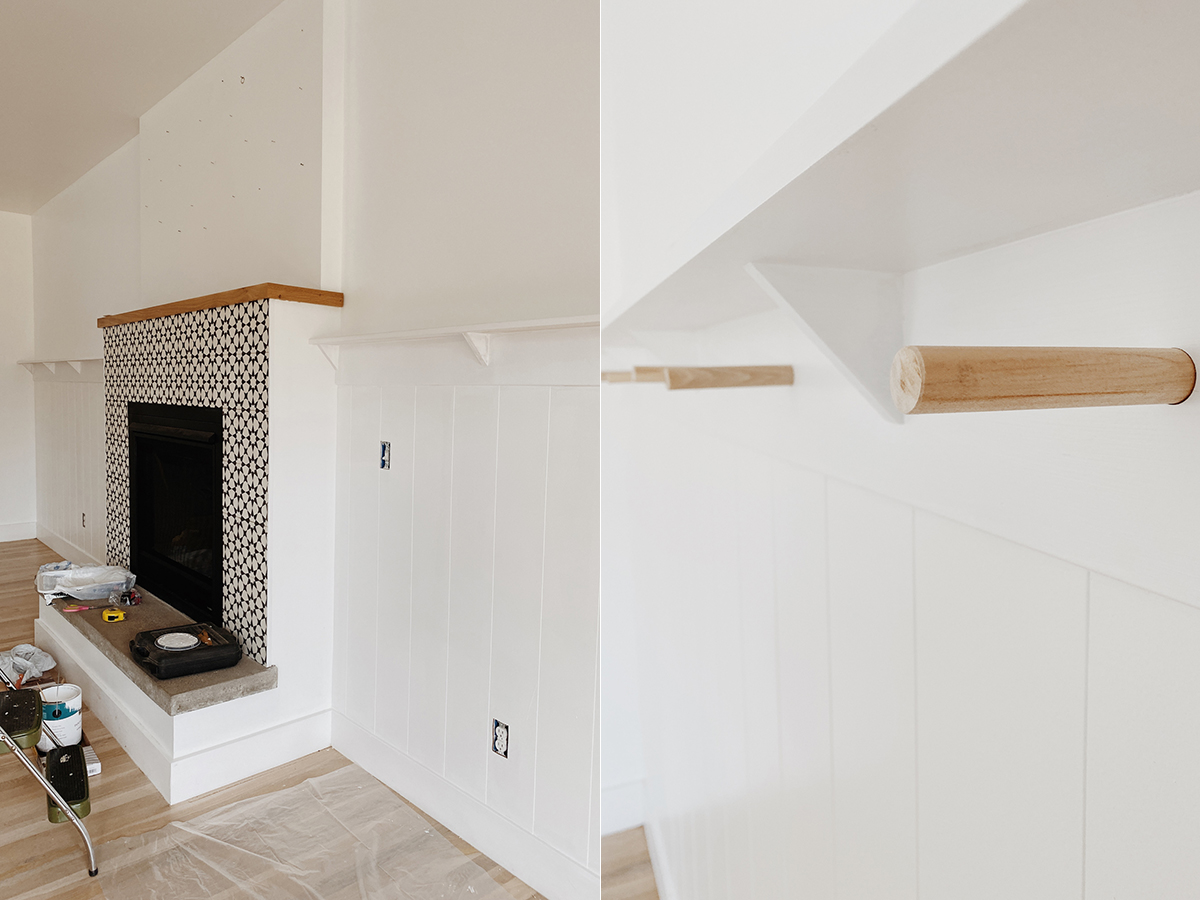
By Wednesday morning everything was finished and I decorated for the parties happening Thursday, Friday, and Saturday that week. Quick and easy…and it made such a big difference on that big wall. I now have more options for decorating without putting a ton of holes in the wall, which is what I usually do.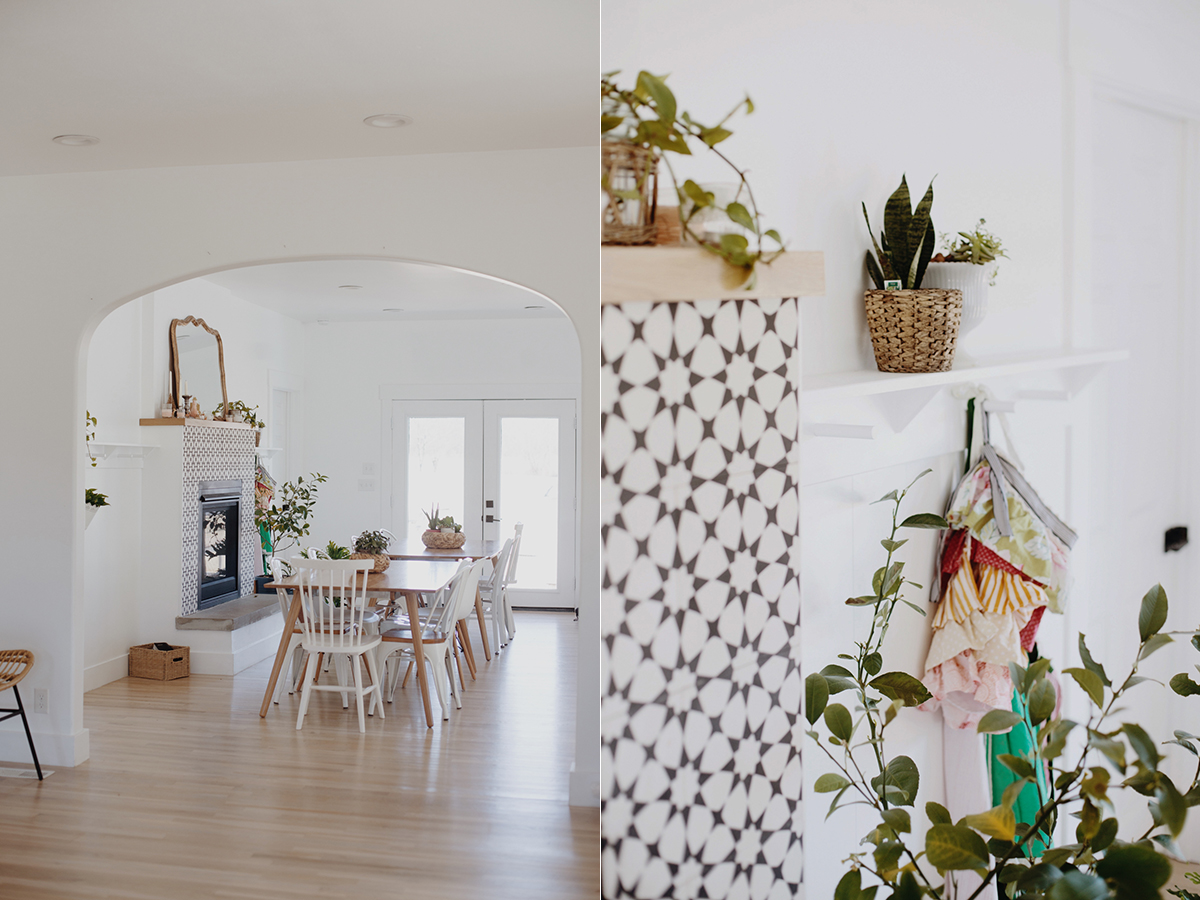
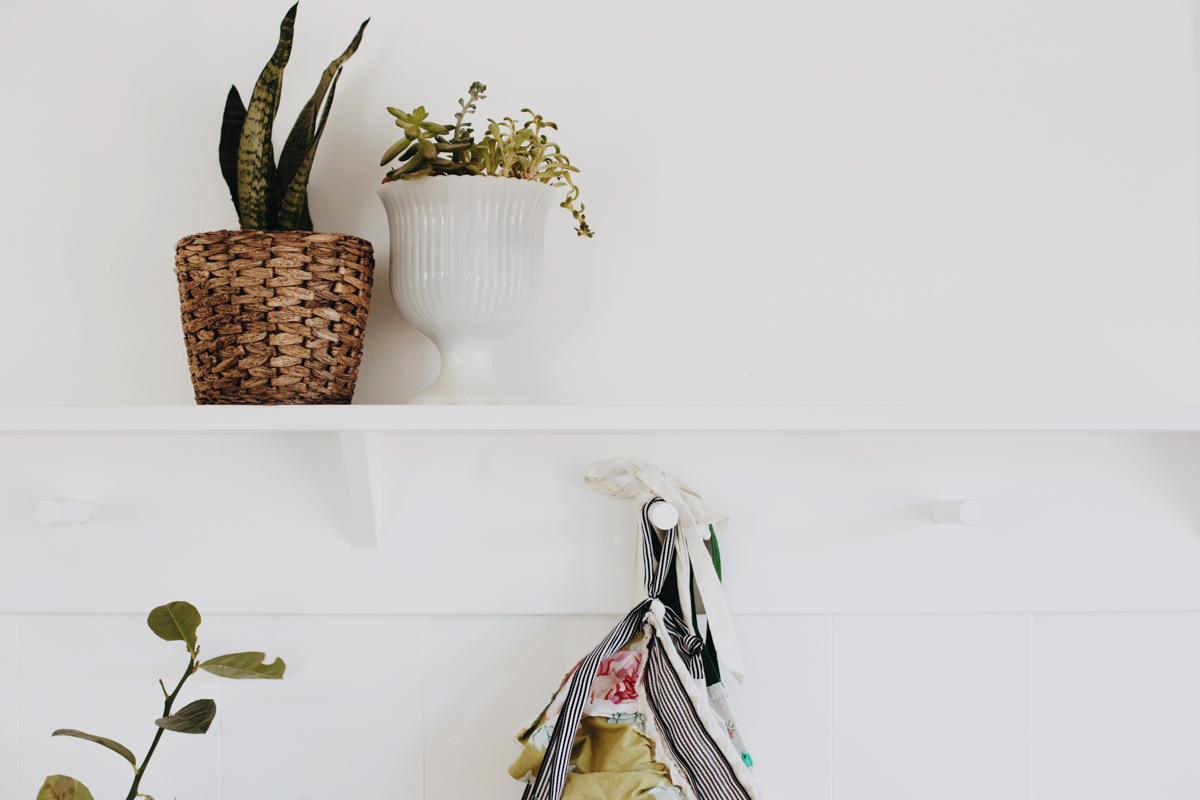
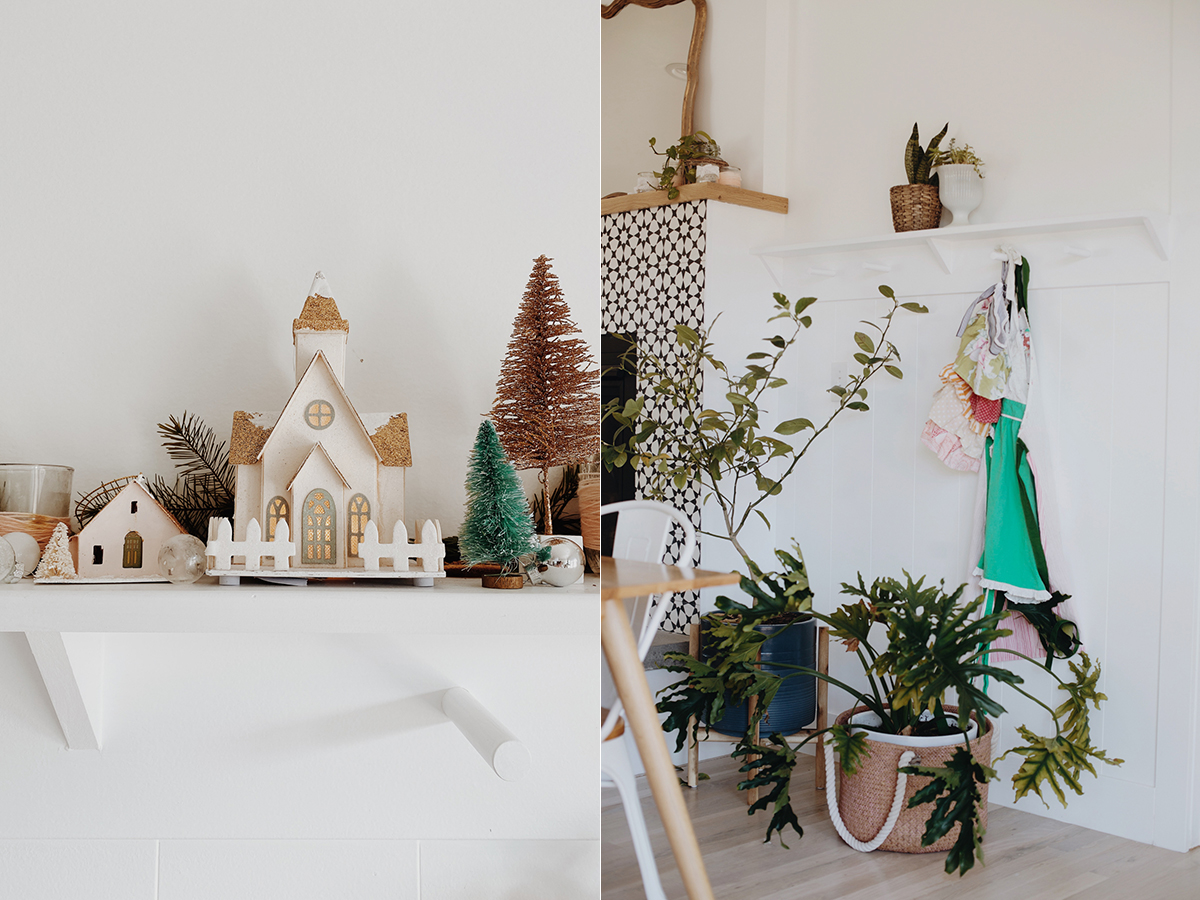
I’m super happy with how it came out. We had about 75 people over for New Year’s Eve…almost every peg was filled with coats and purses. Not at all what I envisioned for it, but it ended up being really practical for our friends. I still might paint the bottom half or the top half one of these days…or add wallpaper on the top. Or it could stay like this for the next 20 years (probably not)!
Supplies we used:
- Left over trim boards for the shelf
- Shiplap Wall Planks from Lowes
- Dowel rod
- Behr Ultra Pure White paint
- Heavy Duty Liquid Nails (a bit on the back of everything to hold it tight)
- Nails & nail gun
- Putty to fill nail holes

