Our Gallery Wall {my process}
I wanted to take some time to answer a few questions I’ve received about the gallery wall in our gameroom. The best way for me to answer the questions is just to walk you through my process – it is imperfect and wonky and a PROCESS!
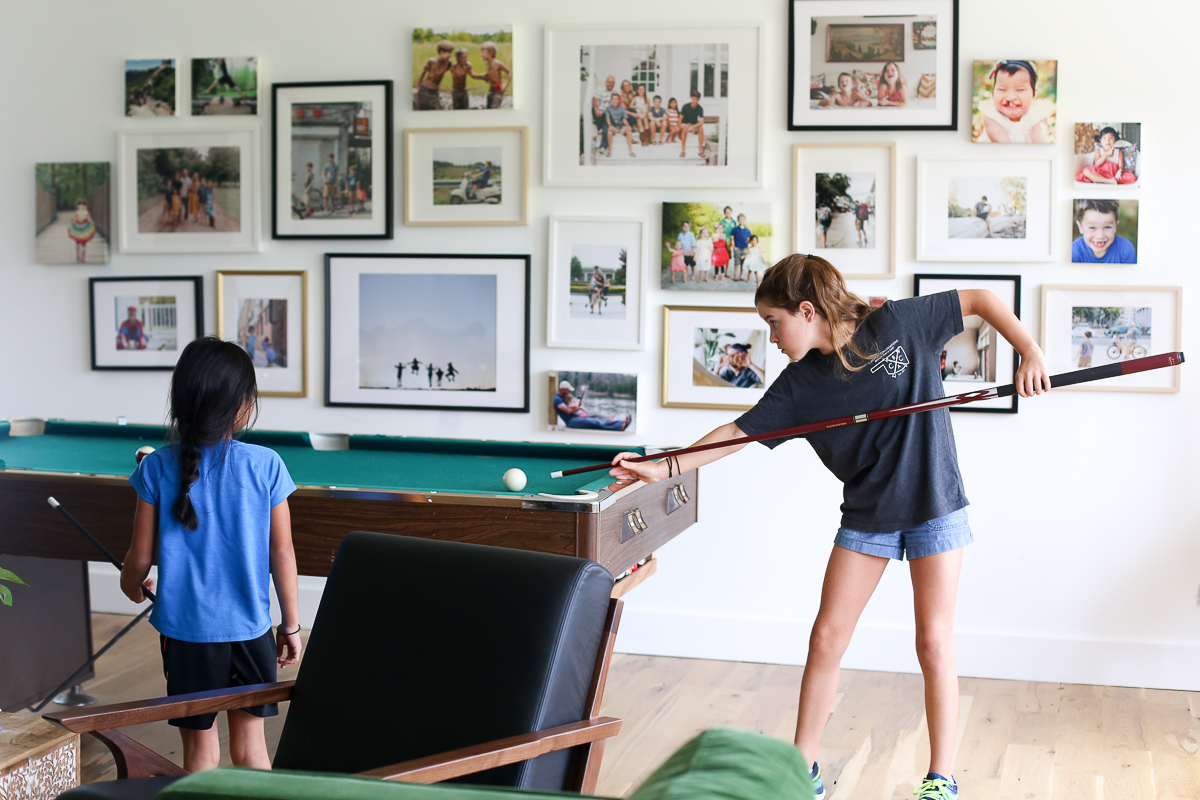
I knew I wanted a wall of photos. Several years ago we had a grid of square photos over our fireplace. It was and still is one of my favorite DIY projects. I loved looking up at that wall and seeing memories! For the gameroom I had to decide how I wanted to display the photos…what kind of gallery wall I wanted.
I thought about 8 big posters – but couldn’t pick 8 pictures.
I thought about an entire wall of framed prints that were all exactly the same size.
I thought about big wire grid that I could pin photos to.
Ultimately, I went to my Pinterest boards and quickly recognized I was drawn to matted photos in frames of different sizes…so I went shopping for frames. I found a ton at a thrift shop for about $15.00. I started laying out the frames to decide what kind of pictures to order. It got complicated thinking through it.
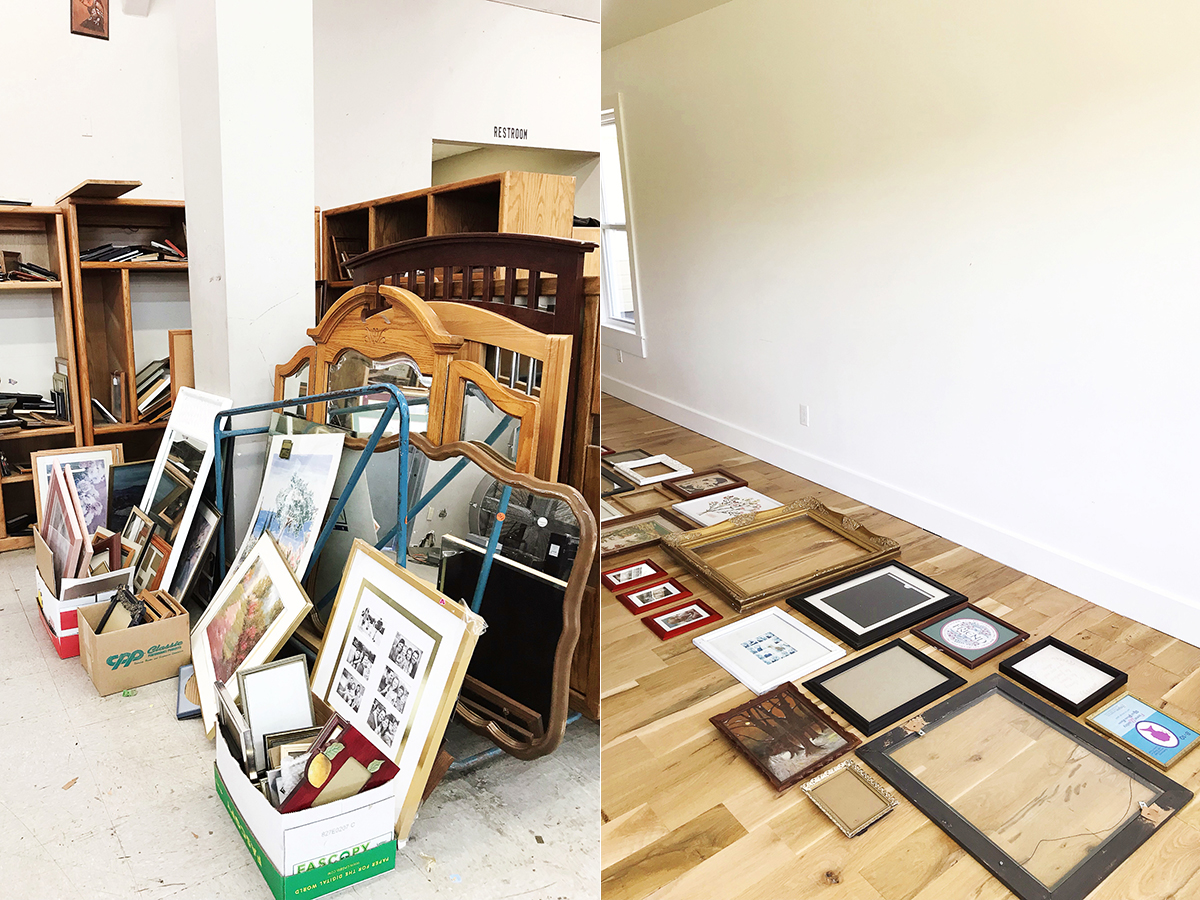
Next I went shopping for mats to fit each frame. That got expensive fast! I did a little searching online and found large frames at IKEA that came with mats. It would be significantly cheaper for me to order the frames from IKEA even if I didn’t know what pictures I was going to use or how I was going to hang the frames.
I ended up just ordering a bunch of different sizes and colors of frames (white, black, & gold). I jotted down the size of pictures each frame would hold with the mat and then picked out my photos.
Next I ordered prints from Mpix. Mpix has been my go-to, favorite place to print photos for nearly 10 years now! I have been and still am such a fan! If you are going to display your photos don’t skip on the printing. There is a huge difference in quality. HUGE!
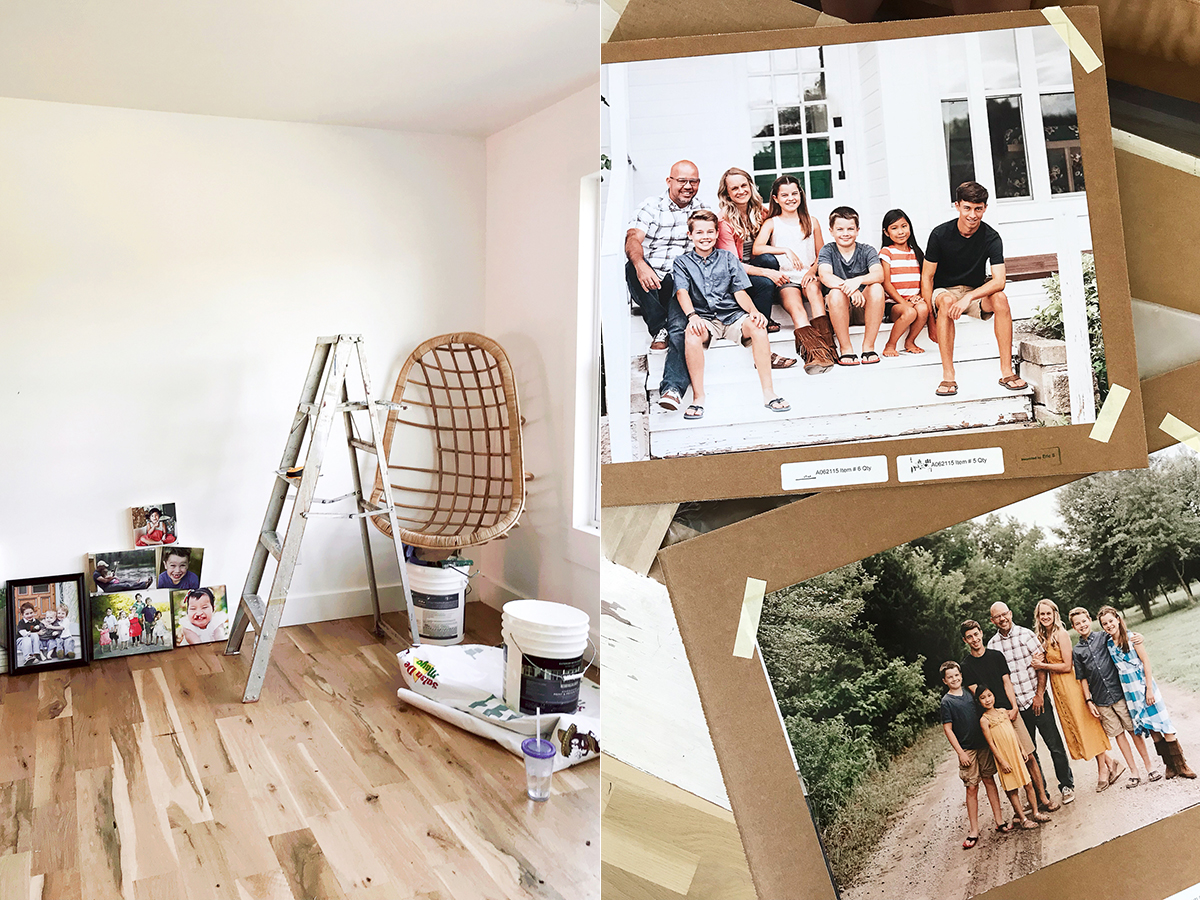
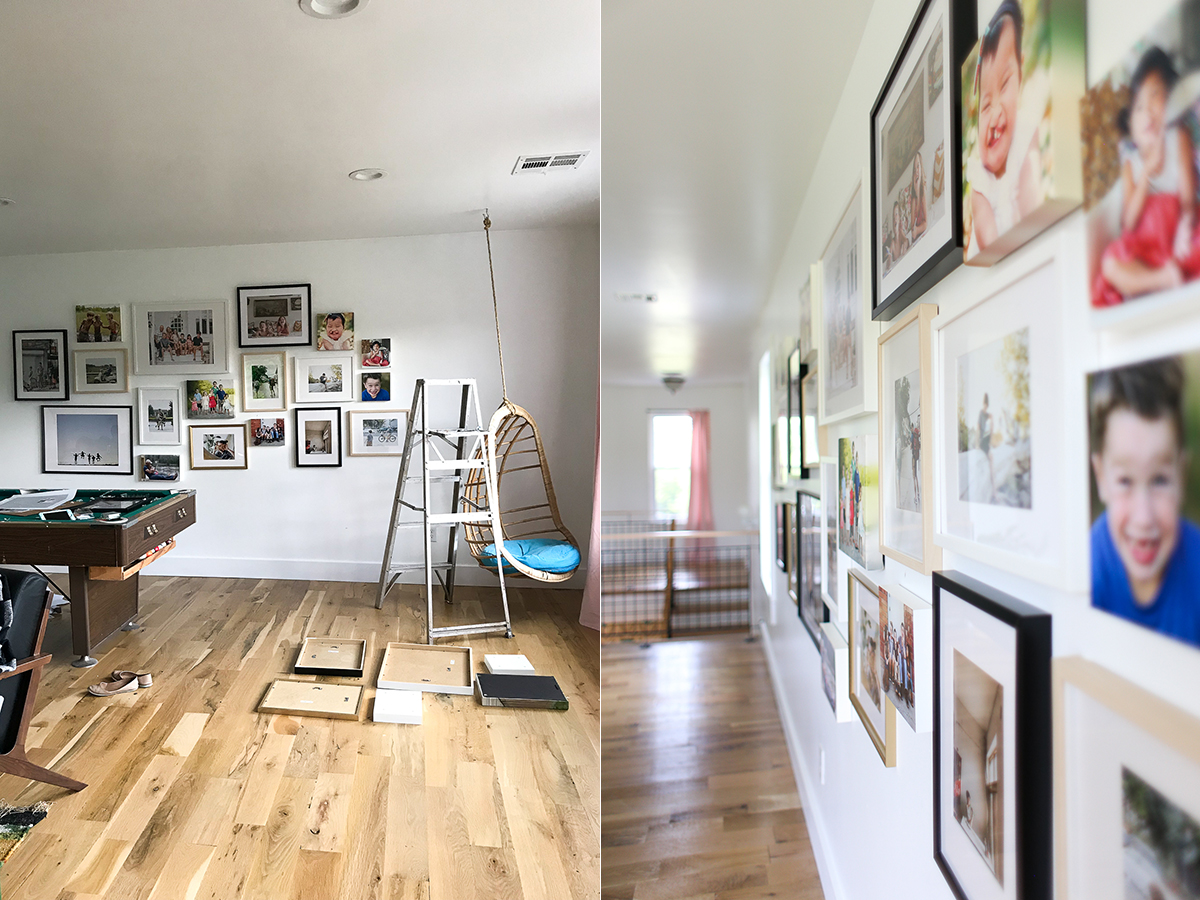
Once the photos arrived I placed them in the frames and began laying them out on the floor to figure out how I wanted to arrange them. I also added in some of my stand-out mounts and canvas gallery wraps to add more dimension to the wall. I started with 2 large prints towards the middle and tried to balance out the sides from there.
A few things I thought about when picking the arrangement:
- Largest photos towards the center to anchor it all
- Balancing out the sides – about the same number, type, color of frame on the left and right sides of the large frames
- Spacing out the different color of the frames
- Spacing out the different sizes of frames
- Spacing out the different subjects in the photos (not several of 1 kid next to each other)
- Paying attention to vertical/horizontal
Next I began hanging the frames. I just put nails in the wall. I am not afraid of holes. I know the frames will be there a long time. When it comes time to take them down the wall will probably have holes and dents from kids and it will be time to repair and repaint anyway!
I hung the two big photos first and then went out from there.
I’m a perfectionist, which means I had two options when it came to hanging the photos:
- EXACT to the 1/8″ spacing between all the frames. Not even a tiny bit off anywhere.
- Purposefully not spacing anything the same. Intentional wonkiness 😉
I knew it would be incredibly hard to space everything perfectly and it would take a ton of time. I opted to change up the spacing for a more eclectic wall – much like what many of the photos I pinned on Pinterest reflected. This option also meant it took me about 30 minutes to hang everything and it will be super easy to add to the wall in the future.
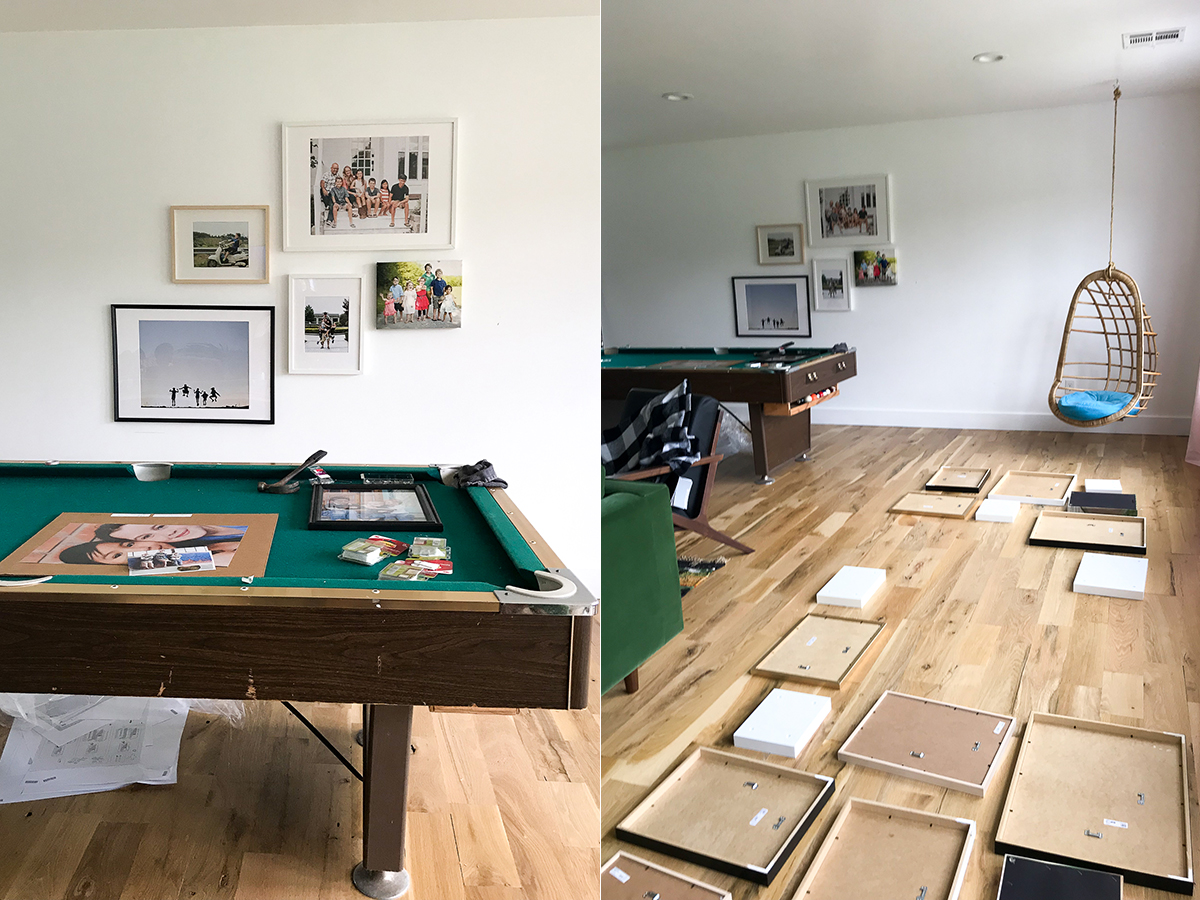
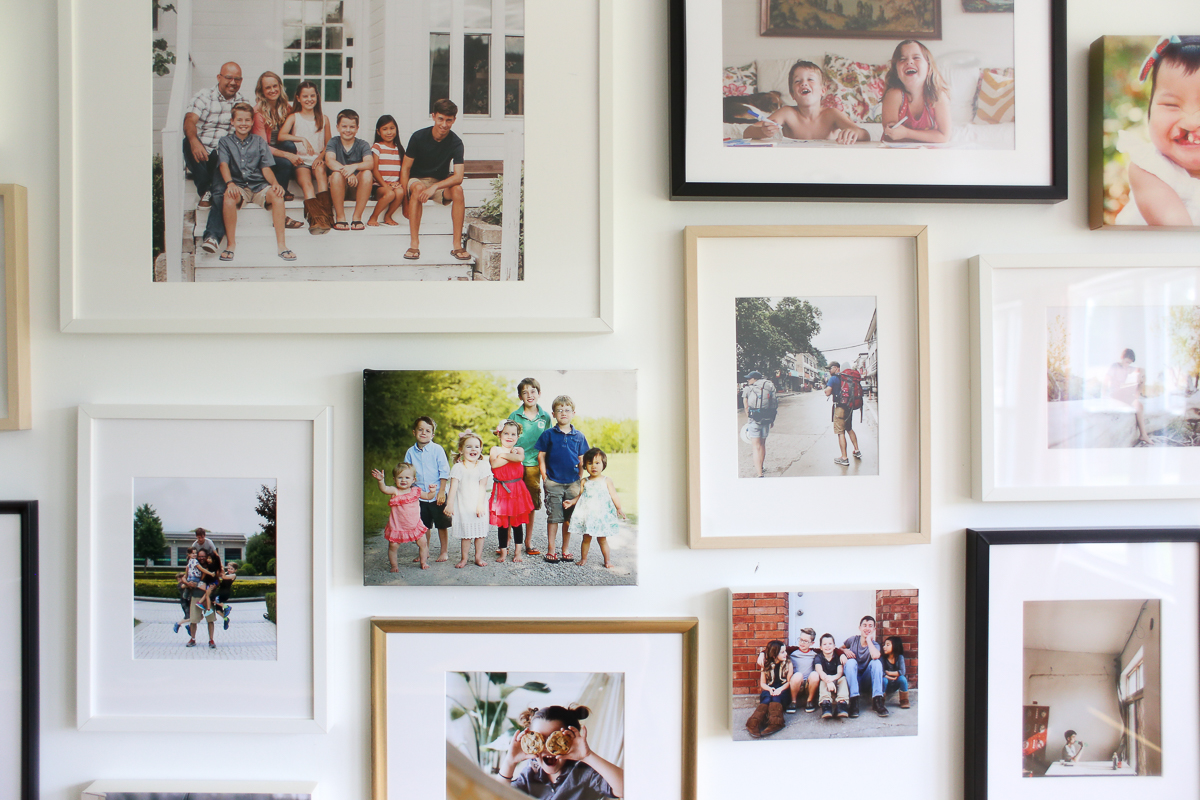
You can really see in this photo how the spacing is just a bit different throughout the wall. This wall makes me so happy. I plan on adding to it over the years. I’m hoping to go floor to ceiling, front of the house to the back of the house with framed photos.
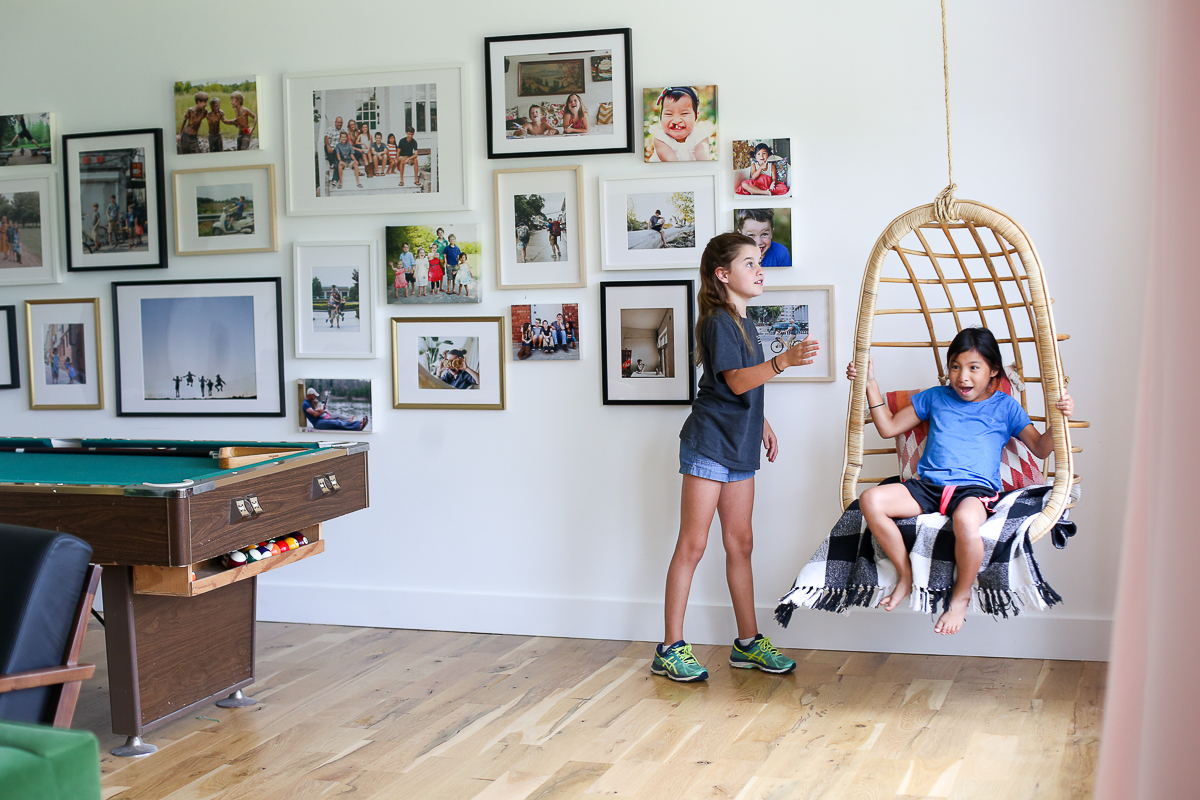
I want to mention the IKEA frames are not awesome quality. The glass is plexiglass – which is actually really great next to a pool table. Because it isn’t real glass or wood the frames are also really like which makes hanging a bit easier.
UPDATE: Right after I posted this I saw that Mpix.com is running a 25% off on all wall art until 8.21.19 – talk about perfect timing! Go check out that sale and get your photos printed!!
______________


