Counters & Cabinets
After posting the tour of our finished kitchen, I received several questions about our cabinets, counters, and the process for it all. Hopefully, this post will answer most of those questions!
First, I knew I wanted lots of windows and ZERO upper cabinets. I am 5’1″ and have always had to climb on counters to reach things in upper cabinets. We were designing this kitchen to meet the very practical needs of our family. We didn’t design it for re-sell value or for any other reason than what would work best for us.
Once the wall were up, we did a super professional process of deciding how big the island would be when finished. By professional process, I mean pulling in old cabinets and guessing what would work…then drawing it on the ground with chalk. It is incredible that all this actually came together considering how ‘not-professional’ our approach was!
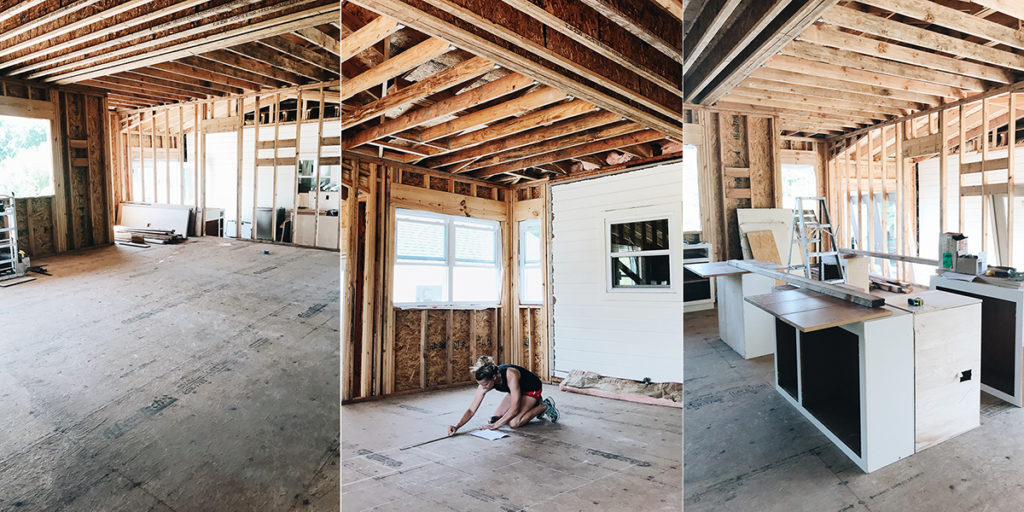 Our kitchen is the most active room in our home. It is where we do school and it is where everyone gathers all day. We knew we could not skimp on the cabinets, but needed ones well made that could stand up to our active family. I looked into a few online companies, but ultimately decided we really needed someone local to come out, measure, and custom build the cabinets to the space. We chose Architectural Interiors of Oklahoma based on my parents’ recommendation. After the cabinets arrived, we had them painted a basic bright white.
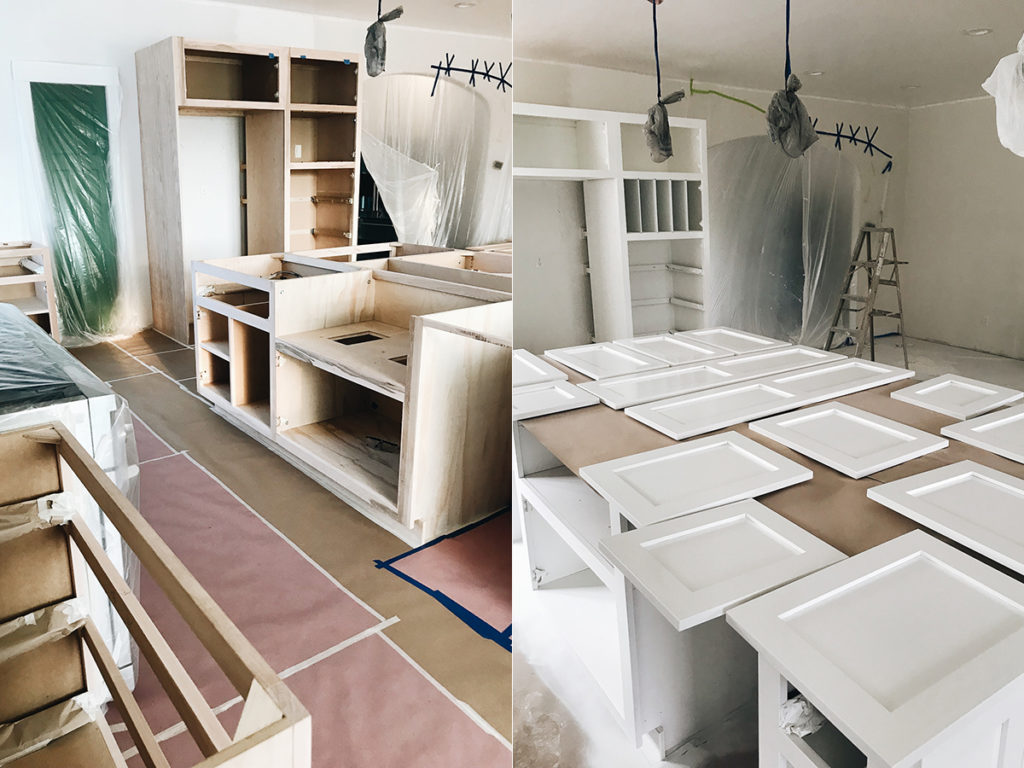 Once the cabinets were painted, I installed the knobs right away (to keep messy hands off the white!). To install the knobs, my dad gave me a piece of plexiglass to create a custom template. I drilled holes in the template and was able to use it to drill into the drawers and doors to get the spacing correct.
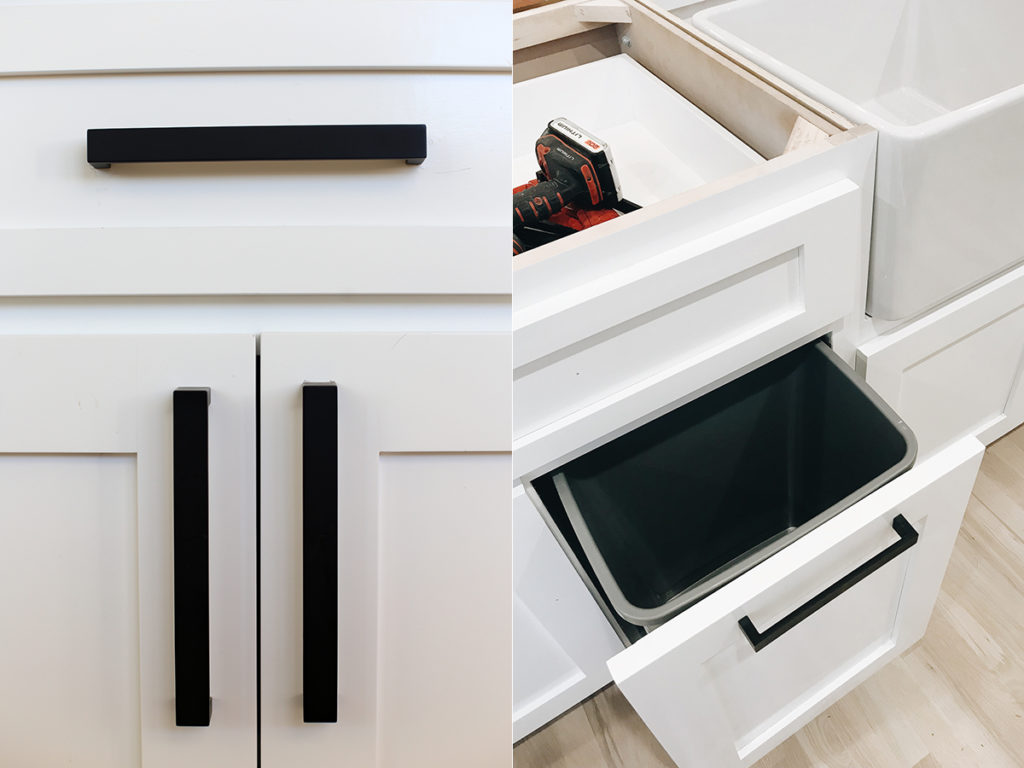
For knobs, we chose the 7″ Modern Metro Pulls from Top Knobs.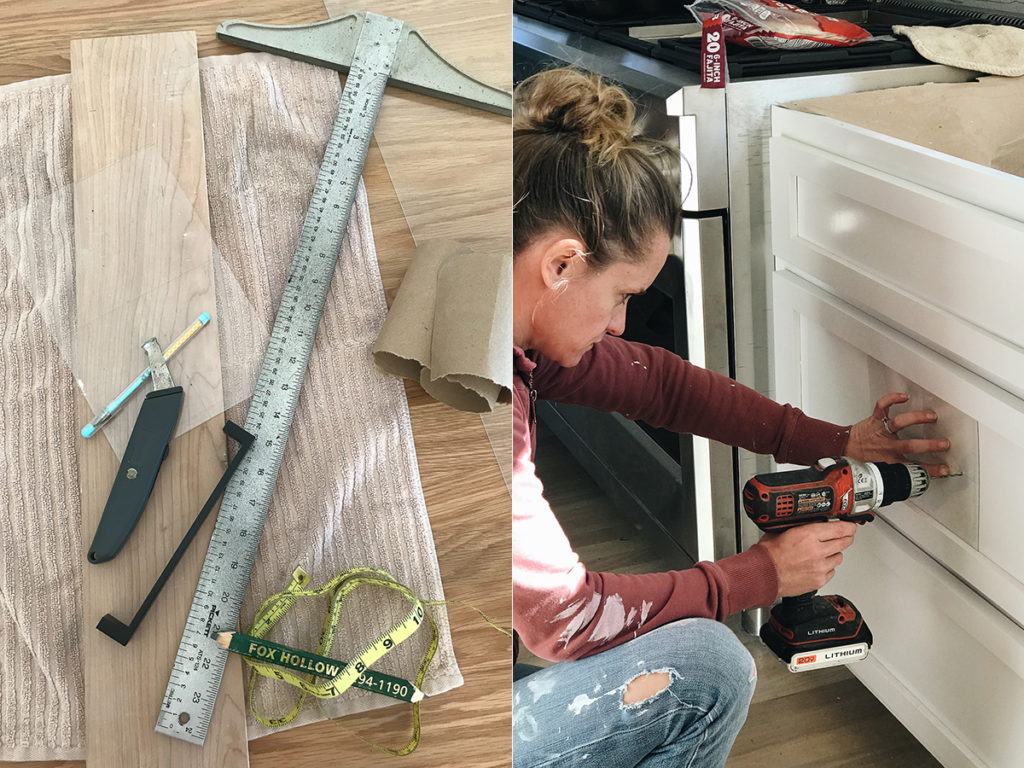
 Our original idea was to pour concrete counters, but my dad and I quickly realized it was going to be too big of an undertaking and wouldn’t create the finished results we had in mind…and we would have probably messed up the cabinets in the pouring process.
I wanted a clean, grey finish and something super durable. As a result we chose to go with quartz from Caesarstone in Flannel Grey. We worked with Stonecraft International in Tulsa for the fabrication of the countertops.
It was pretty incredible to see all the different surfaces available to cut for counters…everything from petrified wood to stunning marble.
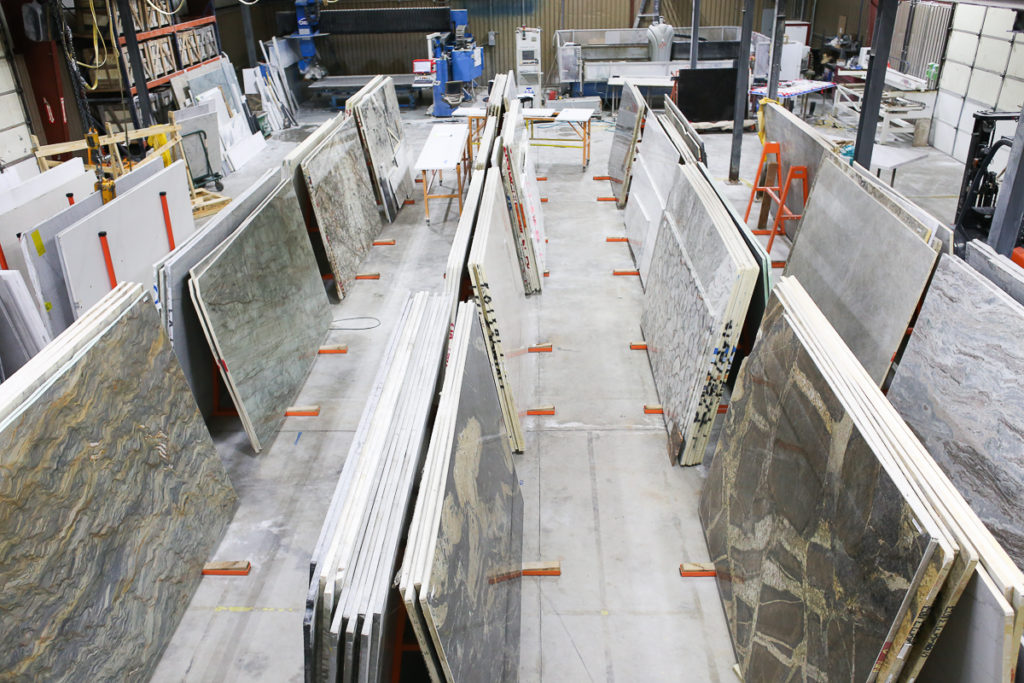
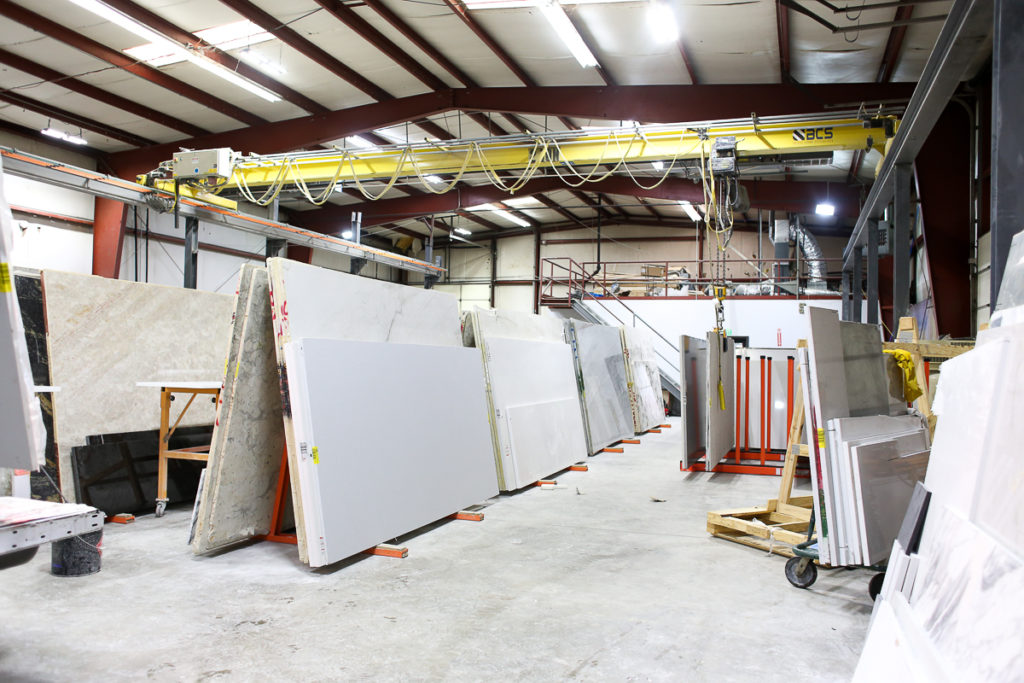
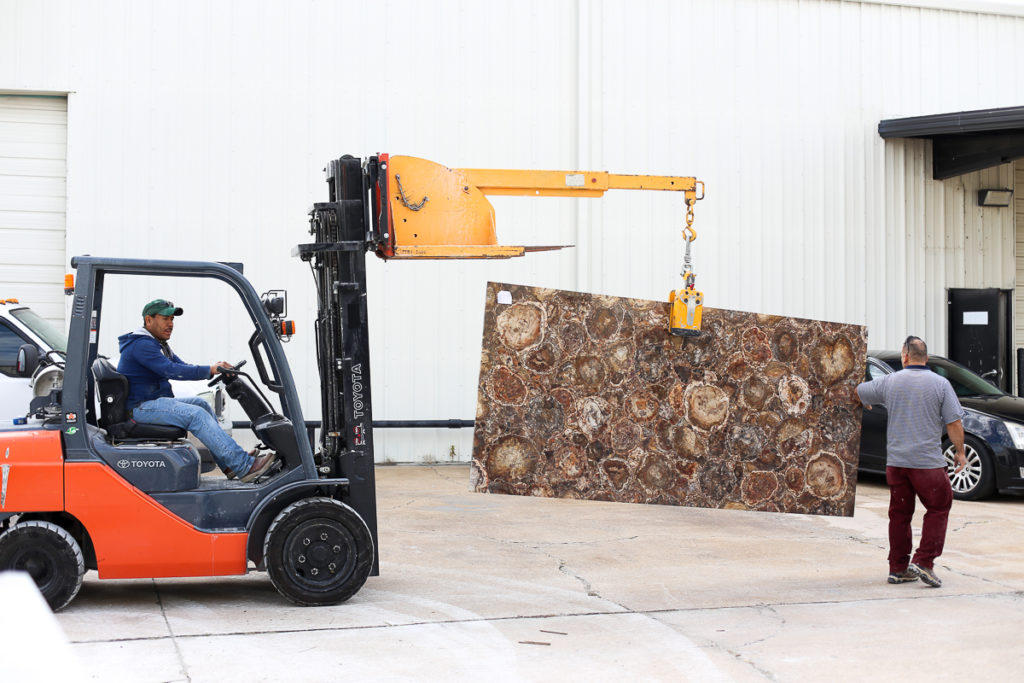 The little grey slabs in the photo below are ours!
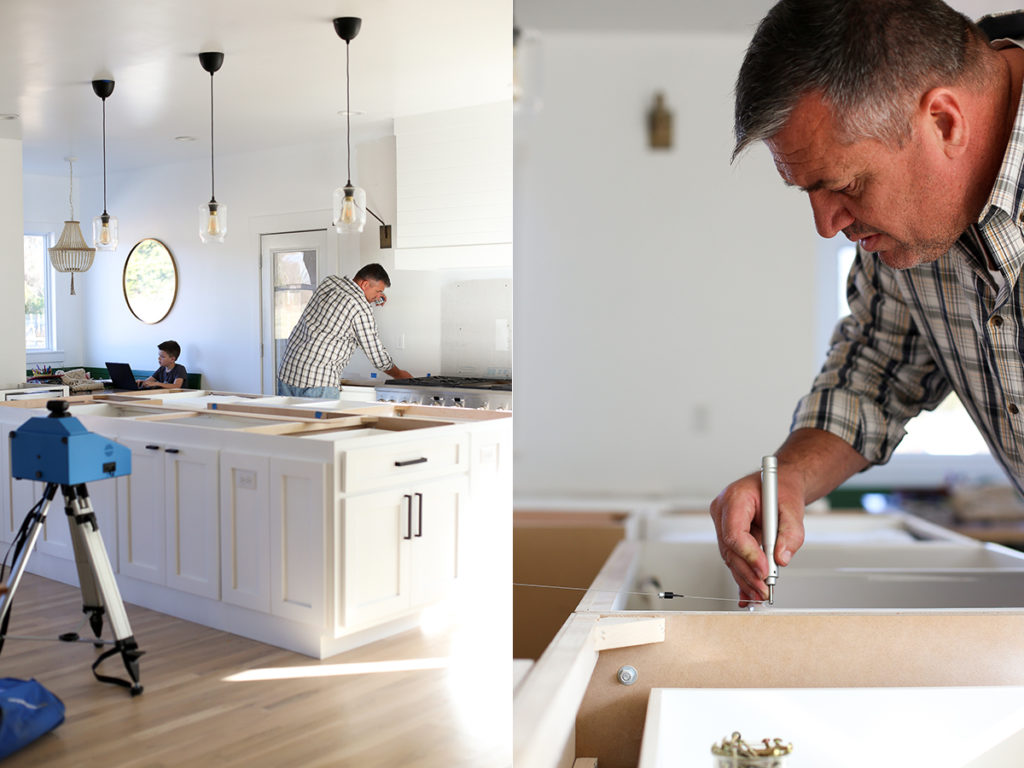
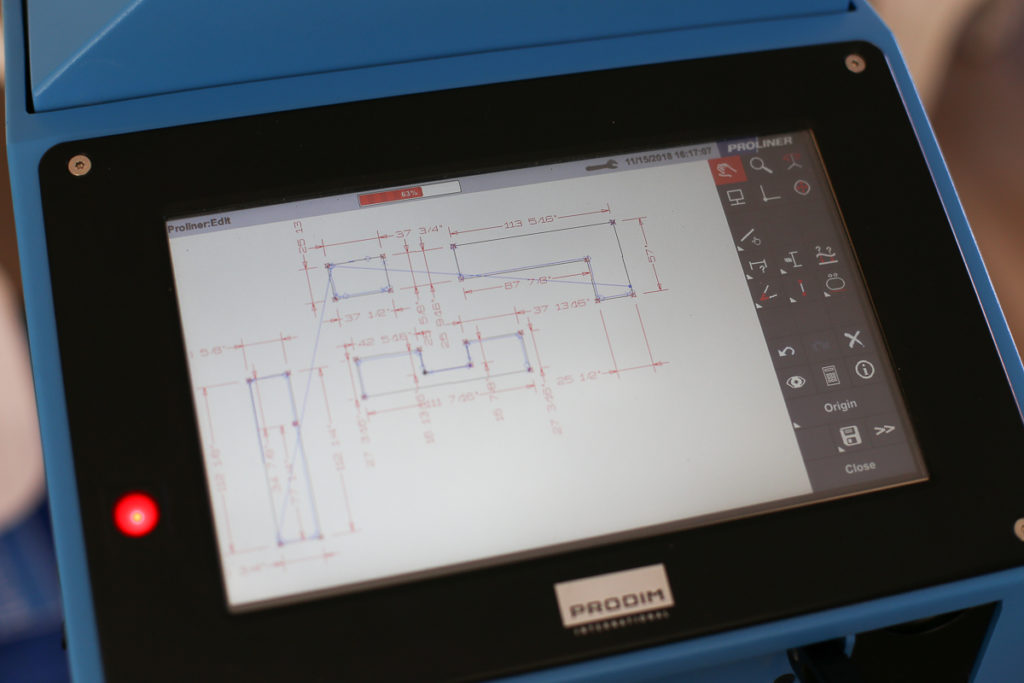
 Stonecraft came out to our house to measure prior to cutting our slabs. I can’t tell you the name of the machine, but it was very cool to see how they custom measured every angle…and not so cool to see how many newly built walls were not square!
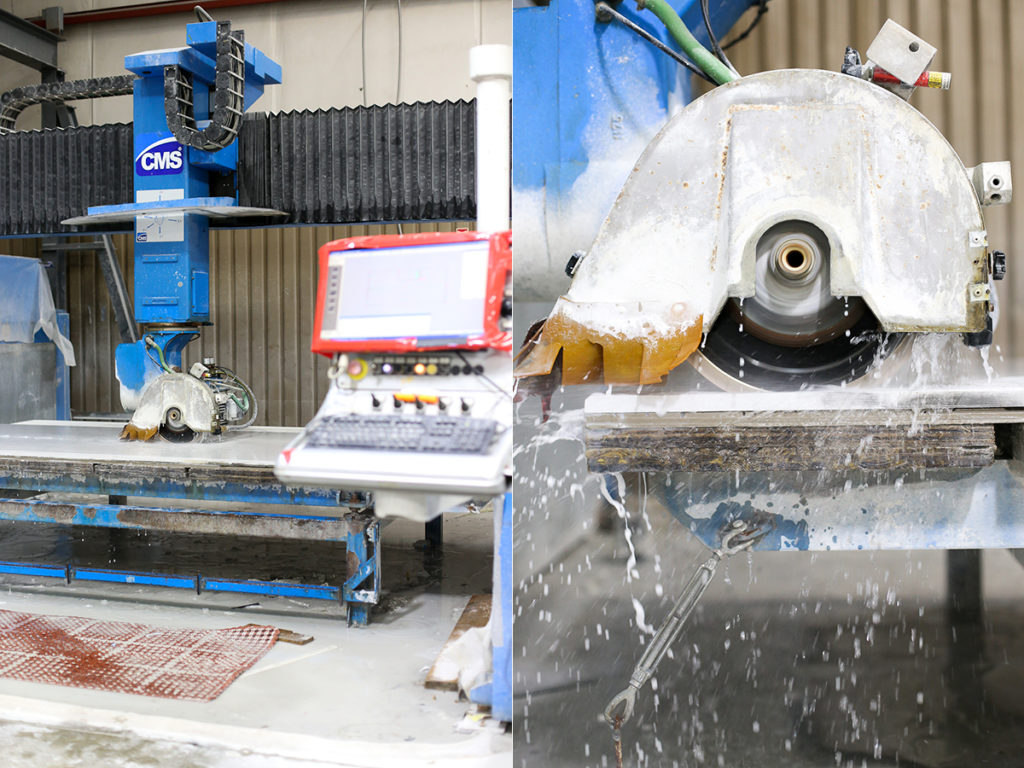
 We asked if we could come out in person to watch when they cut our Caesarstone slabs. Thankfully, they welcome us into the warehouse and we were able to see this step in the process.
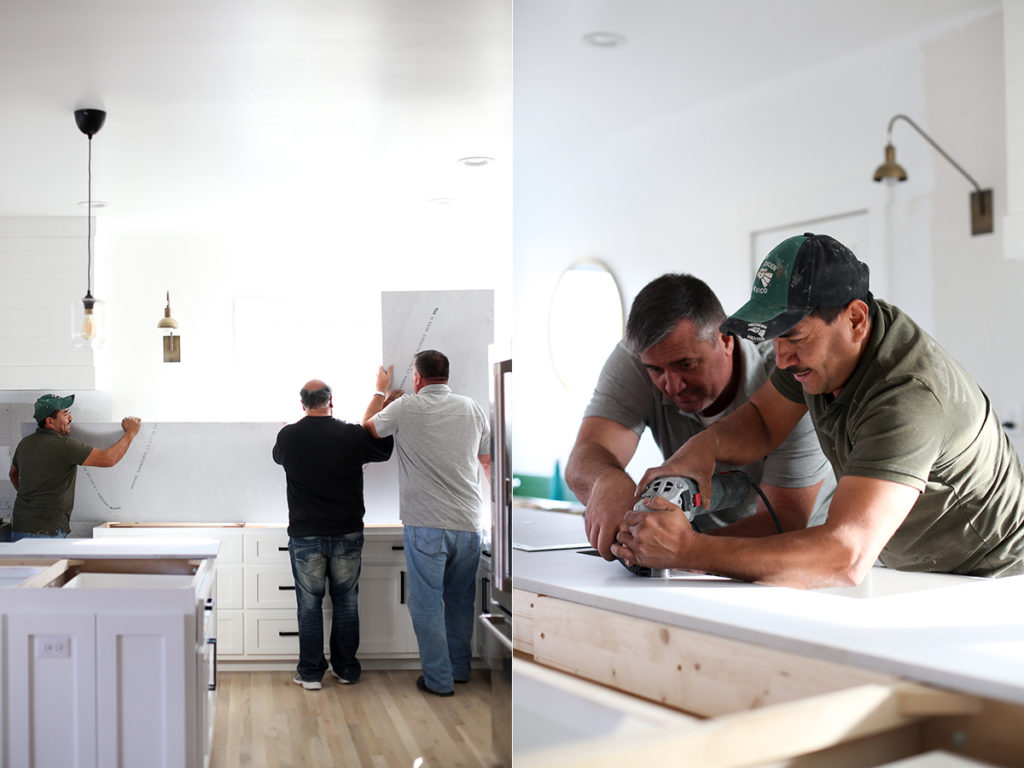
  And installation day!!!
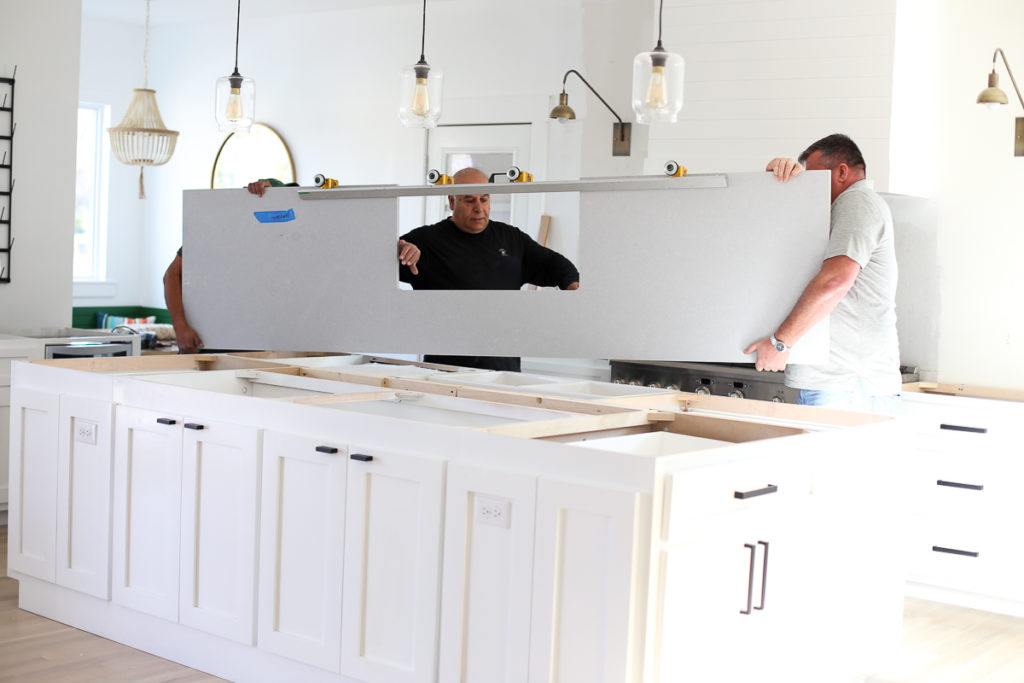
 Due to our super not professional way of deciding how big the island would be…we picked a size that was too big for the quartz we chose. We had to come up with a Plan B, since we could not use quartz for the entire island. Thankfully, my dad is always ready to solve my problems.
My dad used leftover wood flooring from upstairs to create a butcher block style counter on half of the island. It came out so cool and adds some warmth to the room.
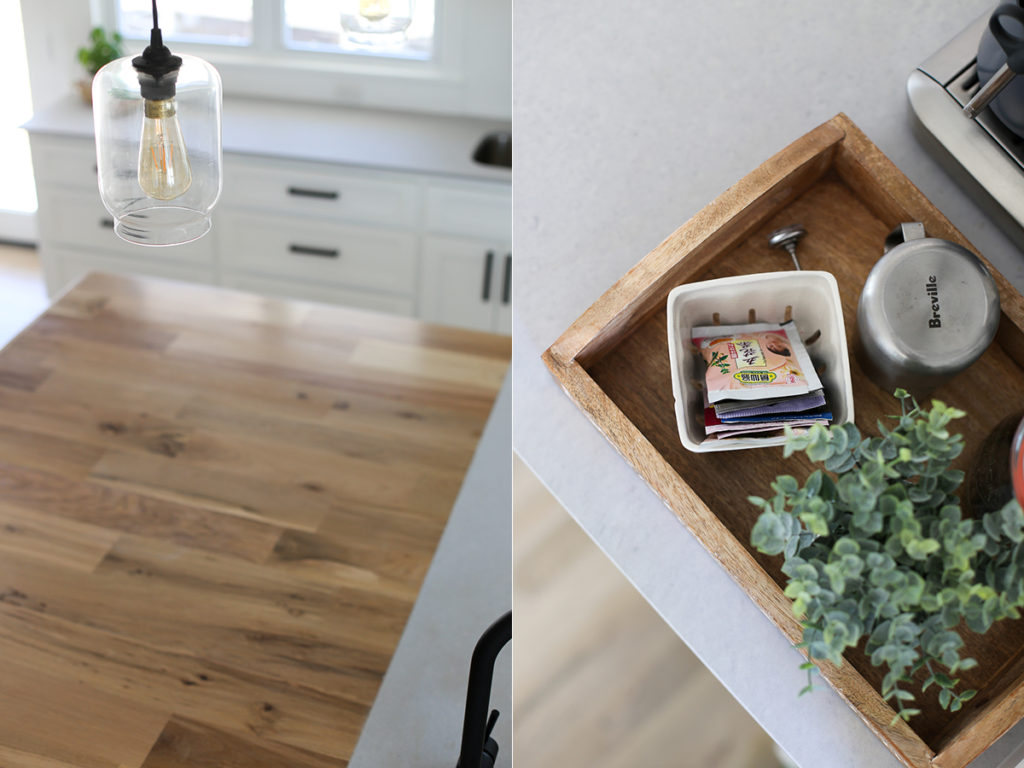 And a ‘before’ the counters and an ‘after’:
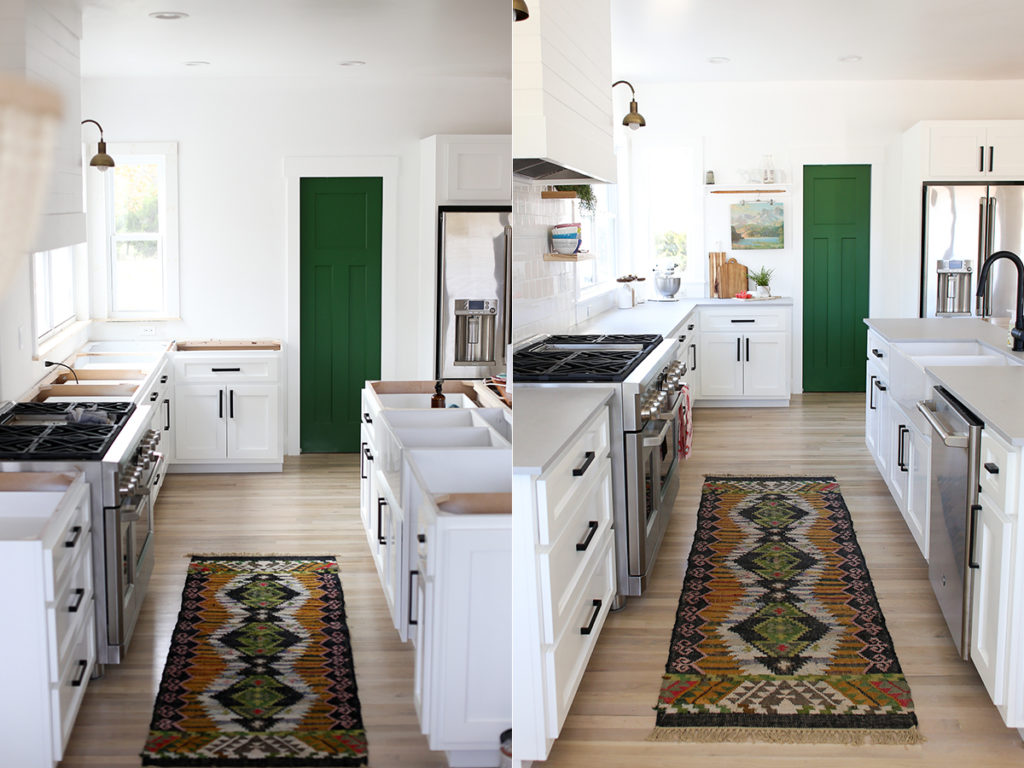 And a ‘before’ the cabinets were installed (using old cabinets as a place holder) and an ‘after’:
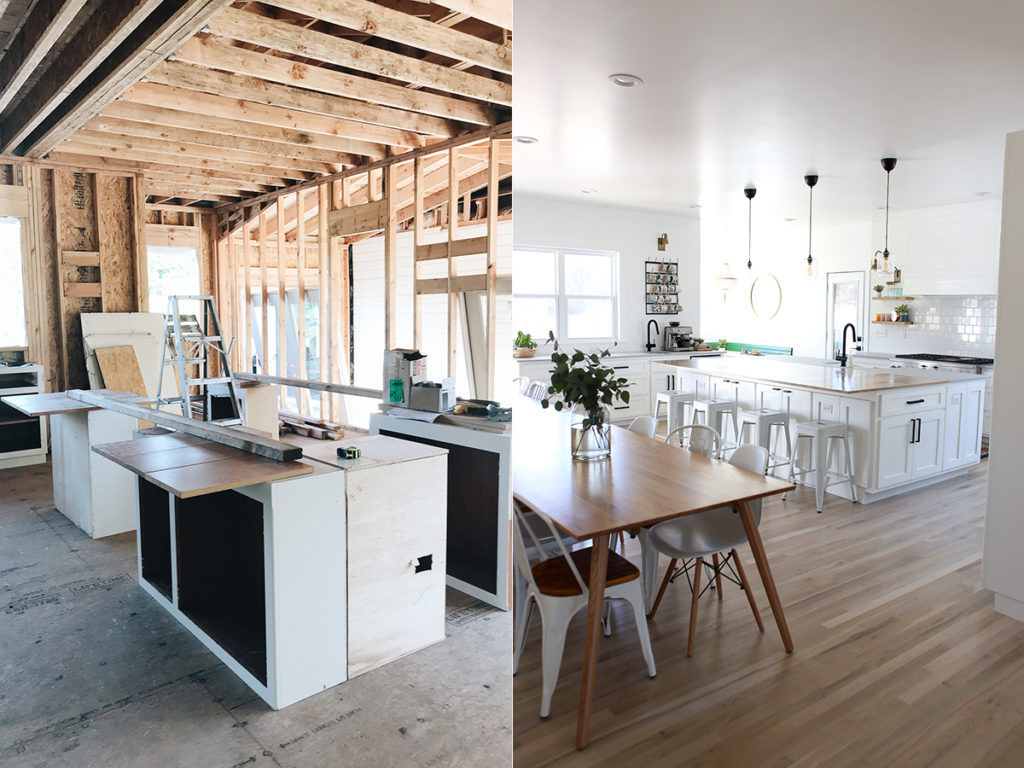 This whole building process has been a learning experiment for us. We got some things right, messed up a few things, cried a few tears, and celebrated a lot.
In the end – we have a space that fits us and enough counters to make all kinds of cookies!
 Our kitchen was recently featured on The Interior Collective. You can click on the image below to see that post:
________________


