Our Tile Fireplace {aka my fancy space heater}
Another spot in the addition is finished…about 700 more to go! 😉
When we drew up designs for the kitchen, well the whole addition, we made them very specific to our family and how day to day life plays out for us. Practical and functional trumped any design rule. We built for what made sense to us…and what worked with the limitations that were already in place.
In an ideal world, I would have added a wood burning fireplace. It is what I grew up with and despite all the mess that comes with them – I am such a fan. Unfortunately, the only way we could have added one was to put it in the master bedroom or lose windows in the kitchen. We could only afford to add one fireplace and I didn’t want it in the master (if we could have added 2, I totally would have done one in there!)
As a result, we opted for a gas fireplace and placed it near the dining tables. I call it my fancy space heater. I also claimed the seat right in front of it and have a pillow nearby to sit on when I want to sit really close!
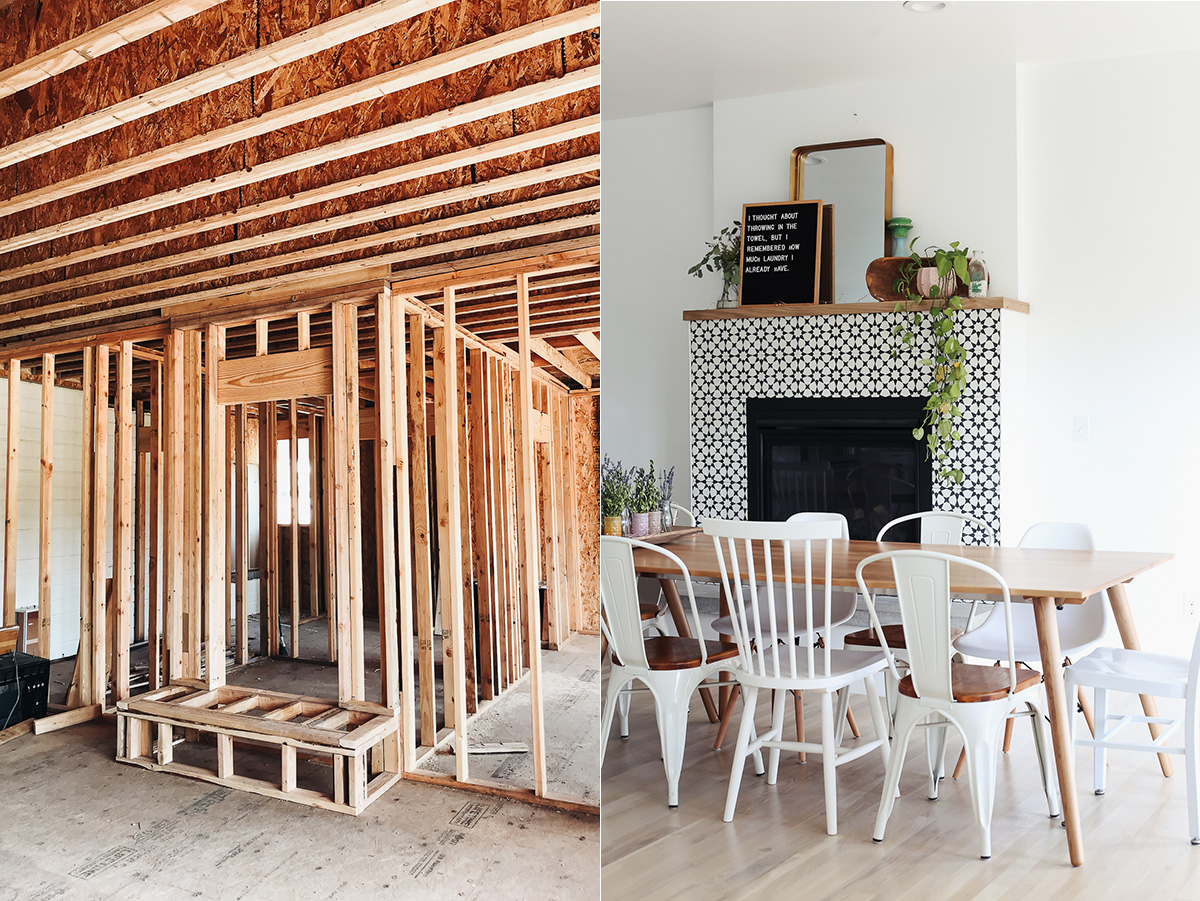
Like all parts of this project, I think seeing the process is just as important as sharing the ‘after’ images. We didn’t wake up one day to a beautiful fireplace in our kitchen – it was months of work and totally worth it.
Key components I wanted:
- Medina 8×8 cement tile from Wayfair
- Concrete seat raised off the ground
- For it to extend out of the wall a bit
- Wood mantle (my dad made from leftover flooring pieces)
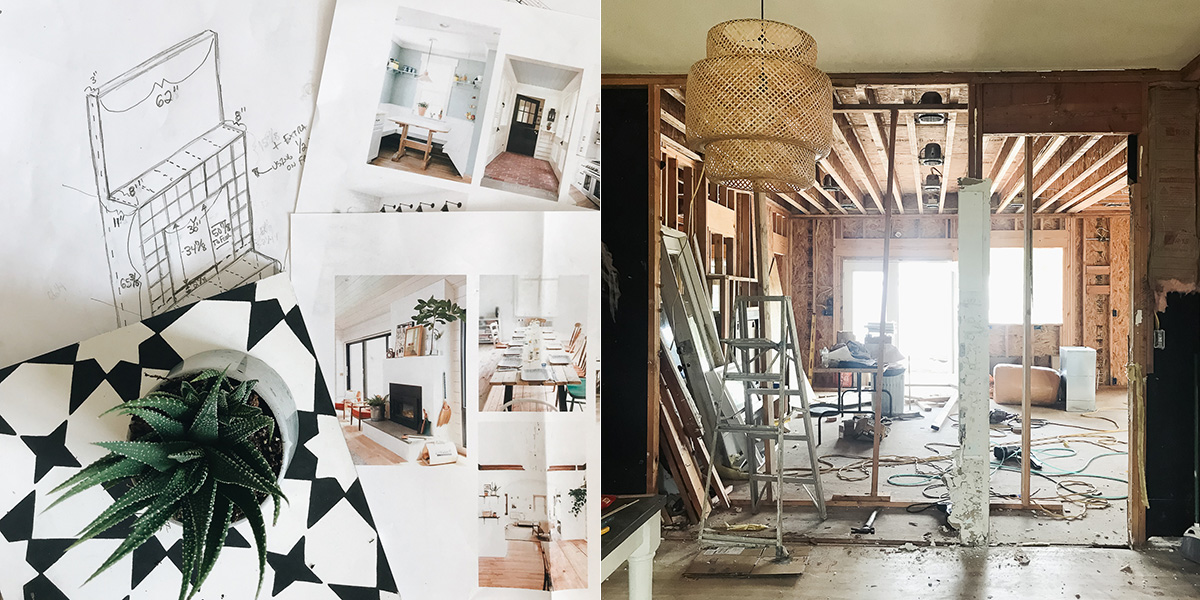 It was such an ordeal figuring out the framing for the fireplace to get the tile to fit exactly. It is a good thing my dad is awesome at math. I think we re-framed the whole thing twice trying to get it all right!
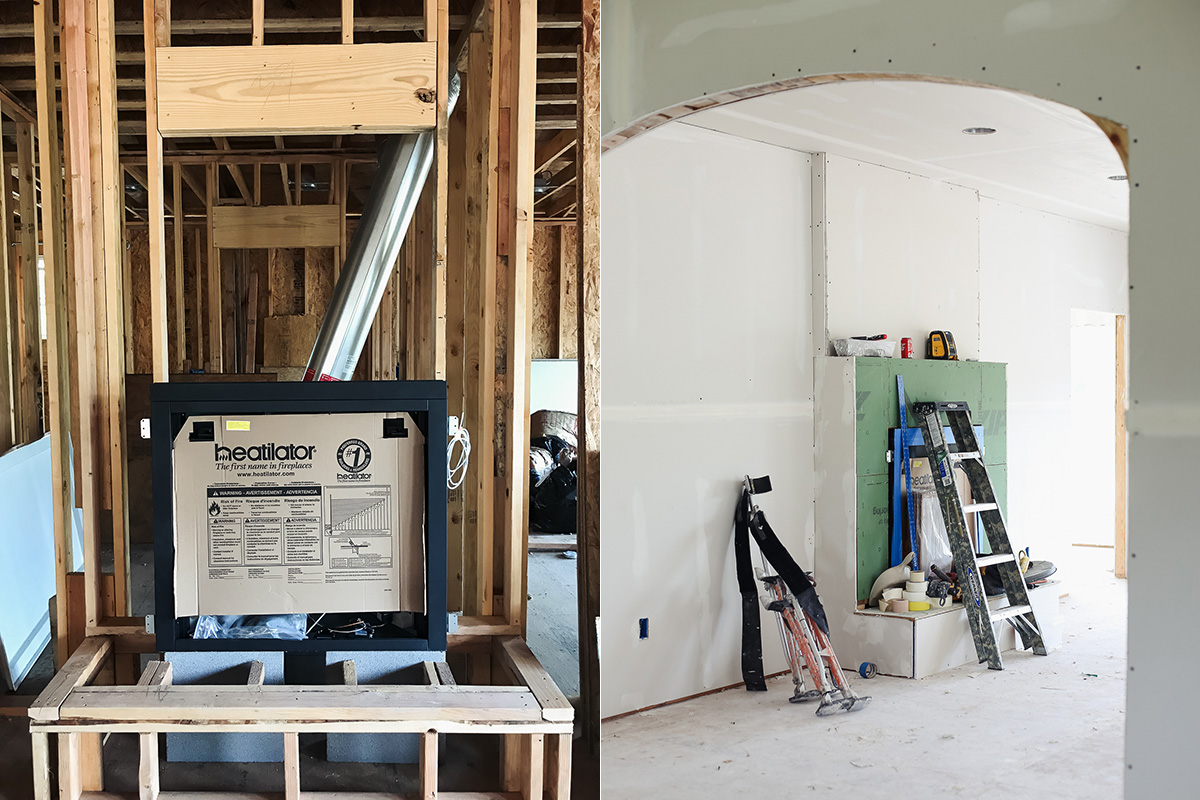 Once it was framed and the drywall was installed, we began the process of building the concrete seat. When I sit on the fireplace now I often think back to when we had the outdoor hose stretched into the kitchen to mix the concrete.
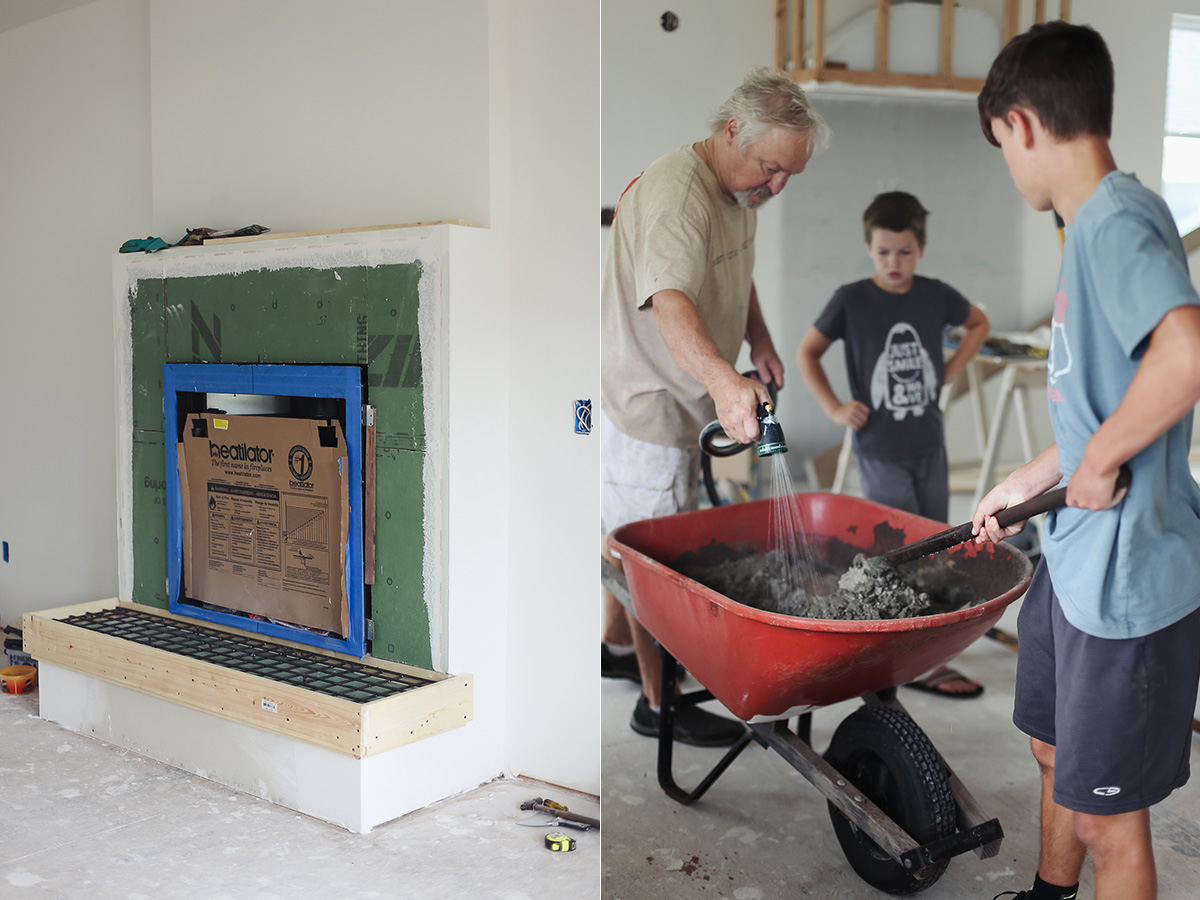
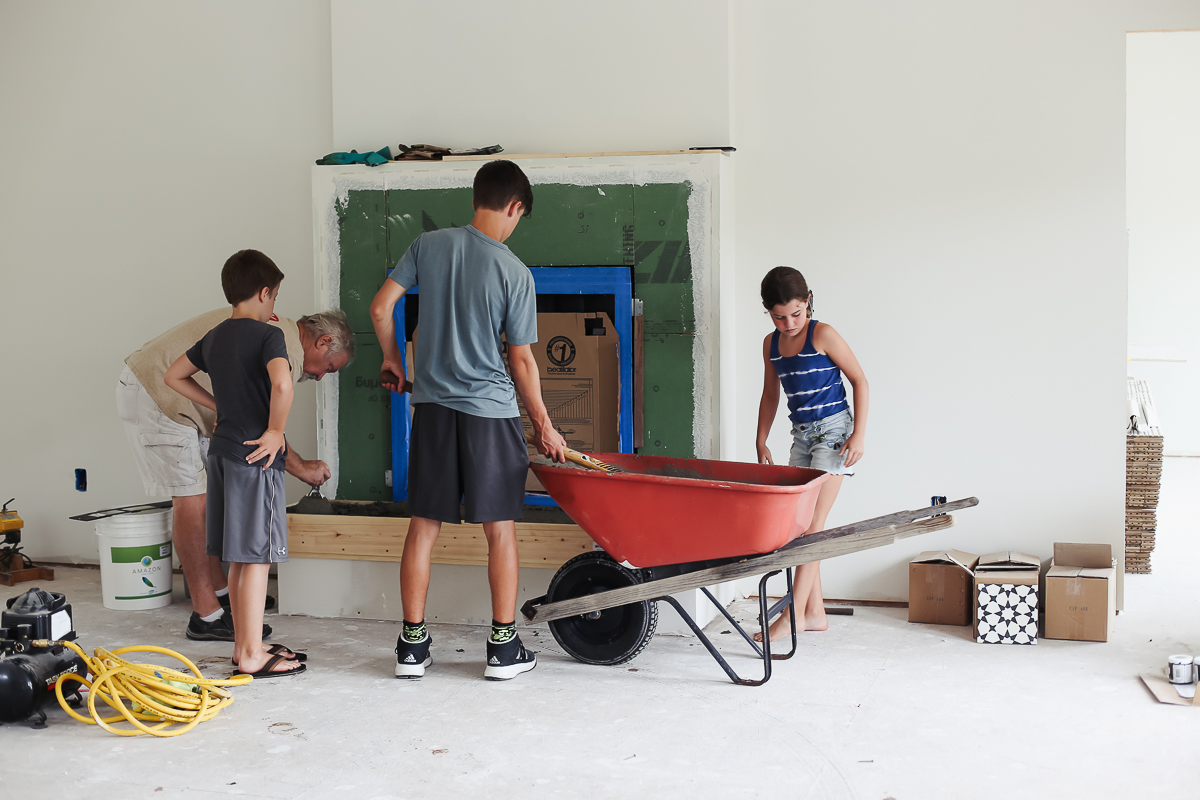
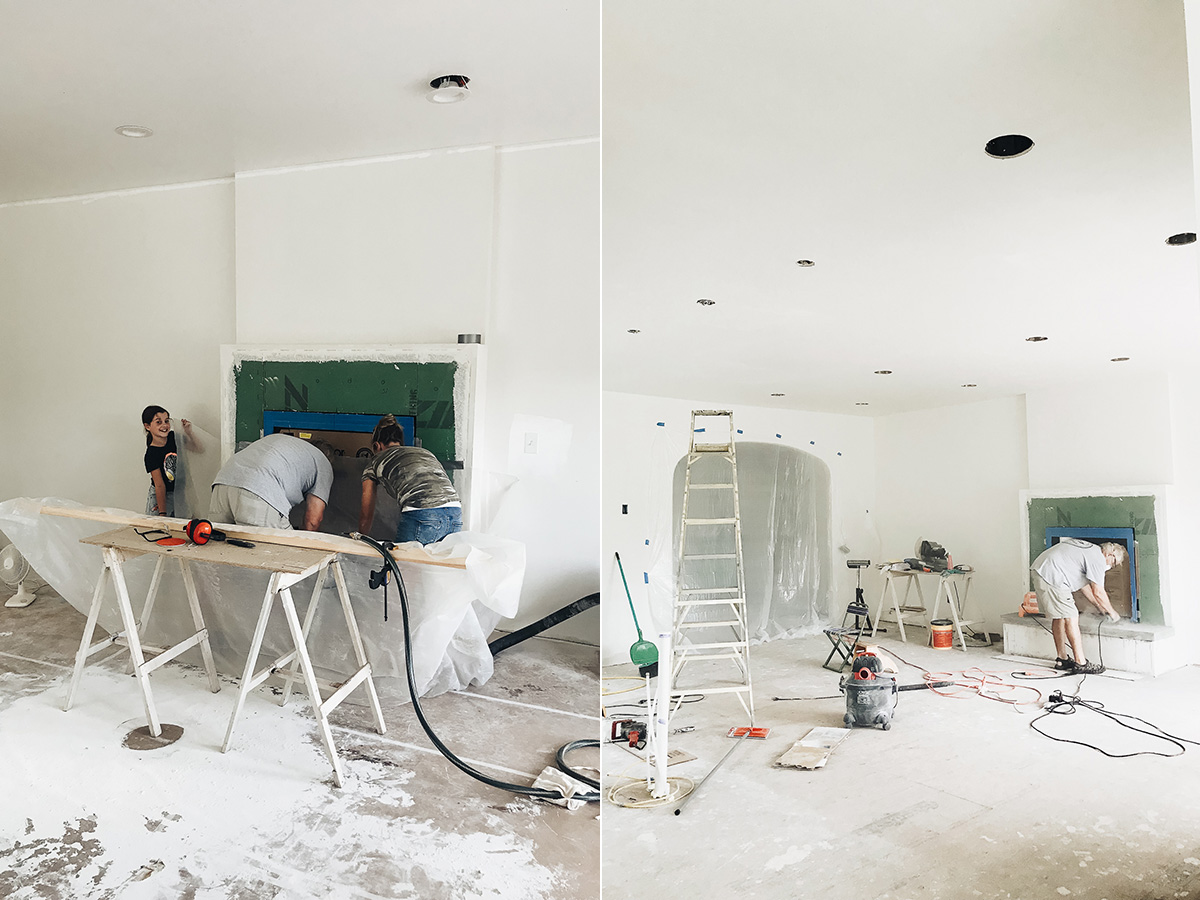
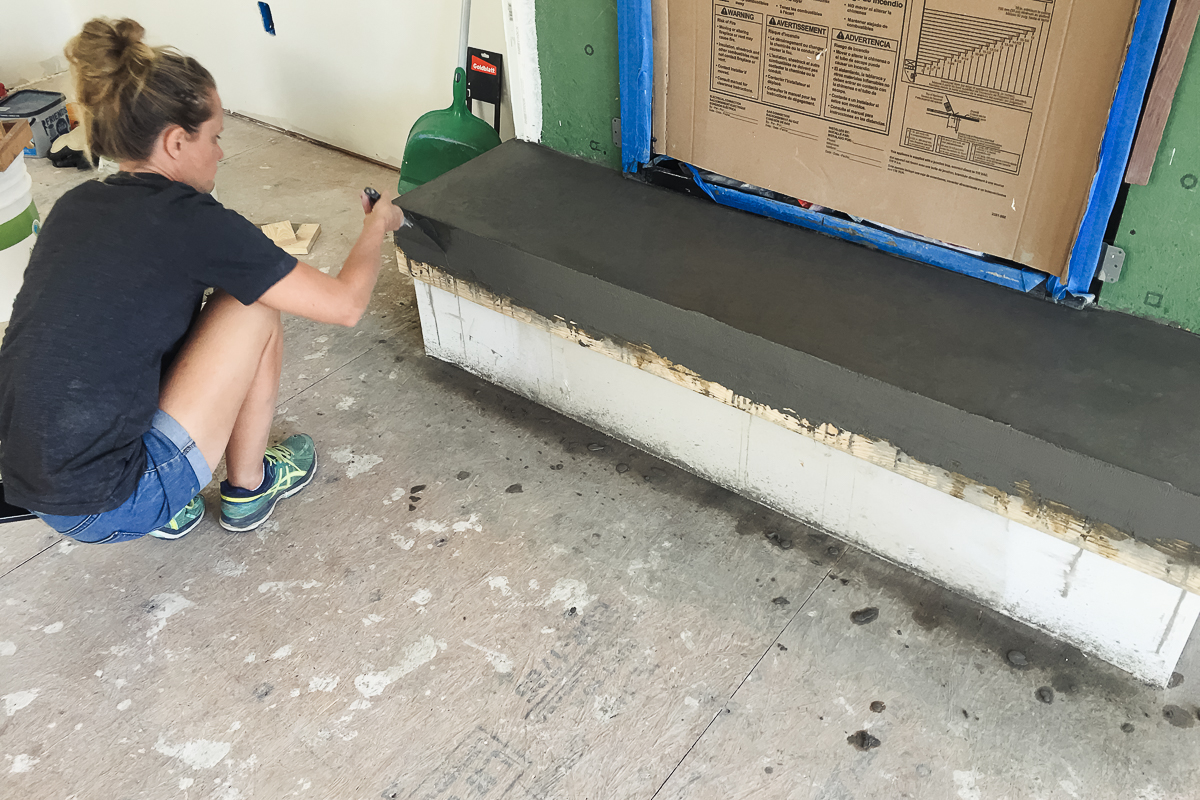 After the seat was poured, we had some work to do with the grinder – such a mess!
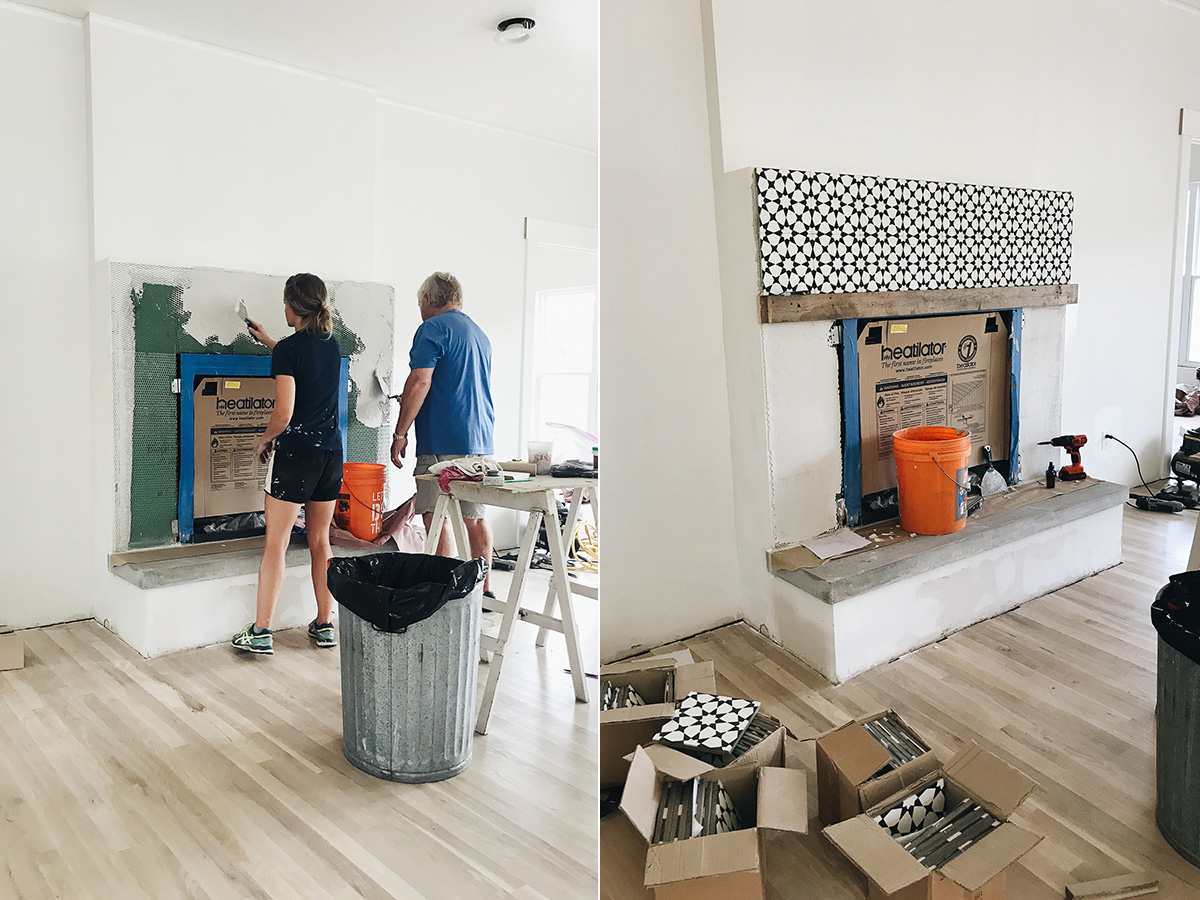
  And then we added the tile. It all looks so fast as I write this post…it did not all go this fast!
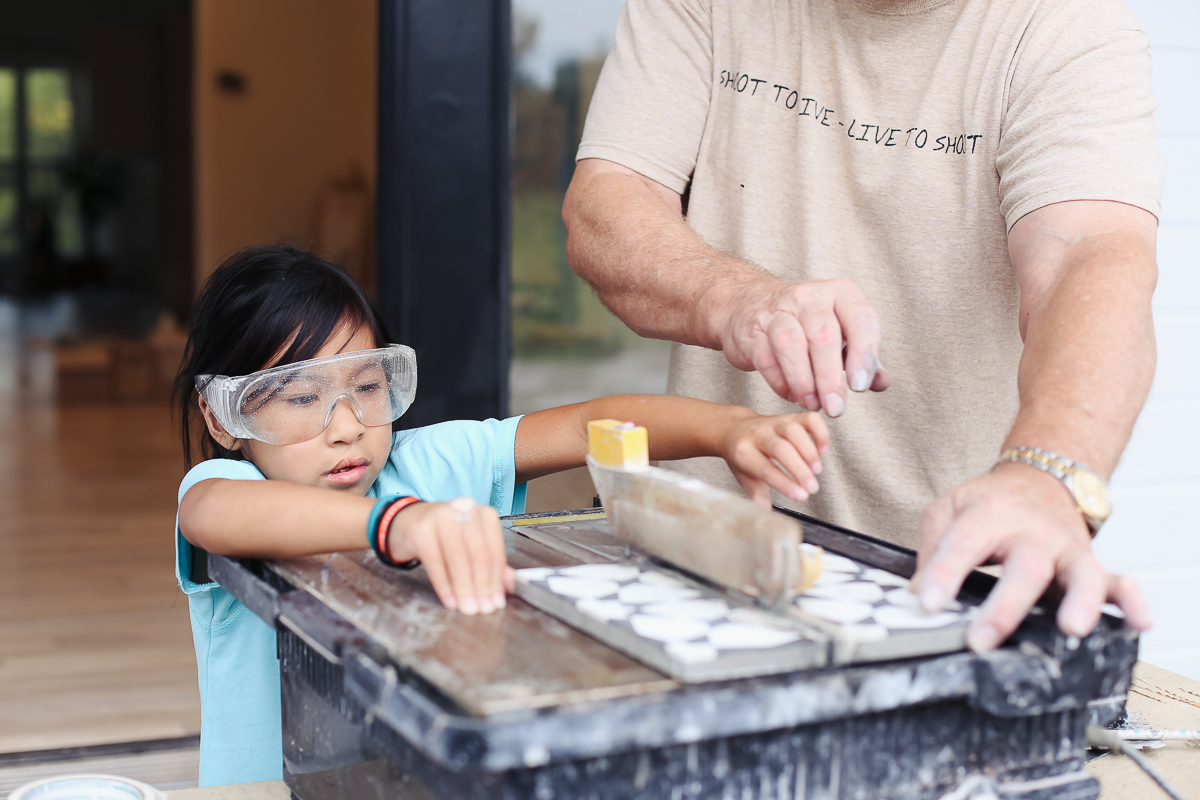
 She learned to cut tile! I’m not sure if she will remember her role in building the fireplace, but if she doesn’t I’m glad I have pictures to show her one day.
 Once the tile was on, my dad built a mantle from the leftover oak wood flooring.
Sidenote: he has used leftover flooring for the breakfast nook table, kitchen shelves, the fireplace mantle, and part of the island countertop!
And the somewhat finished fireplace. I am working on a painting for the mantle and still figuring out all that I want to put up there.
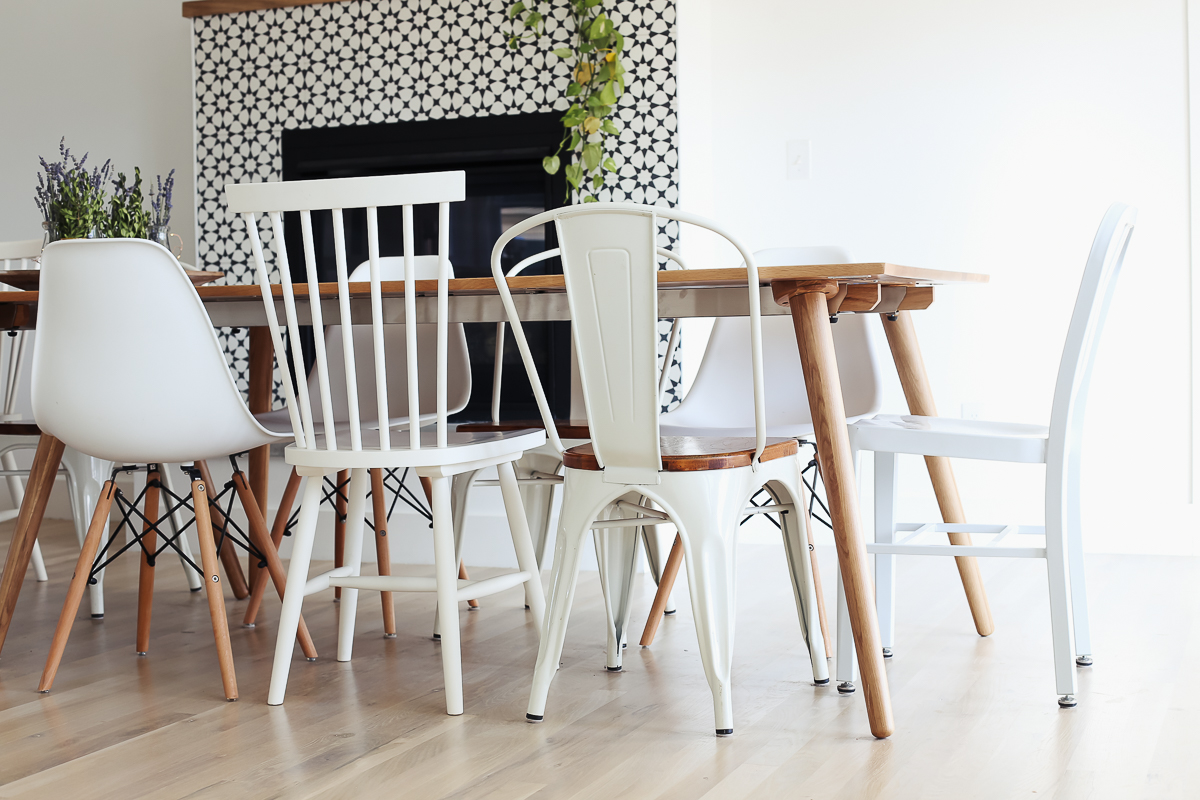
 When we added the longer tables, we needed more kitchen chairs. Our original 6 metal & wood chairs were from Wayfair. We added more mismatched chairs – all also from Wayfair. (links below)
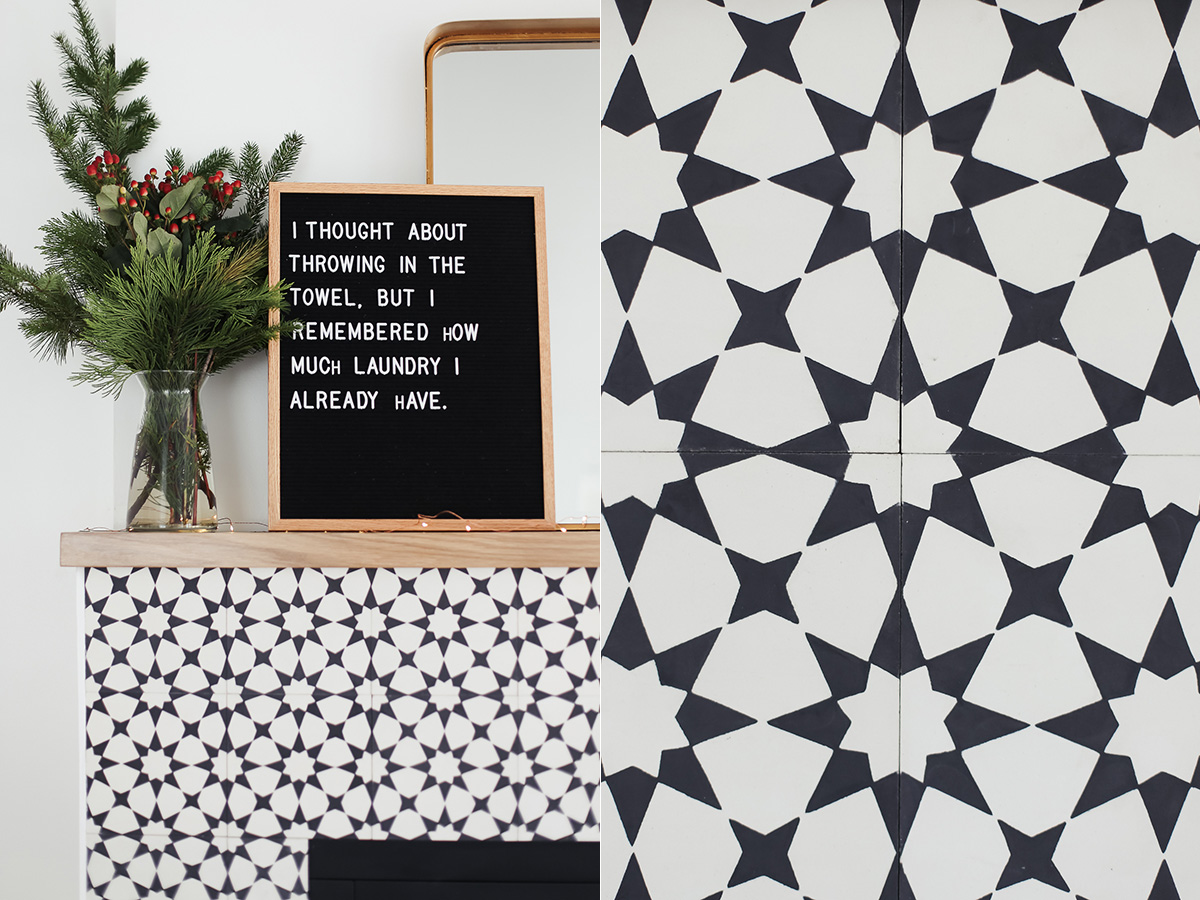
 Our letter board…accurately describing how I am feeling at this stage of the addition process. Ready to throw in the towel, but definitely cannot!

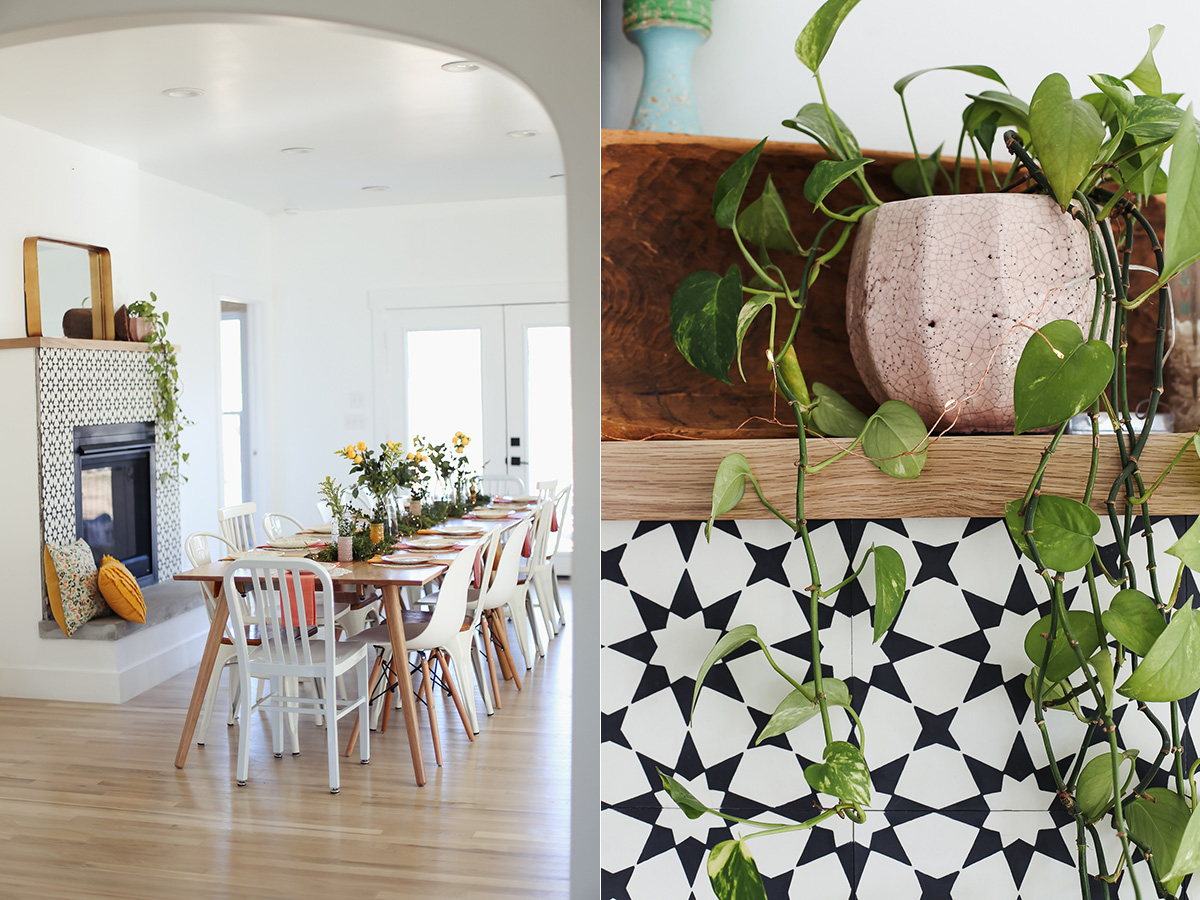 I am incredibly grateful for the chance to work with Wayfair on several areas of our addition. Some of the products I list are ones we purchased from Wayfair, some are ones Wayfair provided. And, YES!, I am still pinching myself that I had the opportunity to work with them on so many aspects of this project!
Sources:
_________________


