shooting inside a gym {photo tips}
With 5 kids all playing this season – basketball is pretty much the only thing we do on Saturdays. On the weekends, I have been adding basketball pictures to my Instagram Stories. To some people that sound terrible. For us, well, we spend 6 days a week basically home all day. Having our Saturdays filled with activity and ample time with friends is welcomed.
As I have been posting pictures, I have also been getting numerous comments and questions about how hard indoor photos are in gyms. I hear you. It is hard! It is especially hard trying to capture action!
I thought I would share a few shots from our weekend and include settings, how I get the shots, and a some tips.
As a disclaimer:
It needs to be noted that I have incredible gear for shooting inside. My Canon 6D camera handles high ISO settings wonderfully (meaning I don’t get a lot of grain in my shots in low light with high ISO) and I have lenses that shoot ideal aperture settings for low light. The odds are definitely in my favor.
Lens:
The lens you use will make a huge difference in your ability to get sharp indoor shots. Fortunately for me, I still have a Canon EF 70-200mm f/2.8L II IS USM lens from the days I shot weddings. This lens allows me to zoom AND use a f/2.8 aperture setting, which is ideal in low light. Most zoom lenses do not allow you to use f/2.8, so that makes things a bit more challenging.
Settings
Because the lighting tends to be consistent inside the gyms, I don’t change my settings often. I pretty much set everything and leave it alone. You will notice my ISO is super high and I leave my aperture on f/2.8. Those settings allow me to increase my shutter speed, which is essential for capturing indoor action (and action in general)
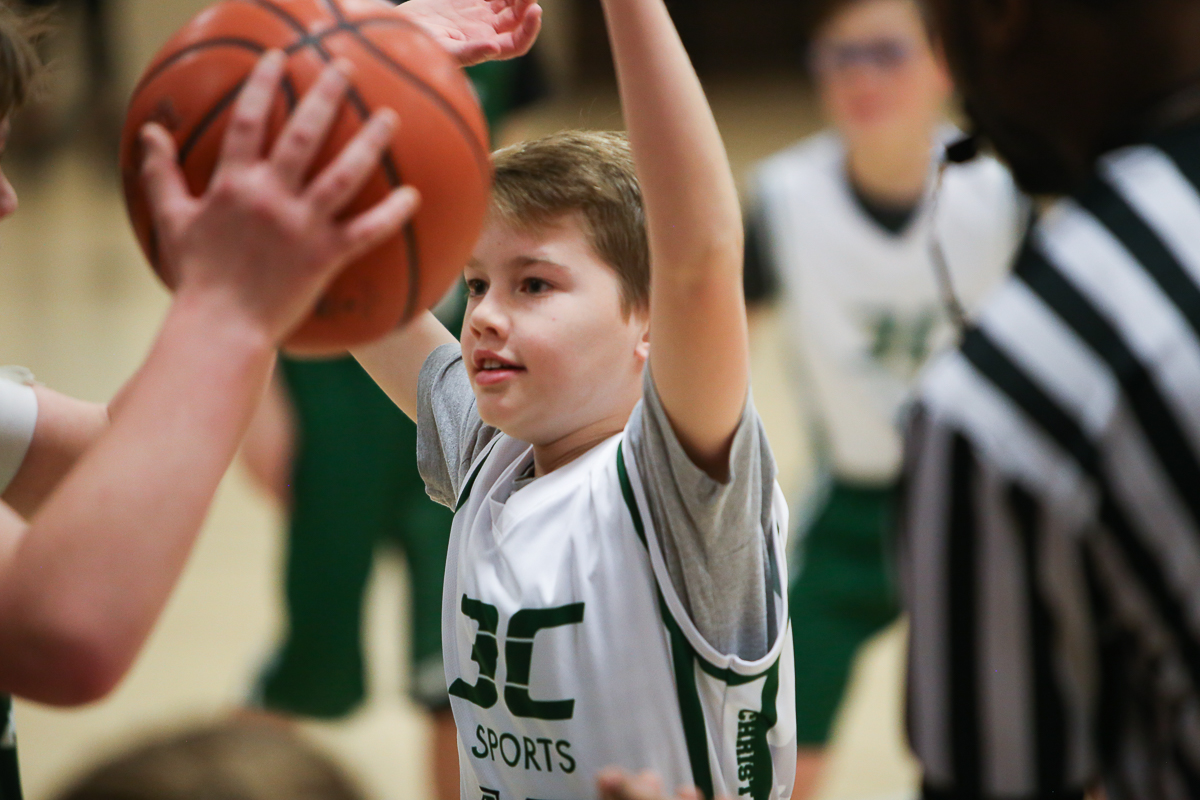
ISO 3200, f/2.8, 1/320, 70mm
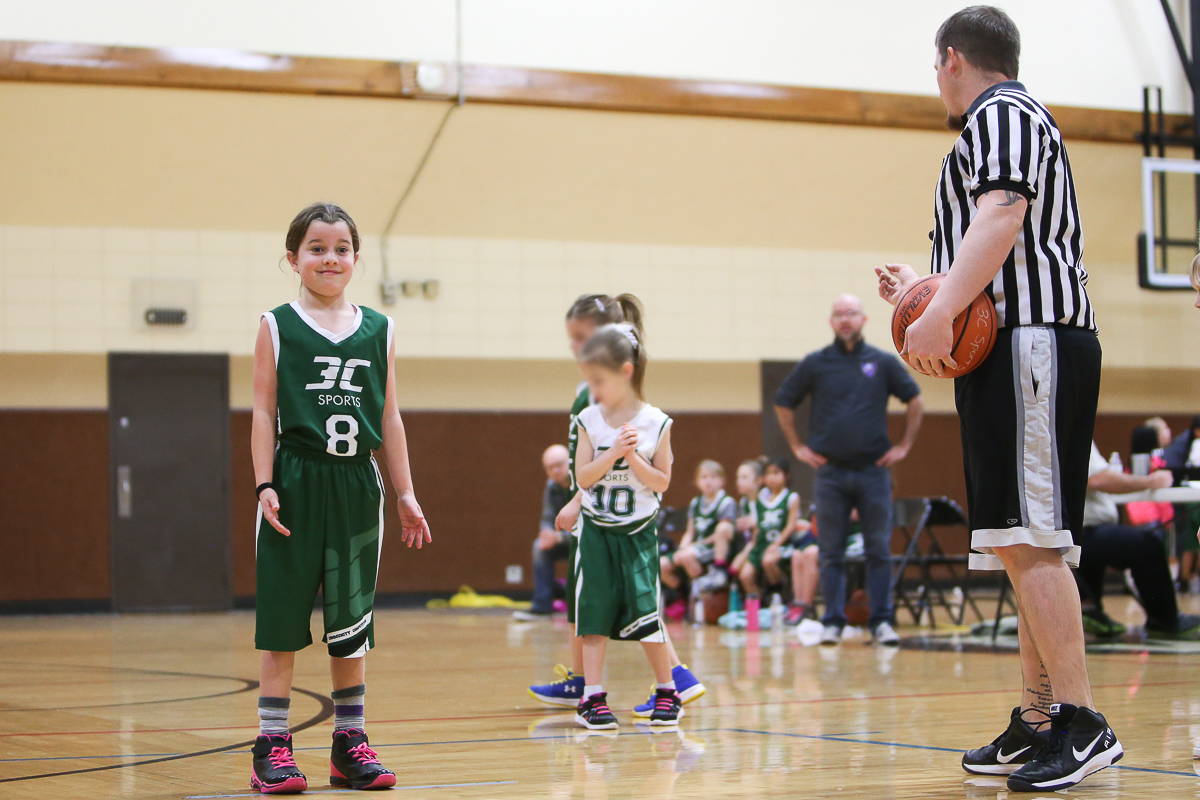 ISO 3200, f/2.8, 1/320, 80mm – ISO 3200, f/2.8, 1/320, 135mm
(These were both shot from the same position. I was sitting on the floor in front of the bleachers)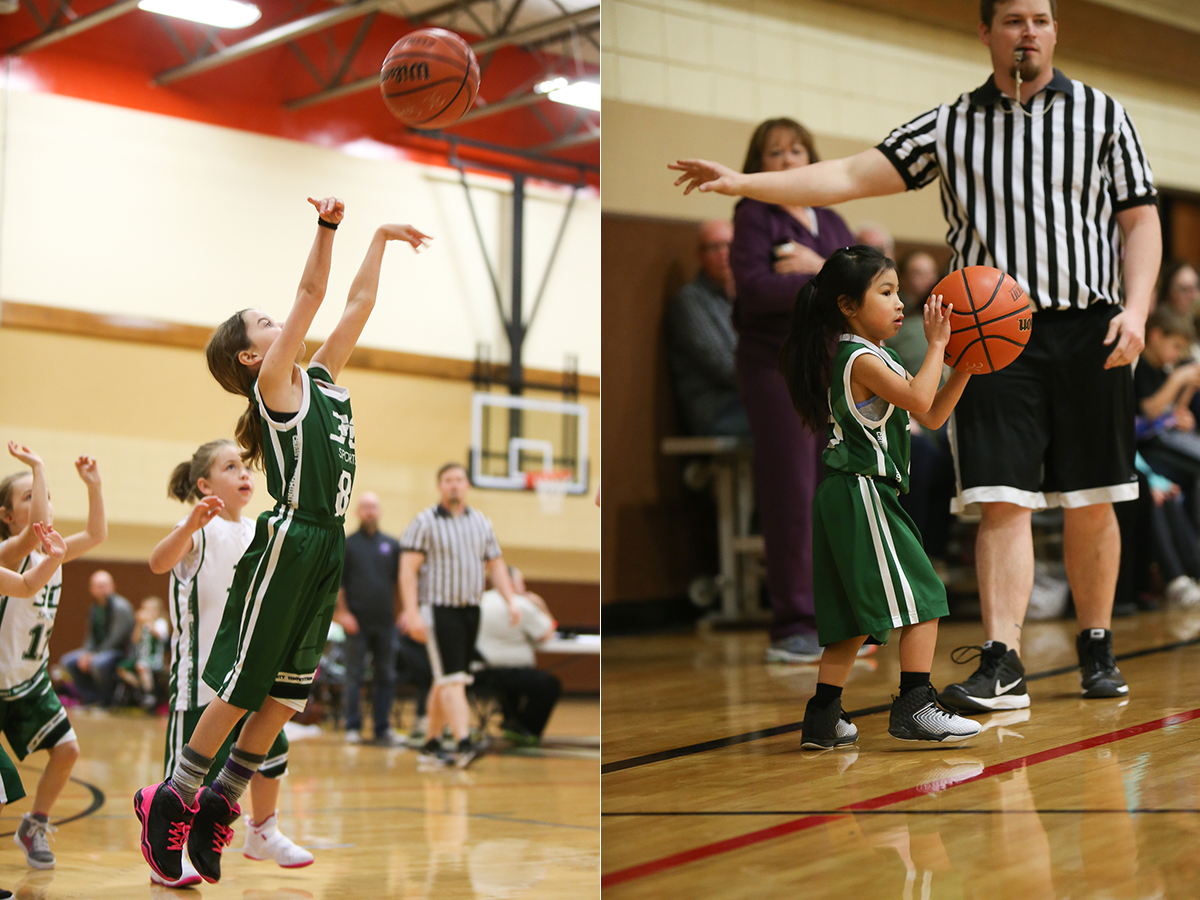
ISO 3200, f/2.8, 1/320, 90mm
Her big brothers have taught her to fight hard for a ball!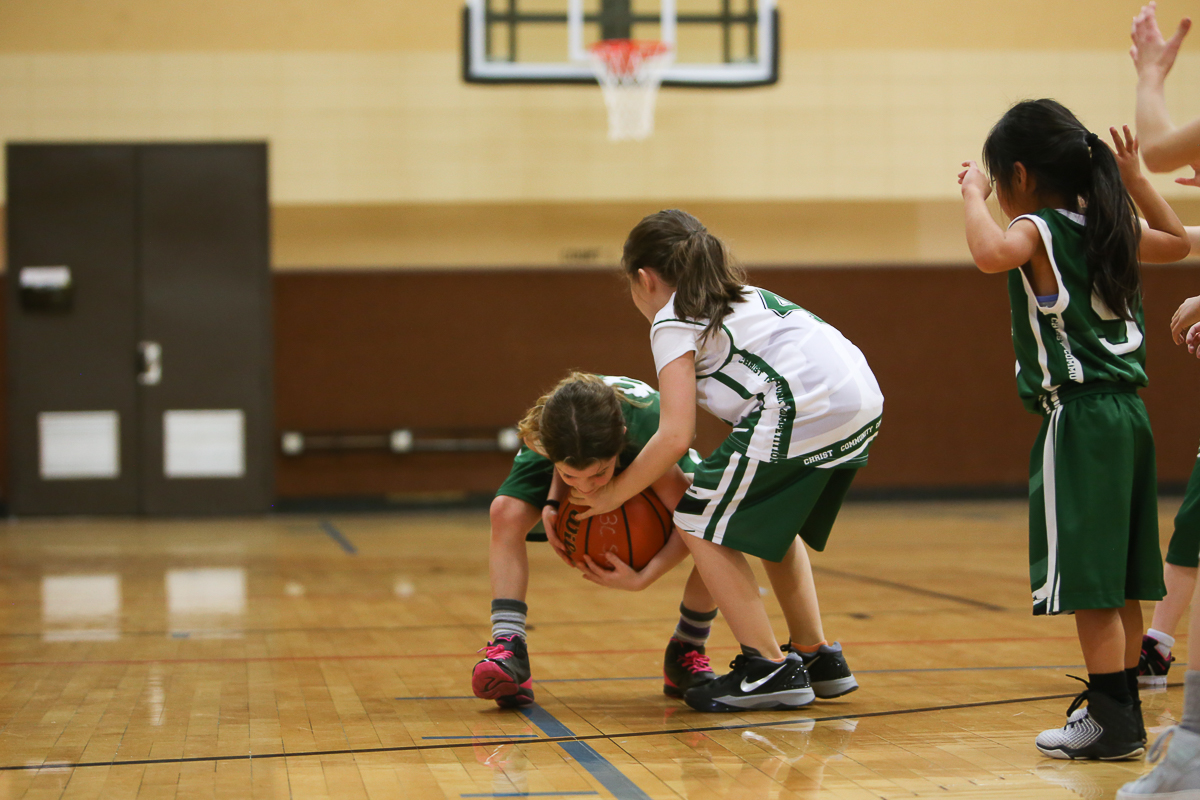 Our kids play at 4 different school gyms – different lighting and wall colors at each of them.
ISO 2500, f/2.8, 1/250, 85mm – ISO 2500, f/2.8, 1/320, 50mm (this one was with my 50mm lens. She was too close to me to use the 70-200mm)
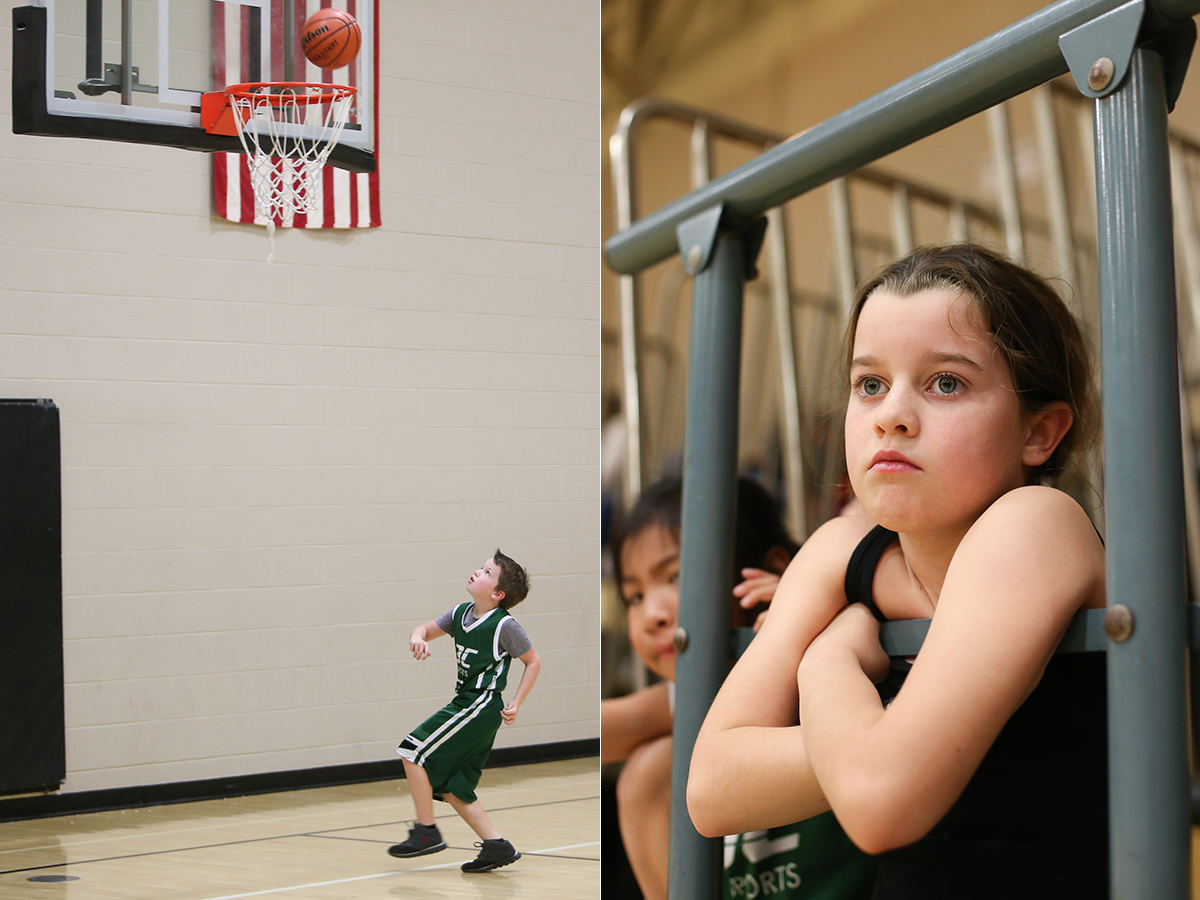 ISO 4000, f/2.8, 1/640, 200mm (He was moving super fast, so I really upped my ISO and shutter speed.)
Yellow or “too warm” photos:
The 2 biggest complaints I hear regarding indoor gym photos is that they look yellow and/or they are blurry. The blurry comes from a too slow shutter speed. The yellow comes from the white balance. Some photographers attempt to constantly adjust the white balance while shooting, but that has never worked for me. I can’t change my white balance fast enough for the quick changes happening in front of me.
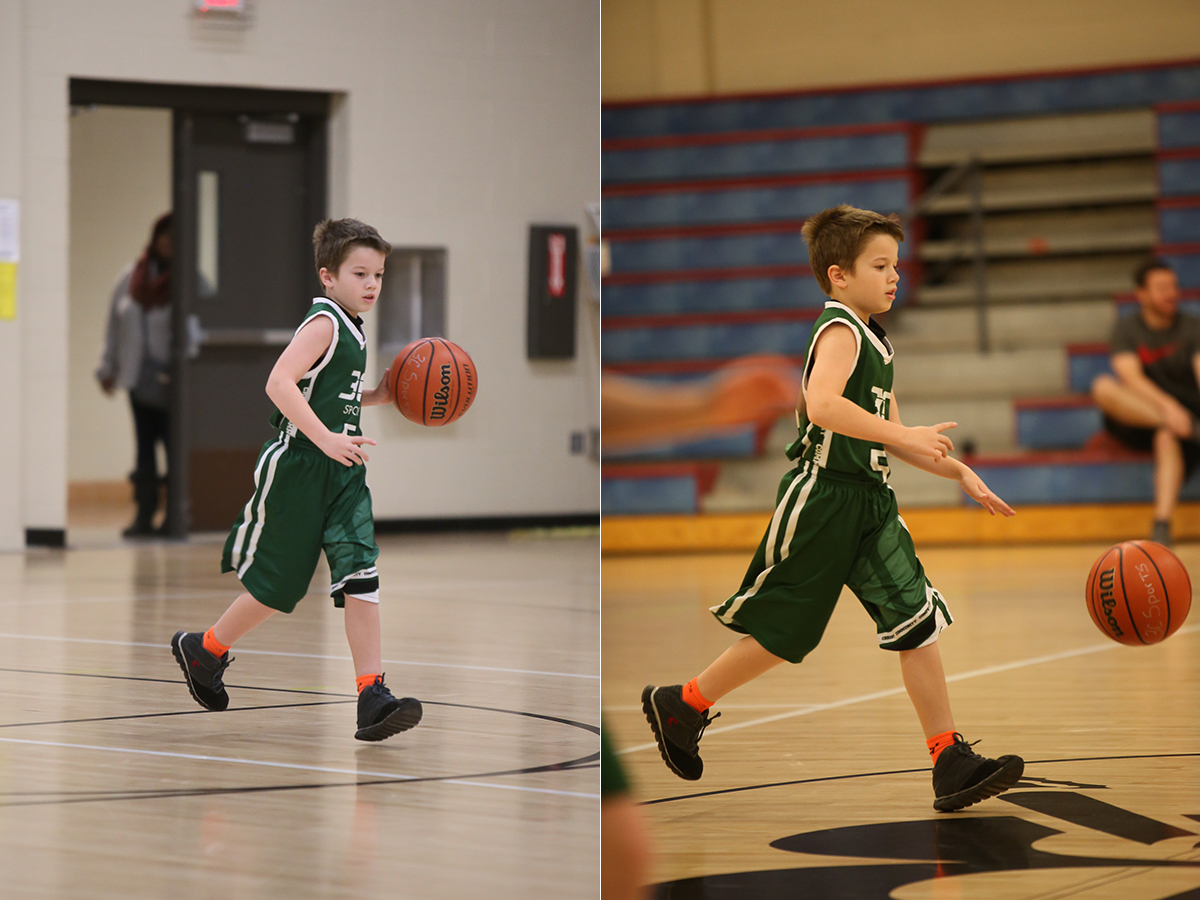
For instance, the next two shots were taken exactly 2 seconds apart and without making any setting changes. WOW – is the color different! Why does this happen? Well, your camera is reading the available light and colors and trying to guess what is true white. In the shot on the left, there was more wall color in the photo and the camera read the colors better. As my son moved in front of the blue bleachers, the camera had to adjust to less wall color and more blue. The result is a yellow tint.
ISO 2500, f/2.8, 1/250, 85mm
 So, how do I fix it?
I always leave my camera on AWB (Auto White Balance). 99% of the time my camera is accurate on AWB. The 1% of the time it is not, I simply make adjustments on my computer. This method is FAR faster for me. Changing my white balance settings all the time would cause me to miss the moments I am trying to capture. My approach might be different if I was shooting professionally. Maybe.
For those few pictures that need to be adjusted, I use Lightroom and either ‘warm’ the photo if it is too blue or I ‘cool’ it down if it is too yellow. This is done by sliding the Temperature adjustment bar (see below).
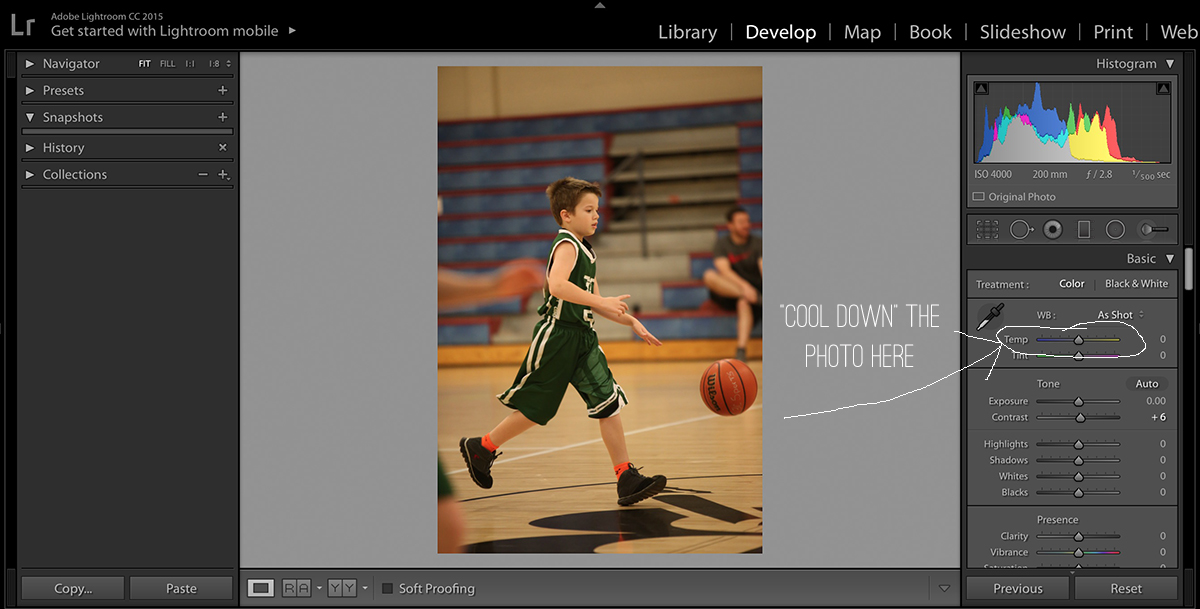 Below is the same photo Before adjusting the temperature and After adjusting it.
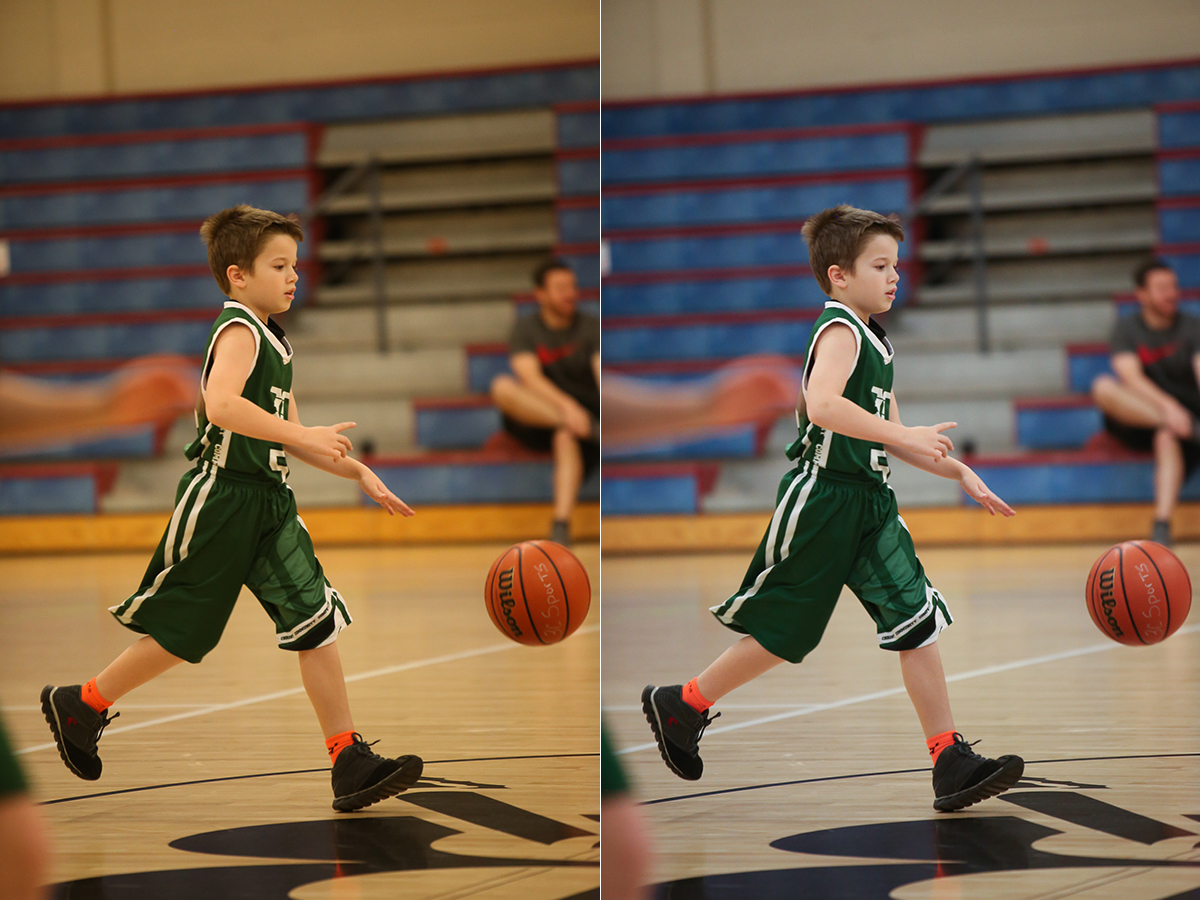 The most basic photo editing software and apps have temperature adjustment options. You do not need to buy expensive photo editing software to make a change in the color temperature of your photos.
ISO 2500, f/2.8, 1/320, 50mm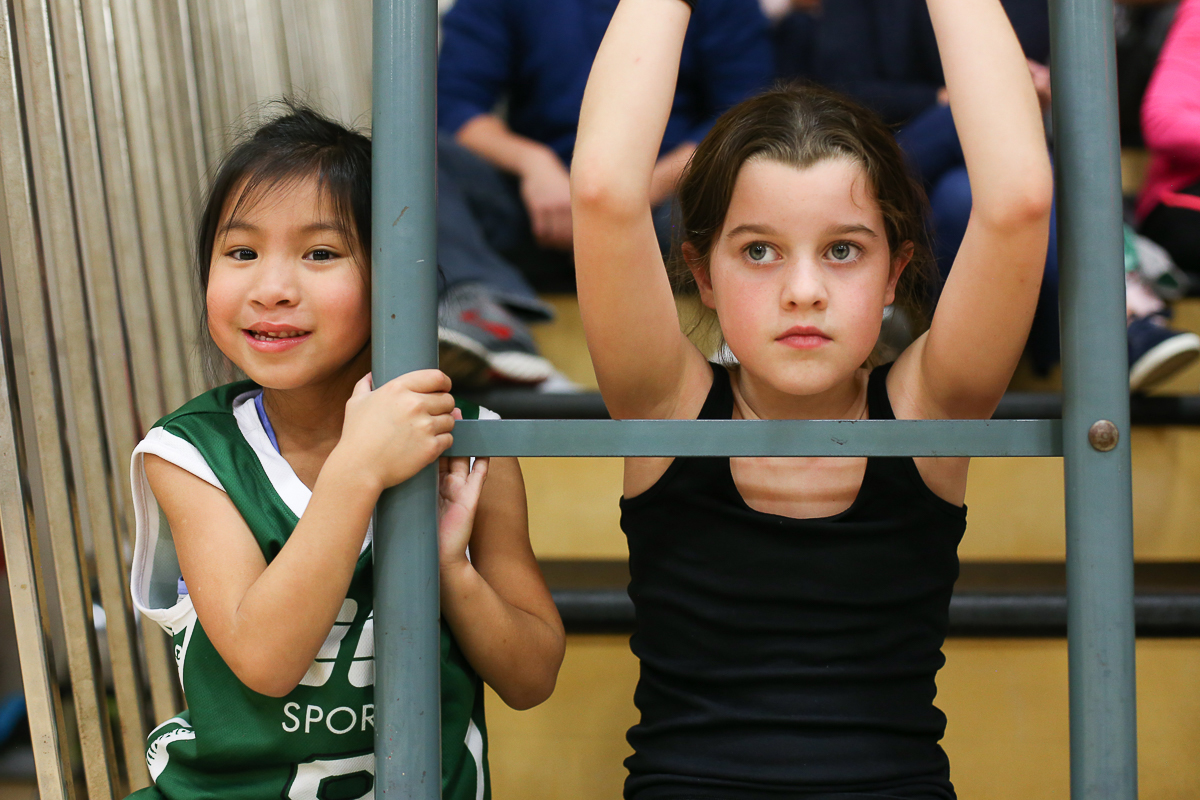
If you are interested in learning more about how to use your camera (what all those settings mean) and more tips for shooting with a high ISO, become a SnapShop Online Photography School member today.
Current SnapShop members – be sure to read or re-read the lesson “ISO 1000 and above {examples of the process}”
________________

