DIY {gingiber tray}
 The cutest gift wrap arrived in my mailbox from Gingiber…
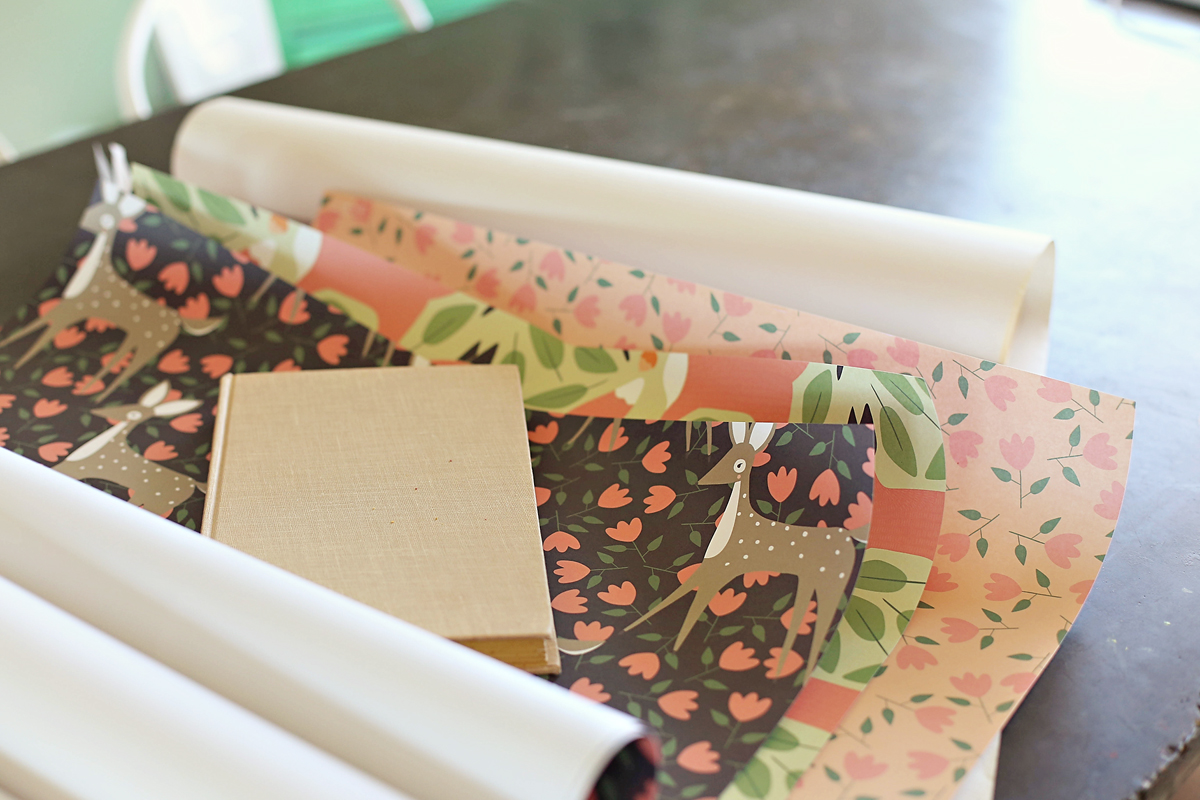 …only I was not intending to use it as gift wrap. I wasn’t exactly sure how I wanted to use it, but I had three sheets with lots of potential. My favorite paper was the little deer print. I opted to decorate a basic wood tray with it. I use trays all the time and my girls love to play with them.
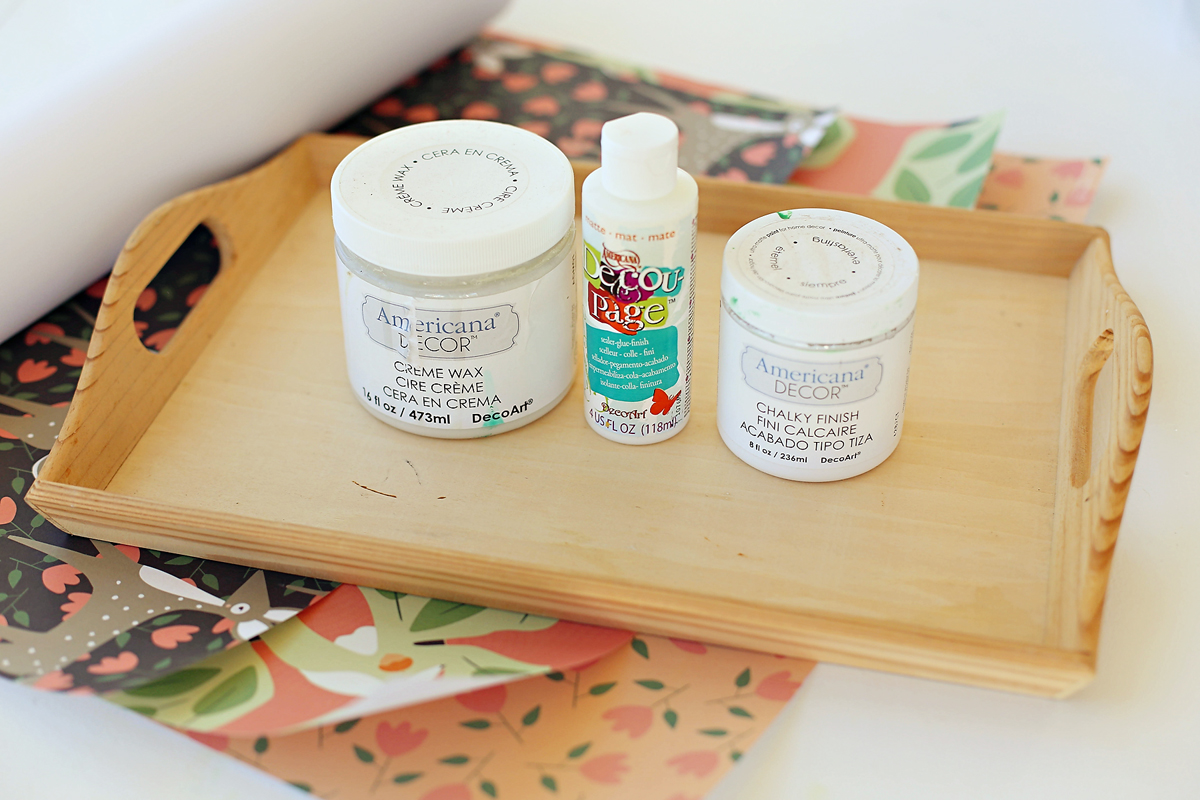
Supplies:
- Wood tray
- Gift Wrap Sheets – mine are from Gingiber
- Chalk Paint
- Creme wax (for chalk paint)
DecoupageSpray adhesive (you’ll see…just read the post)- Matte finish spray sealer
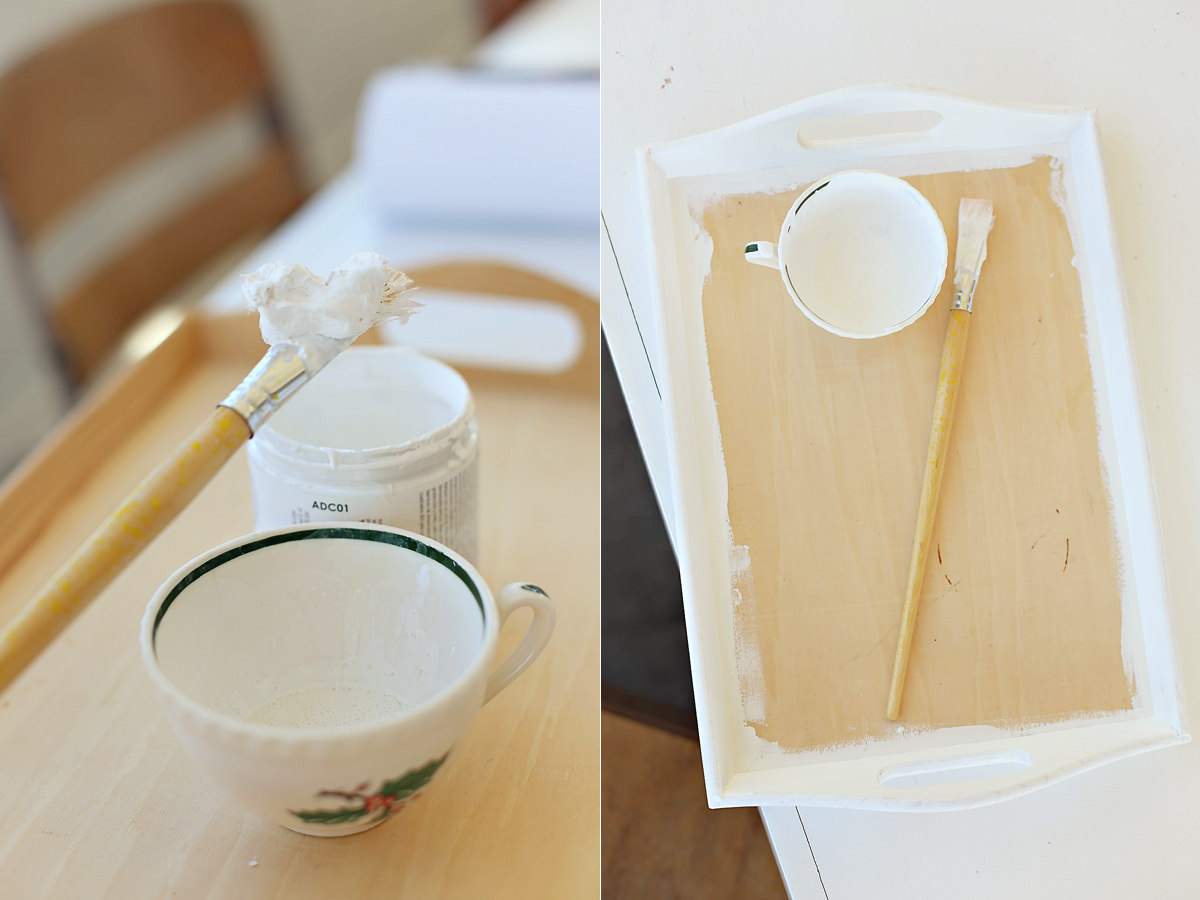
 I began by painting the edges of my tray with chalk paint. If you have never used chalk paint, it might get lumpy and really thick after sitting for a while (left picture). The great thing about chalk paint is all you have to do is add a little water and stir it good. I do not add water to my paint container. Instead, I use a separate container for mixing the paint and water.
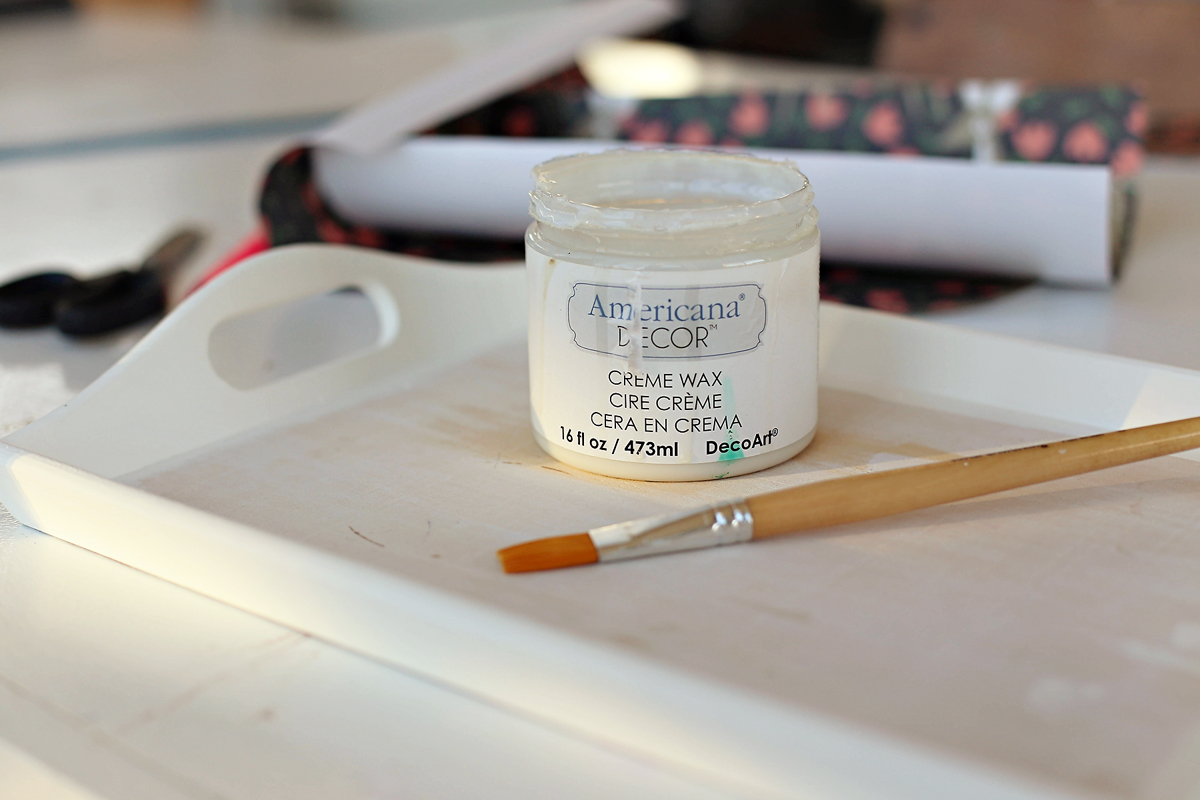
 After the paint dries, I added a layer of wax…this gives it a really smooth, hard coating.
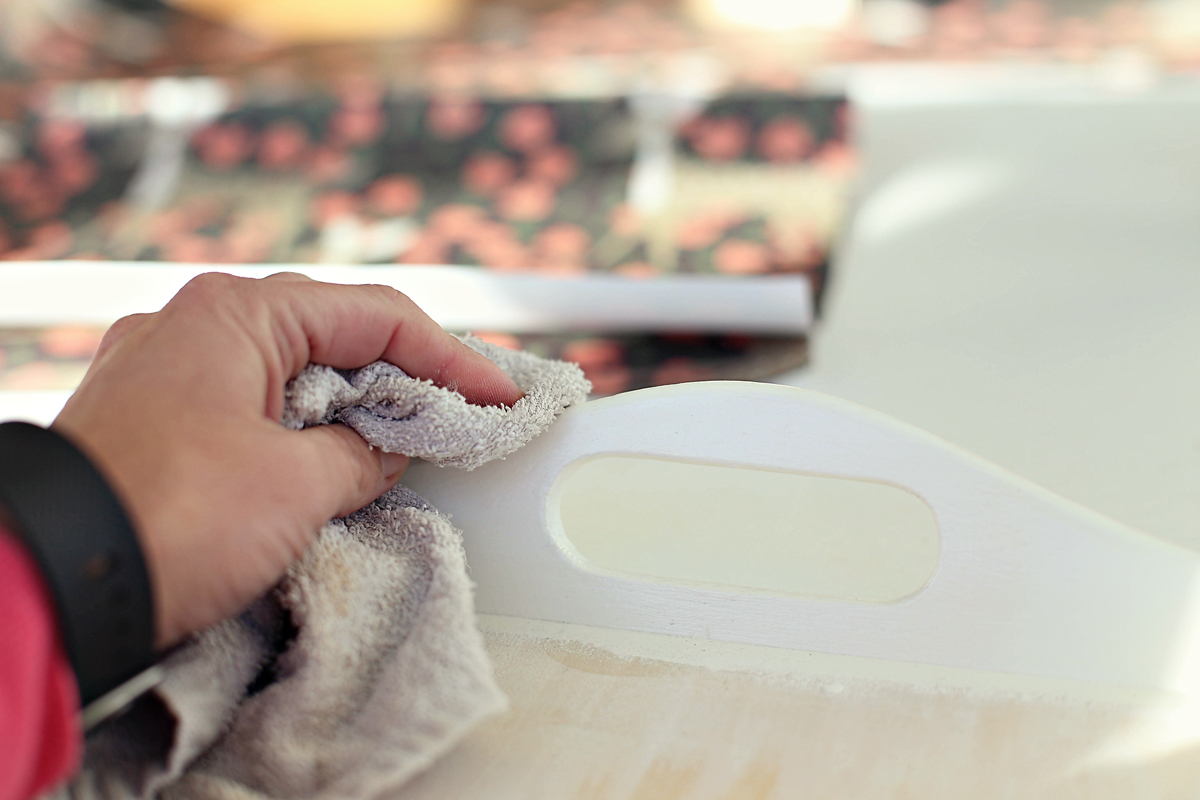
 Buff the wax…
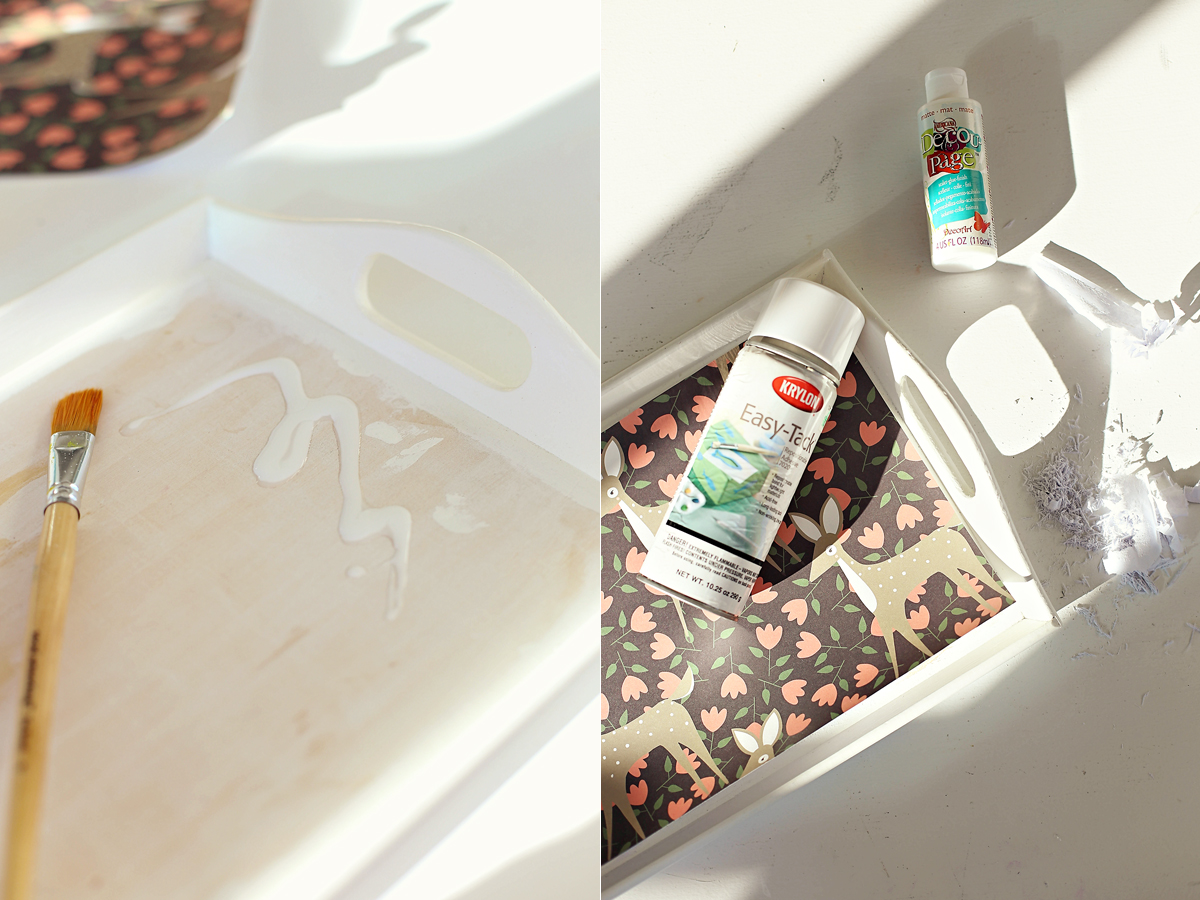
 And now for how my plan failed. My original idea was to use the deer print. I added decoupage to the tray and spread it in a very thin layer. THIN so that my paper wouldn’t wrinkle. I gently added the paper…and wrinkles! I had to pull the paper off. Bummer. I had enough of the same paper to try again. Next, I sprayed the tray with spray adhesive and added the paper. Once it was dry, I added decoupage to the top of the paper…WRINKLES AGAIN. Major bummer. I was out of deer paper with nothing cute to show for it.
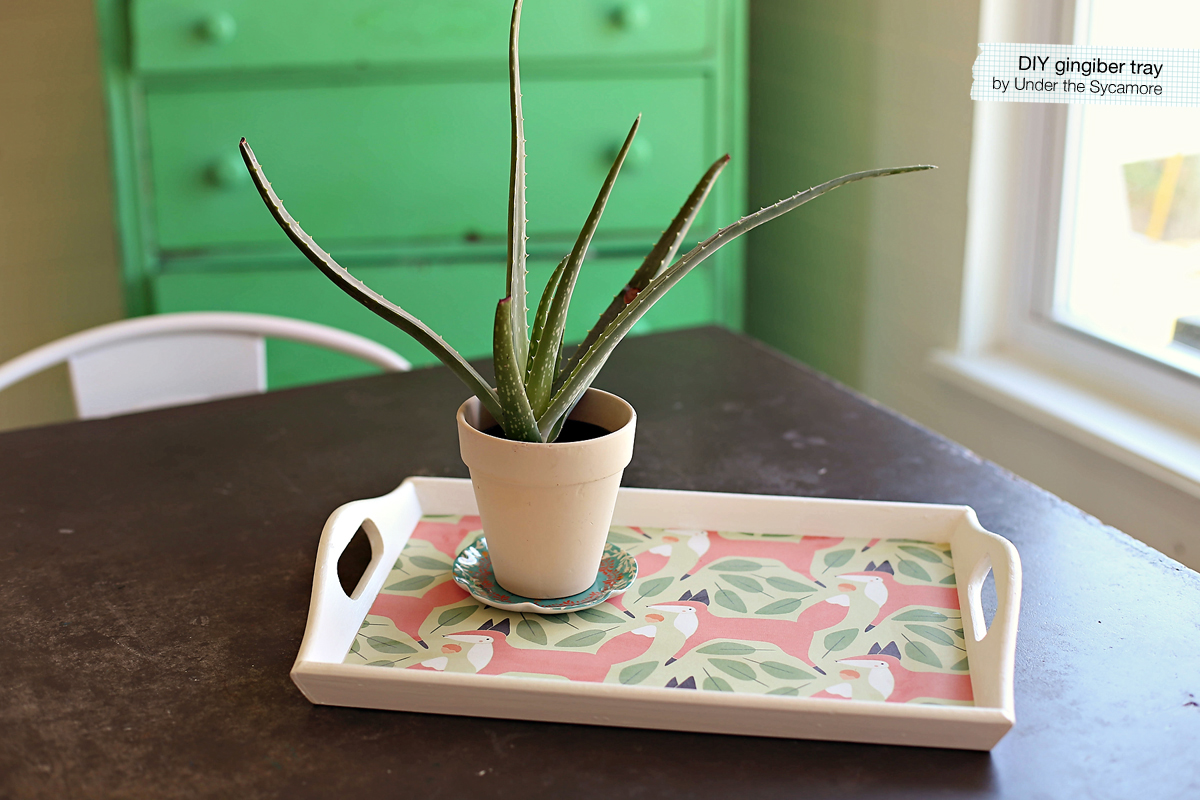
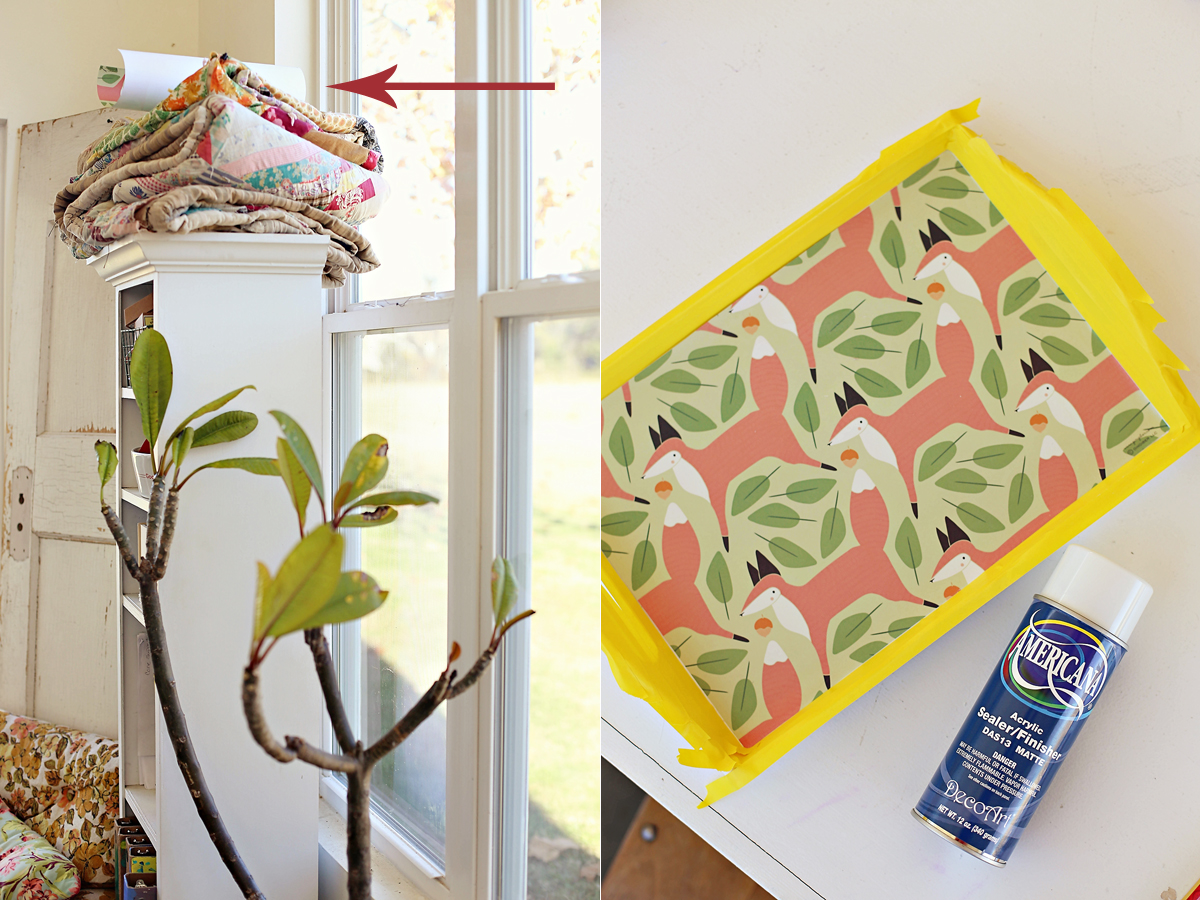
 Thankfully, I still had the other two prints. I cut a piece of the fox print and put it up high, so kids and pets could not reach it. Next, I covered the painted portion of the tray in tape. I used spray adhesive to adhere the paper and a matte finish spray sealer to seal the top. Lots of thin coats. No wrinkles. Victory.
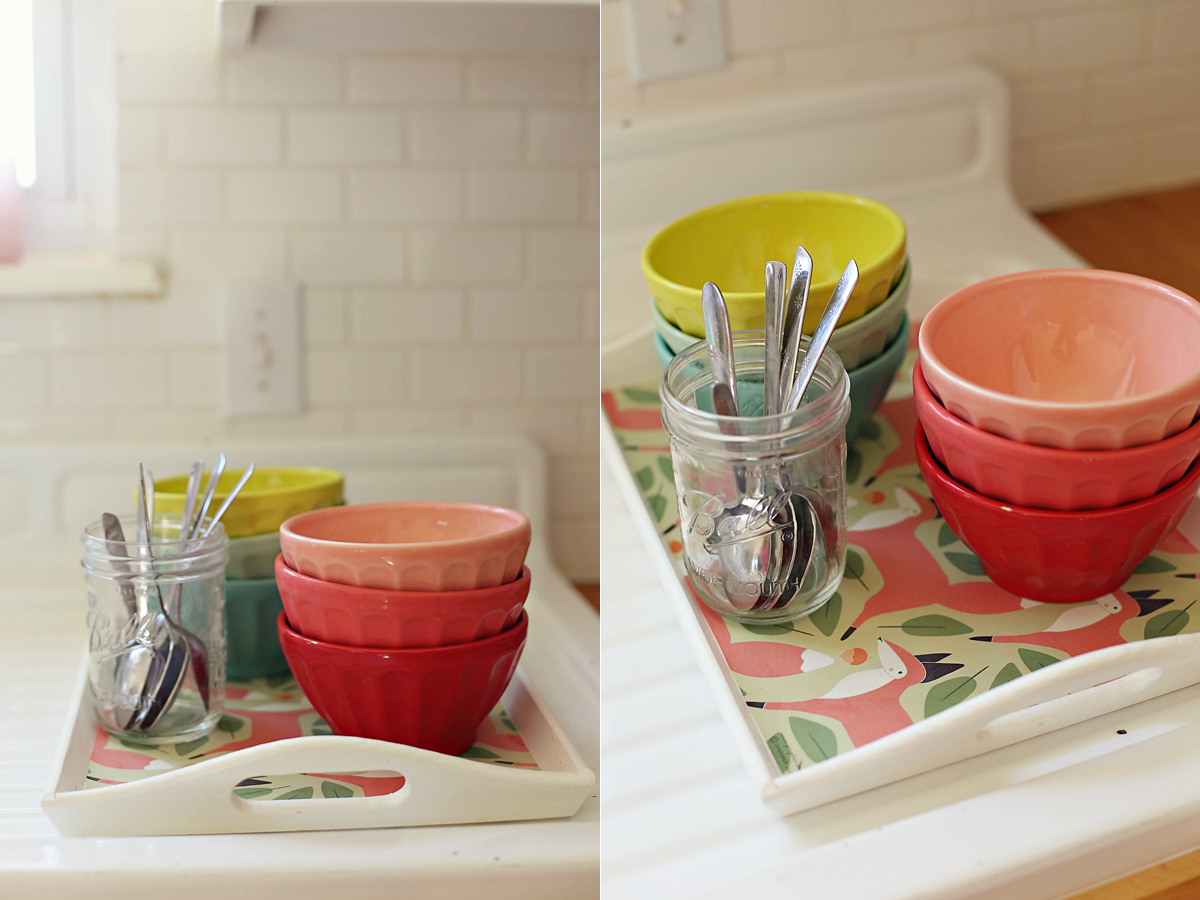
 And what was supposed to be a cute little deer tray is a cute little fox tray..
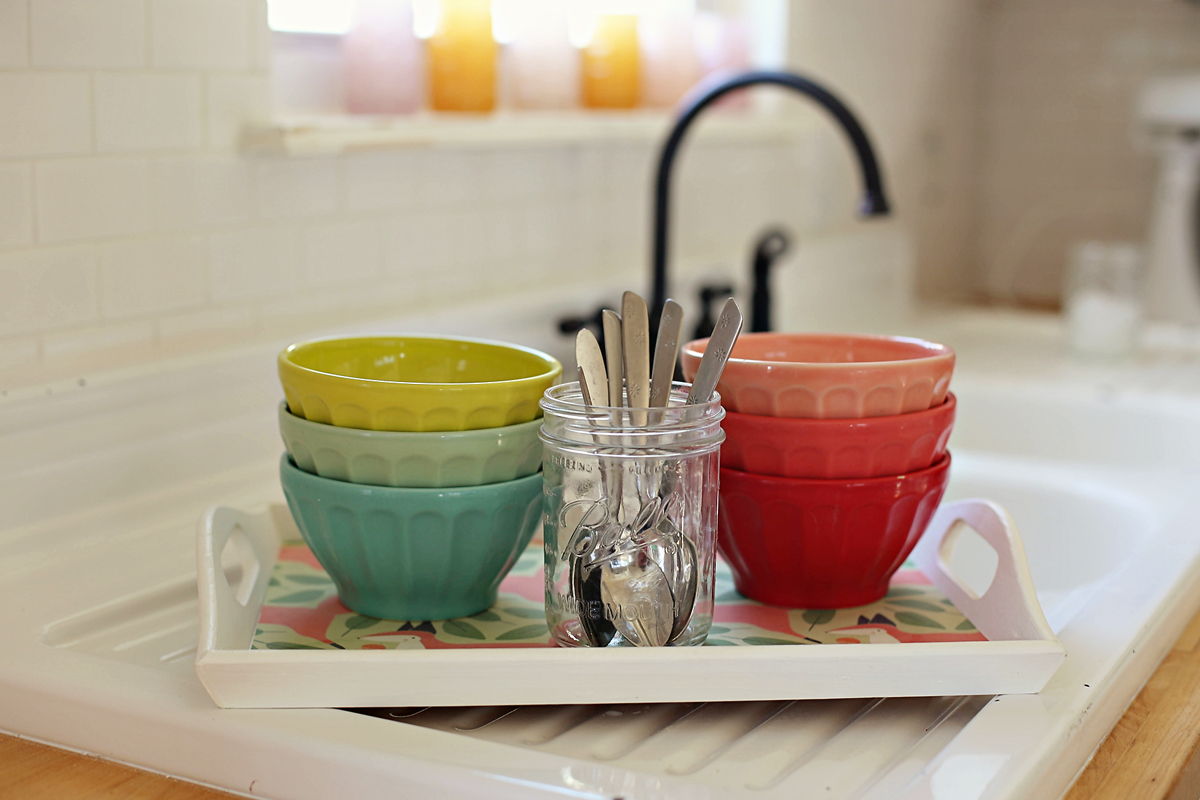 Also….^^^^new kitchen sink! I’ll post more photos of that later.

