diy {wood artwork display}
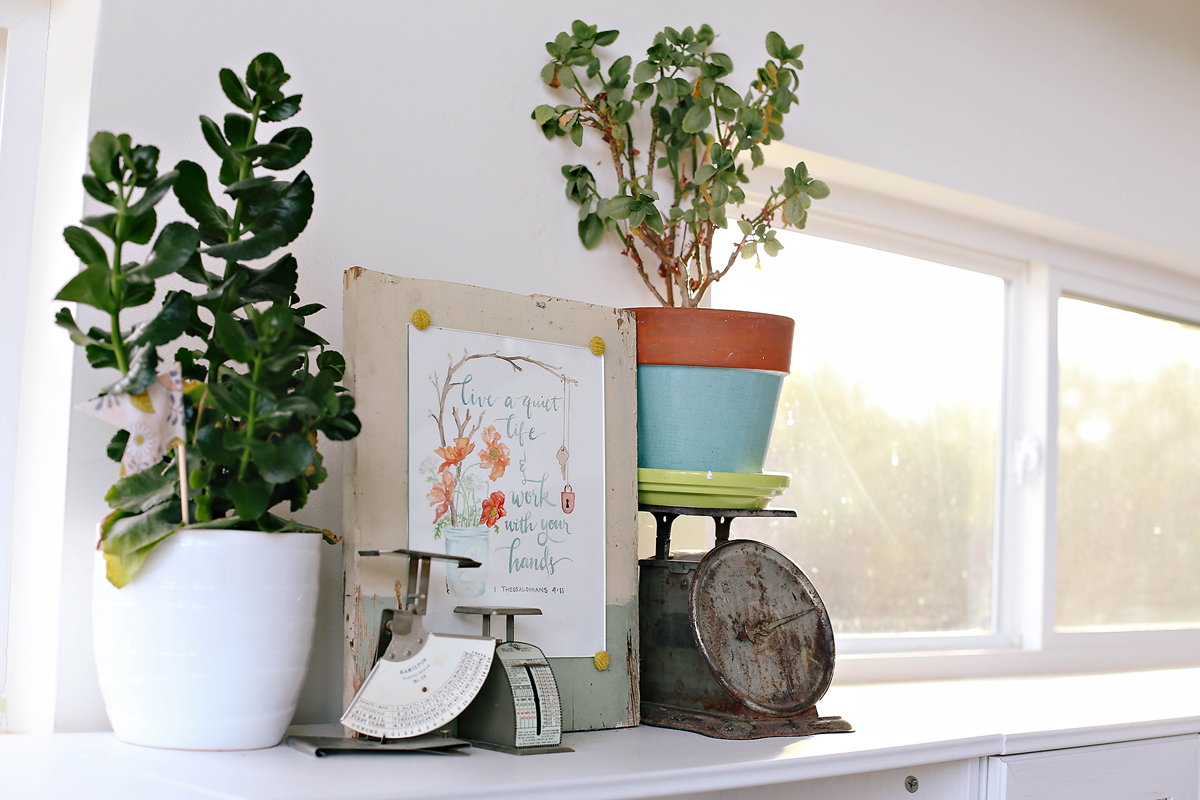
My friend Ruth Simons is an incredibly talented artist. How she finds time to mother six boys and paint is baffling to me. Recently she sent me one of her original paintings that she knew was so significant to me. I’ll write more on that later – still trying to form my words in a way that makes sense when read on a computer screen!
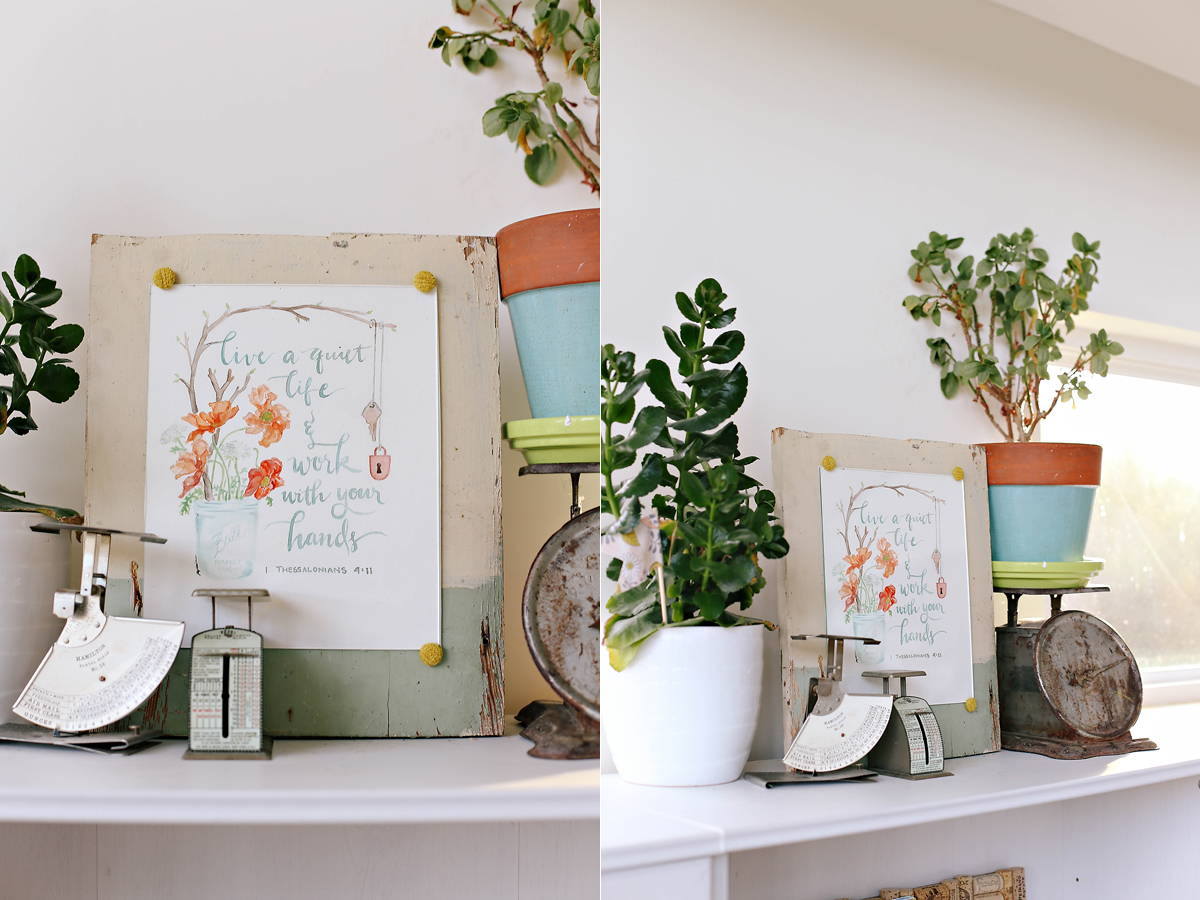
I have a stockpile of frames, but none of them seemed right. As I waited to find the perfect frame, I placed the painting on some scrap wood that was waiting for me to figure out what to do with it. And the two just looked perfect together. Thus, this super simple diy was born.
Supplies:
- piece of glass that matches the size of your art
- scrap wood (mine was cut from the top of a cabinet)
- furniture buttons (or something similar…be creative)
- hot glue gun
- drill
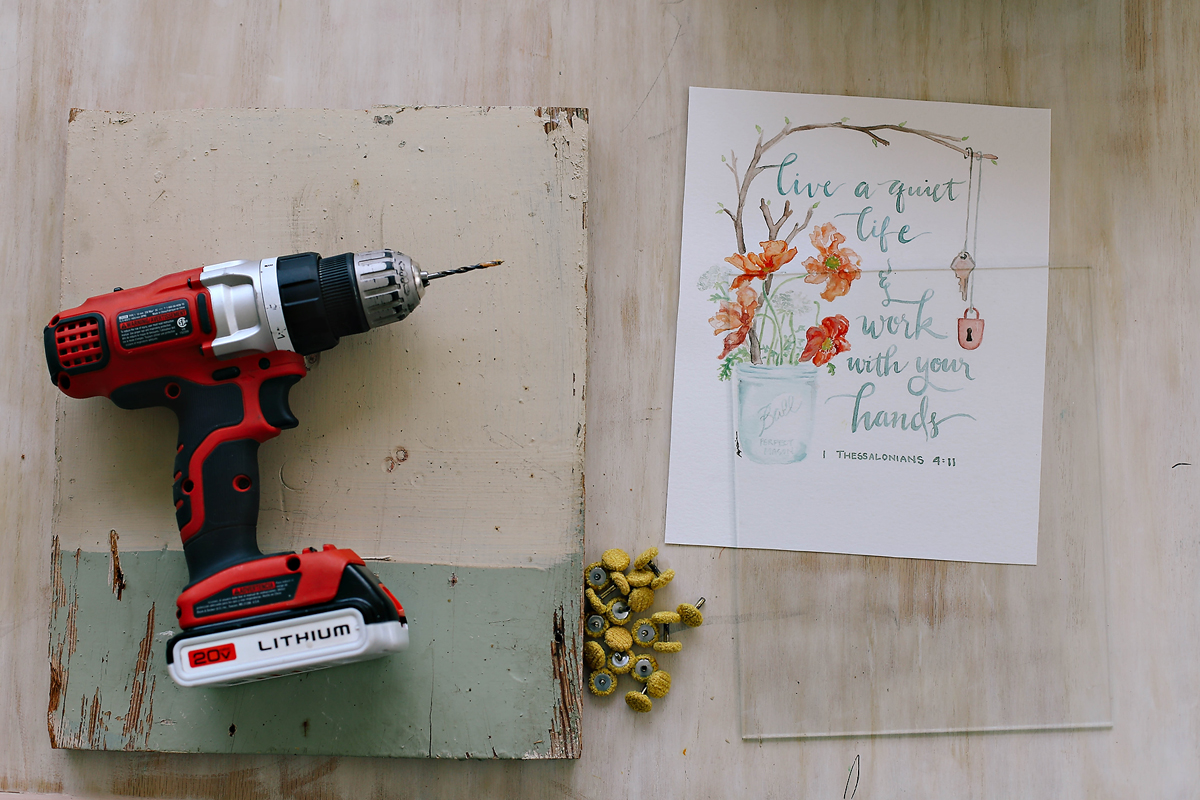
Step 1: Place your art on the wood and find where you want to position it
Step 2: Mark spots about 1/2″ from the outer edge of the glass and about 1/4″ above (top) and below (bottom) of the glass
Step 3: If you are a perfectionist, measure to make sure it is all even. I didn’t actually do this, but included the pic for those of you that like everything just right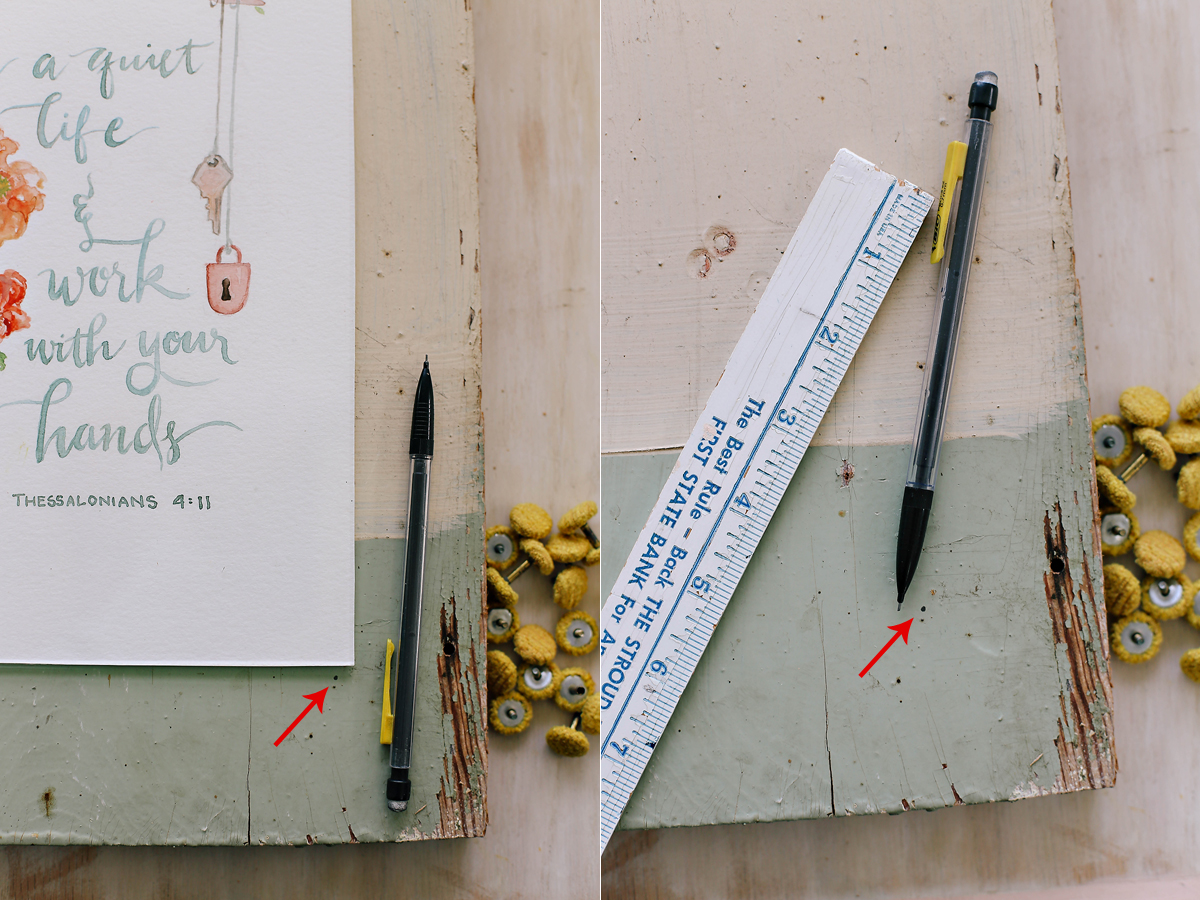 Step 4: Drill holes the diameter of the metal part of the furniture buttons (or whatever you are sticking in the hole). Don’t drill all the way through the wood, just enough to fit whatever you are attaching.
Step 5: Make sure everything fits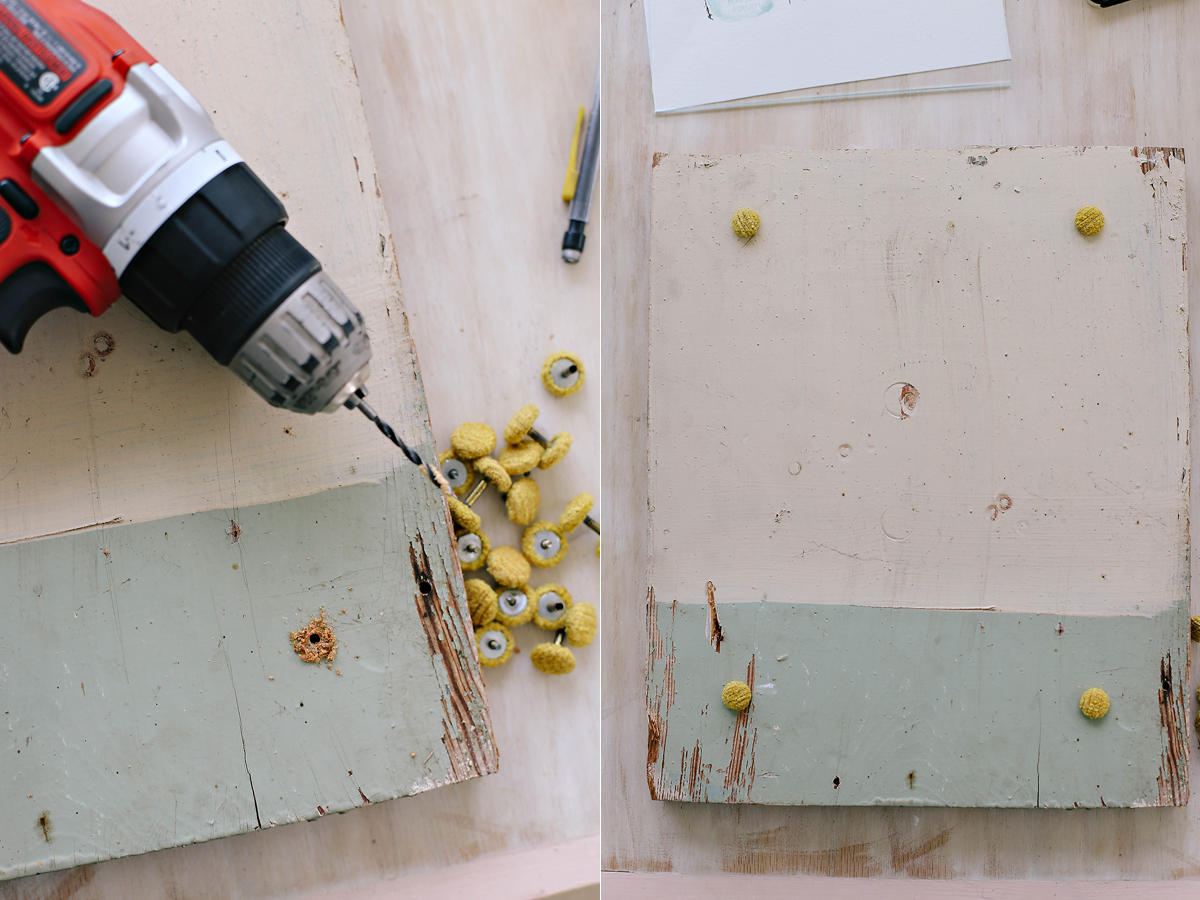 Step 6: Put your art and glass in place
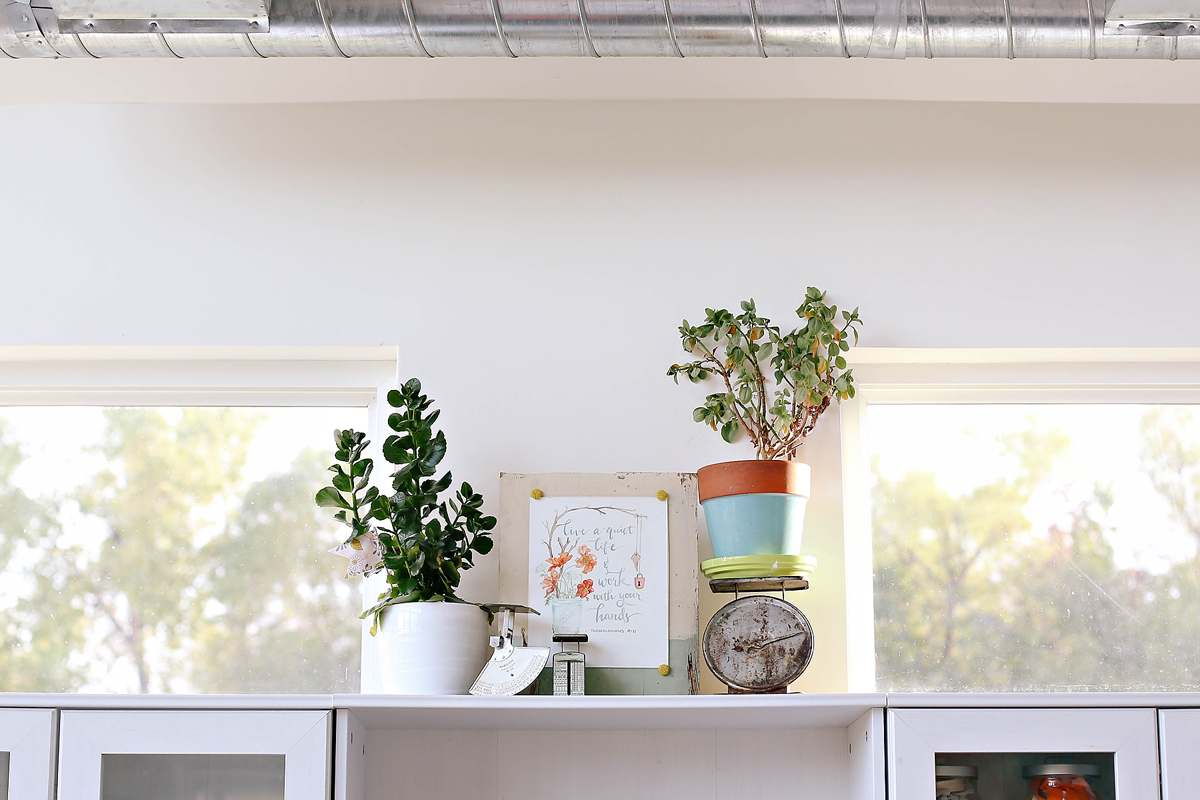
Step 7: Add a tiny bit of hot glue to the holes and then push the buttons in. The hot glue will help hold things in place, but isn’t so strong you won’t be able to pop the buttons off.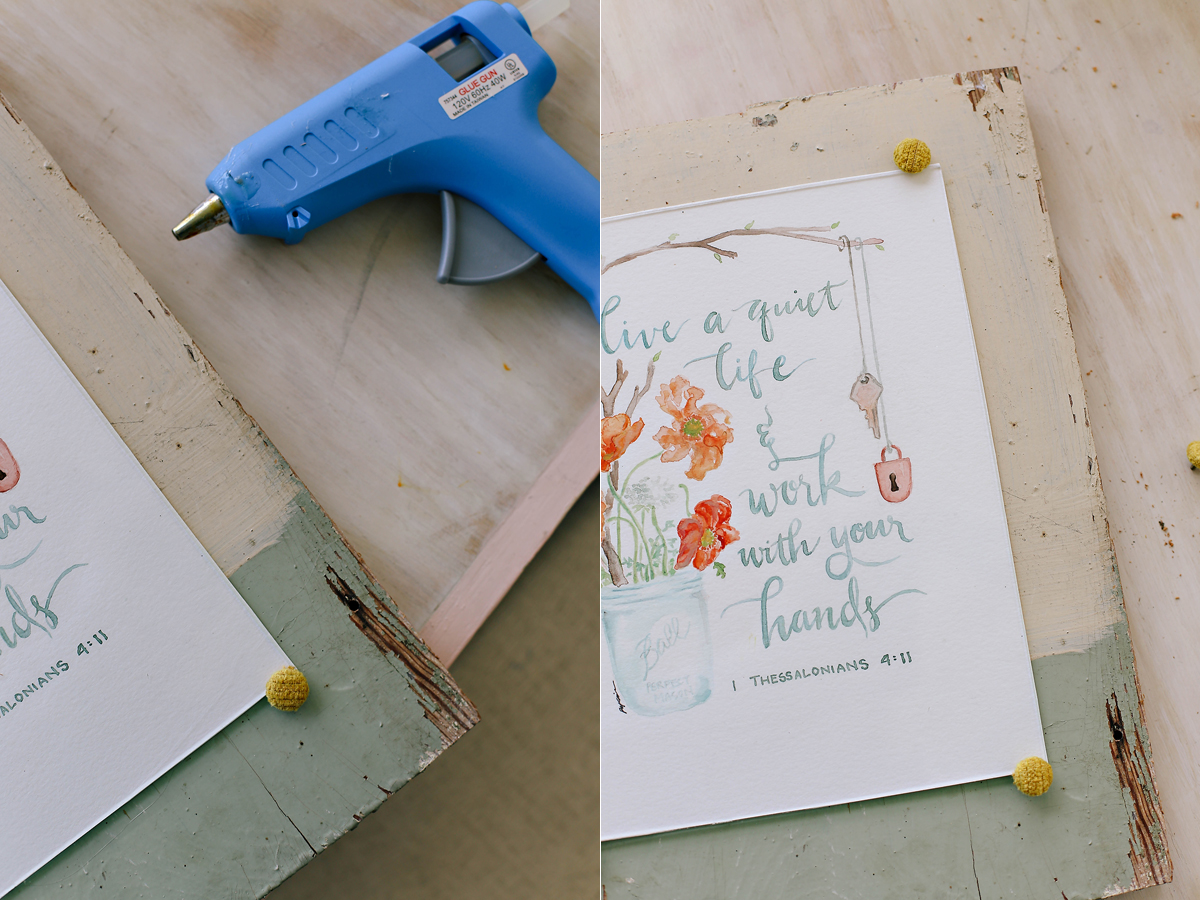 If you are displaying this somewhere with a risk of it getting knocked down, you will probably want to attach the fabric buttons stronger (maybe gorilla glue). I placed mine on a high shelf. You could also add picture frame hooks on the back to hang it from the wall. I’ve created similar things just using clips to hold artwork, but since this is an original painting I wanted the extra protection of glass.
 And just because who doesn’t want a chance at winning $250 to a hardware store? Well, there are probably some people, but I am not one of them. I’d rather win $250 to True Value than the mall. My pallet daybed diy was chosen as part of Bob Villa’s Thumbs Up competition. I sure wouldn’t be bummed if you decided to go cast a vote my way…no email or anything required. 🙂
Happy Friday


