diy (Ikea lerberg trestle leg tables}

We started school back up last week. And I built two new tables. The two go hand-in-hand. We had a cute 4 person table and 4 cute kids doing school work around that table. It was only a matter of minutes before the elbow shoving and arguing over space began, so it was time for a bigger table. Our kitchen table seats 8. We are a family of 7. I’ve wanted more table room for when we have company over for dinner. A little while back my mom picked up some Lerberg Trestle table legs from IKEA for me and we finally got around to building our very simple tables.
We used two pieces of plywood cut down to 3ft x 6ft and some boards for trimming the edges.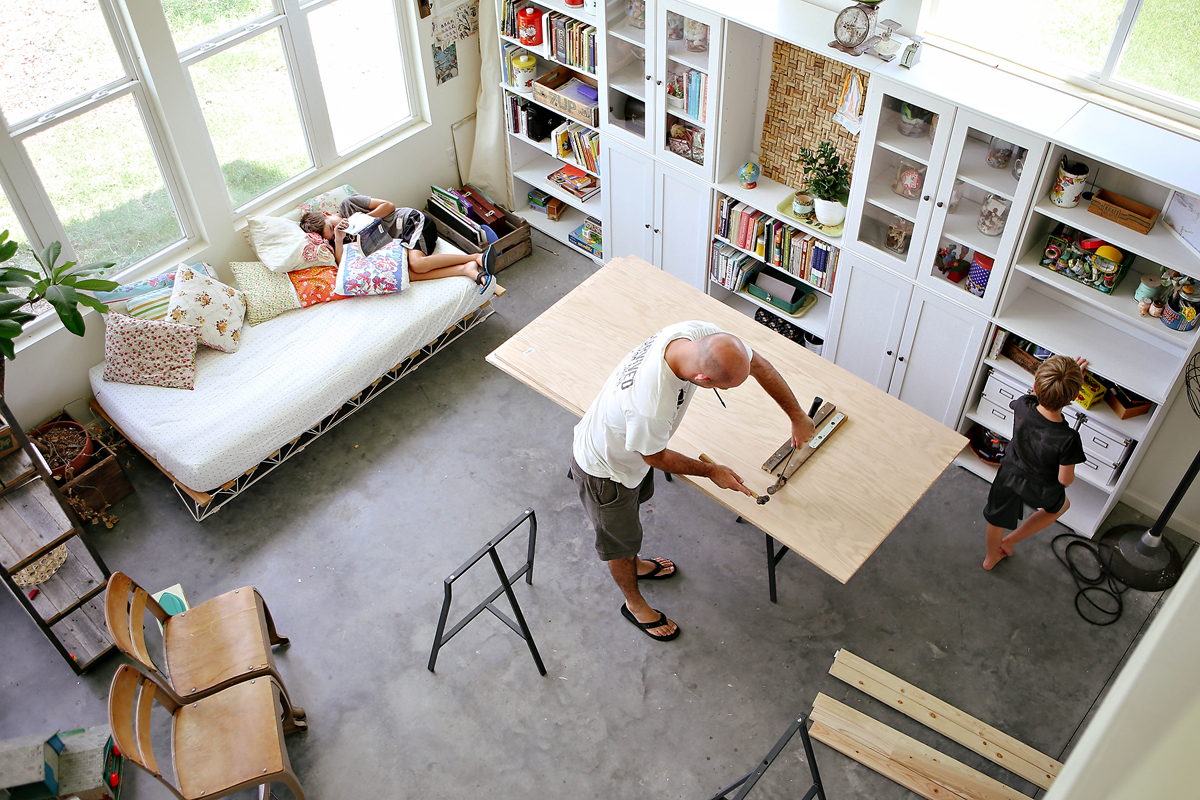
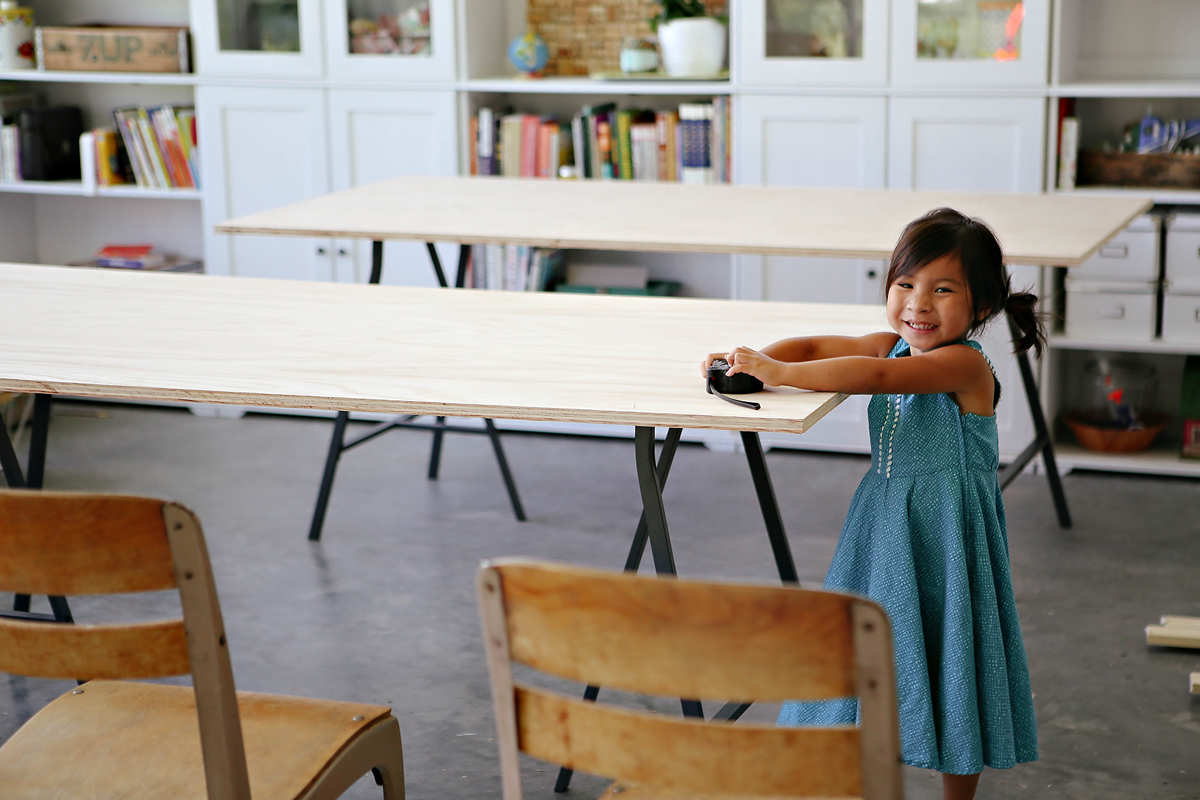
The table legs do not have holes to attach them to the wood. Instead of drilling holes, we just made simple little braces to hold them in place. This allows us to take the tables apart quickly if we need to move them outside or just stack them against a wall for more space. Next, we added boards around the edges to finish it off.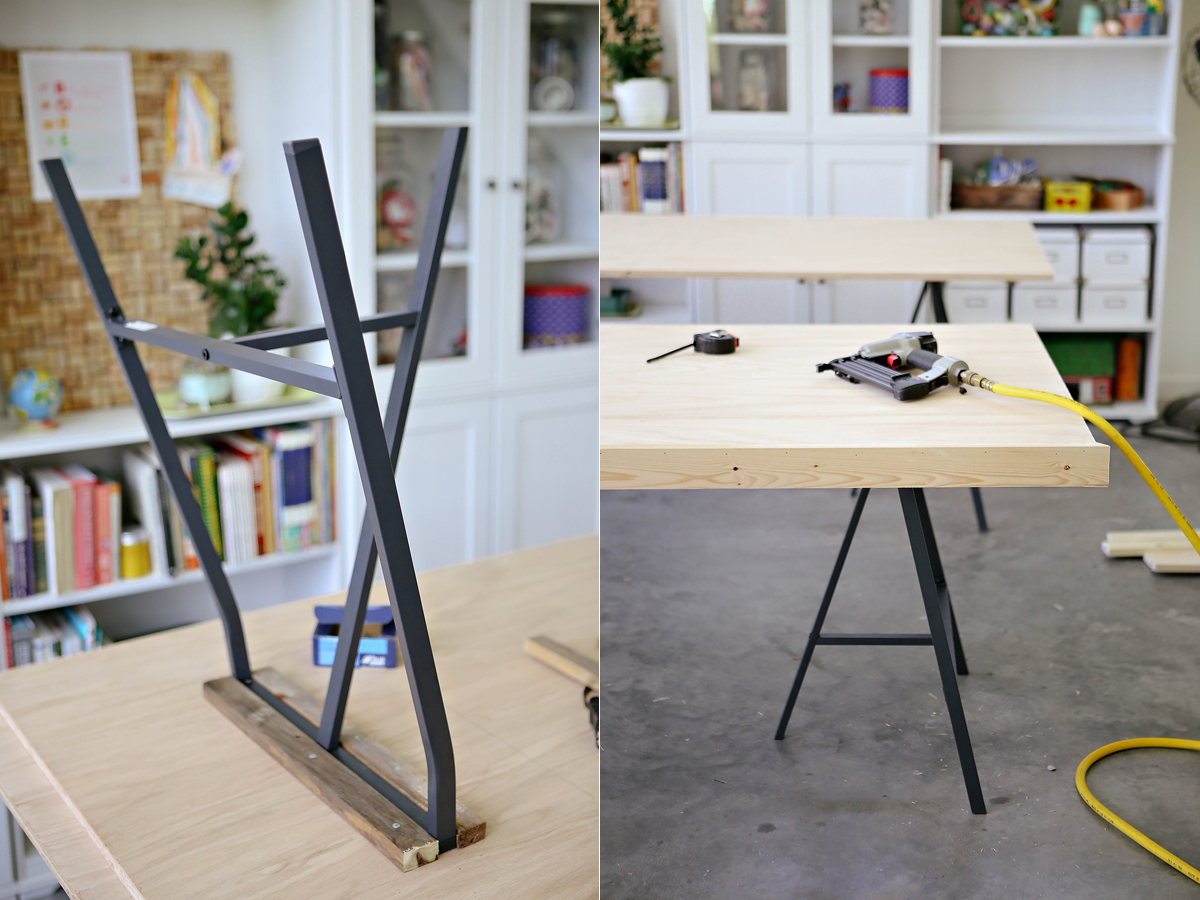
A little wood putty & sanding.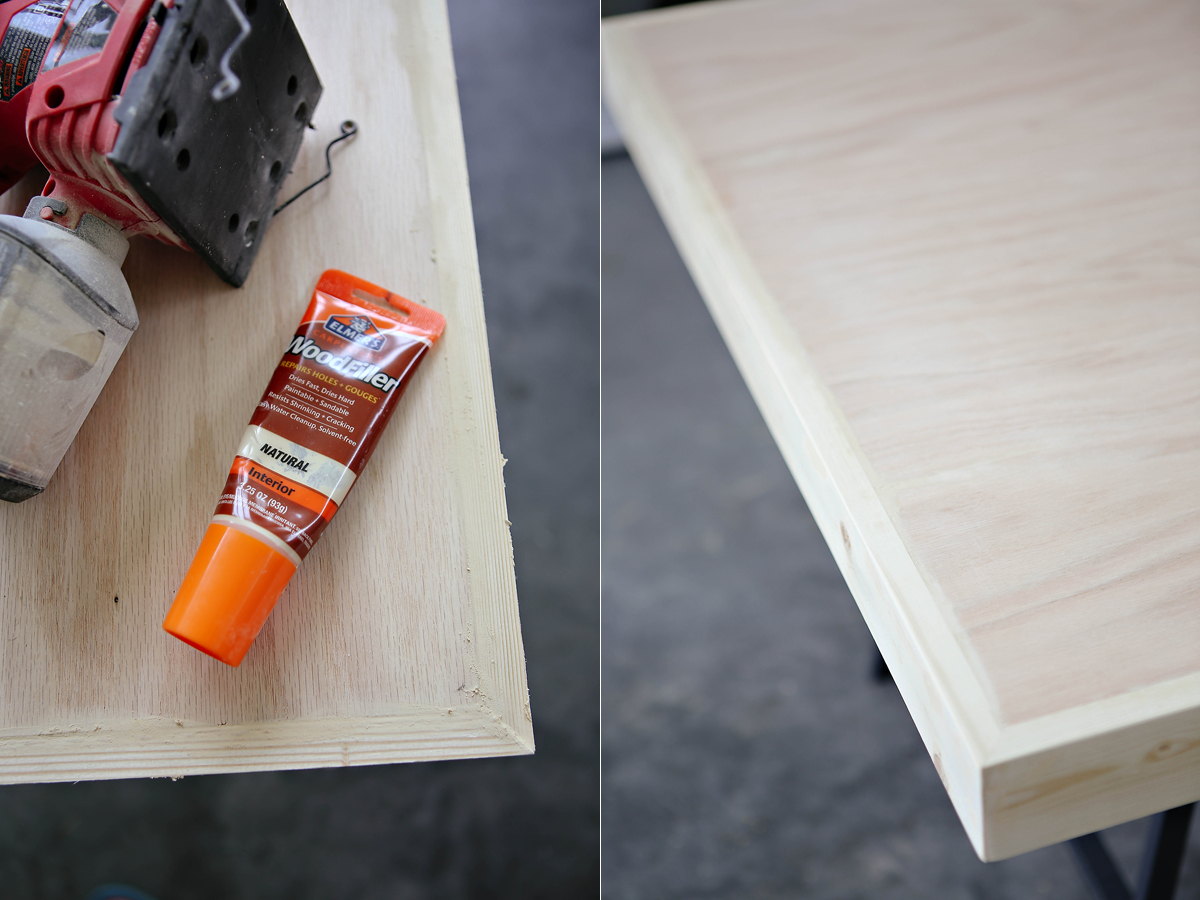
I decided to go for white chalkpaint. I use DecoArt Chalky Finish Paint and have always been pleased with it. FireCracker is always nearby if painting is involved.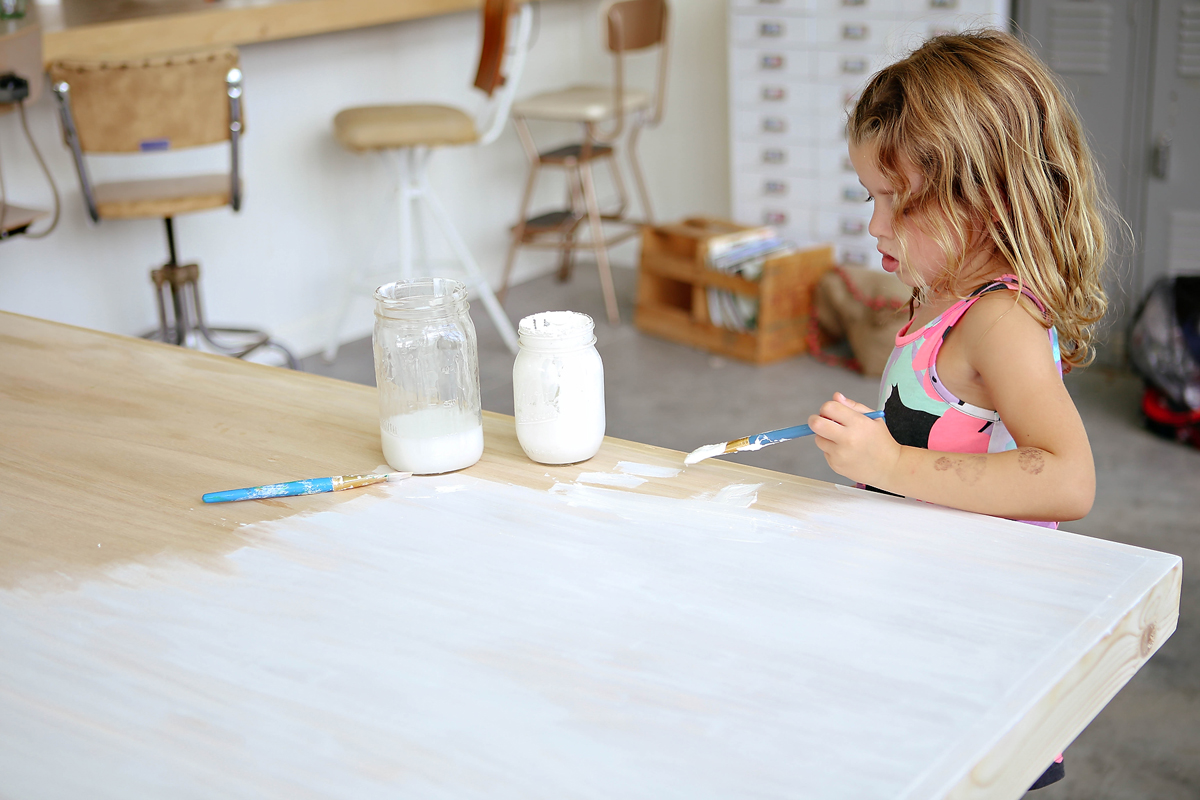
After I painted, waxed, and sanded the table I decided it wasn’t quite right. I painted the trim boards pink – random decision. Knowing me I’ll repaint it before the end of the year.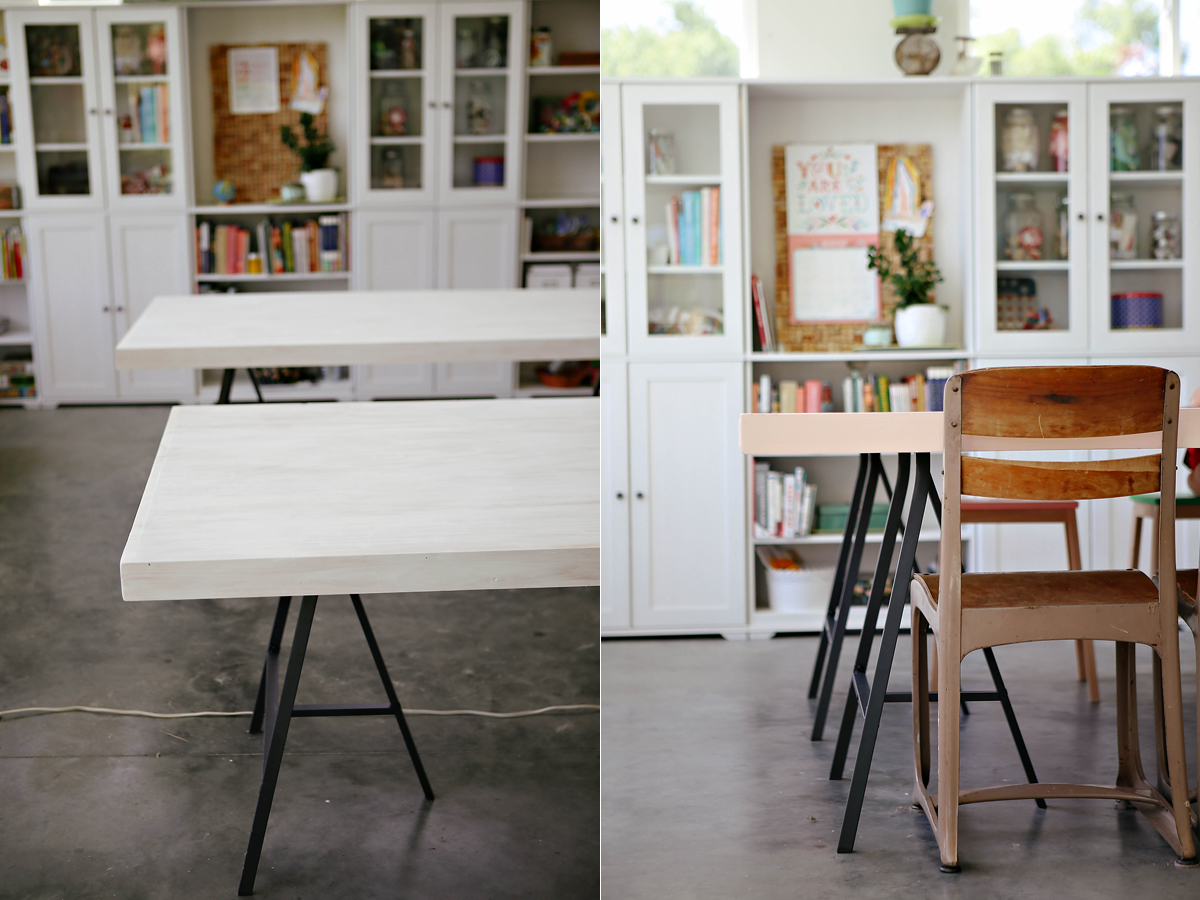
We can comfortably fit 12 when the tables are together. 16-20 when we pull the tables apart. Now I have to find more chairs!
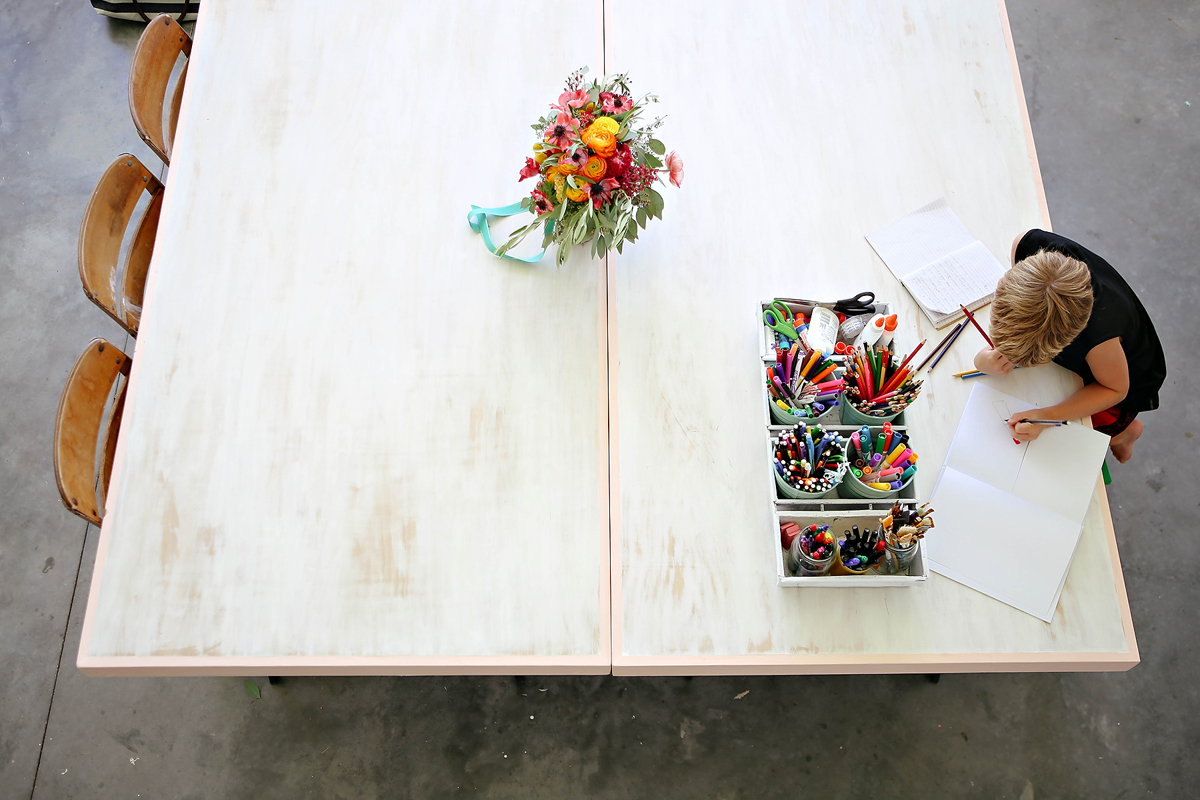
We were going the most affordable route, so I knew I would be painting the table top. I also knew we needed a very smooth top with no cracks for art stuff to get stuck in by the kids. I wanted a white table top for pictures….I take a lot of pictures and I sure like white! The more white the better. 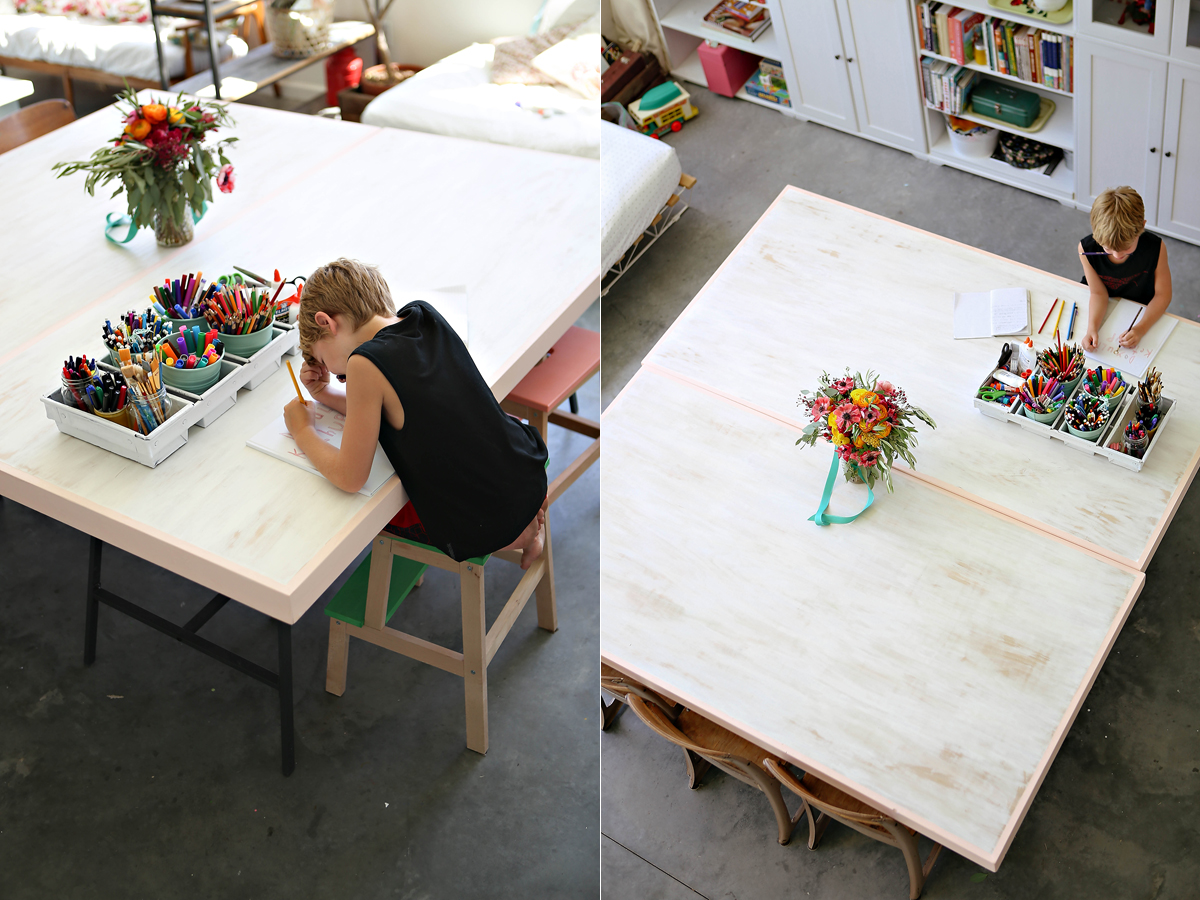
See, isn’t that white background just perfect?!
I don’t have detailed step-by-step instructions because it was a pretty simple project. Cut the boards. Nail them together. Fill the holes. Sand and paint.
Have friends over and enjoy dinners with more space around the table!

