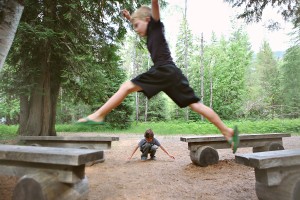
Explore {phone photography tips – travel jumping}
 I like my iPhone. I do. It is quick, easy, and takes really great shot with the right light. While we were driving we randomly ended up in the Ashley National Forest. When I saw the headquarters sign, Chris made a quick U-turn (with a trailer) and snapped a shot for me.
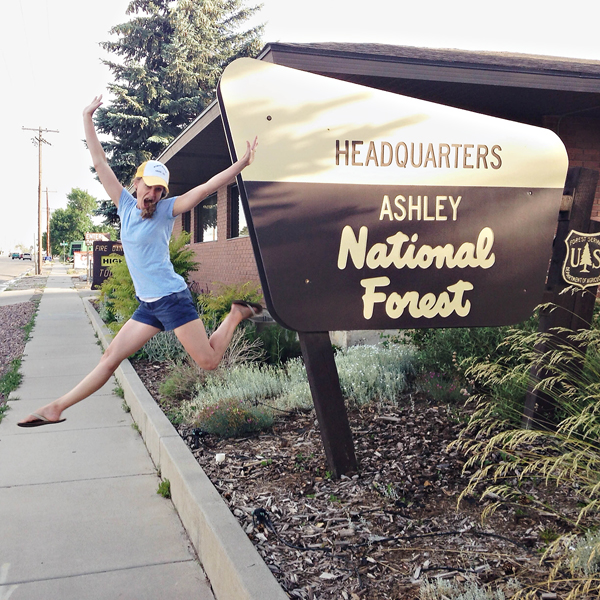
After that shot, I thought it would be fun to create a series on instagram of me/us jumping at national parks and forests. You can create your own hashtag on Instagram to compile pictures you want to see as a collection. Hashtags aren’t private, so anyone can add to your collection. I try using personal hashtags to make it a little awkward for people to use them on their own pictures. Good online etiquette is to not add your photos to someone else’s hashtag if it is obviously a personal one. For my jumping shots I used the hashtag #campbell7parkforesthappyjump If you do a hashtag search on Instagram for that hashtag you will see my jumping shots. The fun thing is I will be able to continue to add to those photos as we travel in the future.
When I posted the pictures on IG, I got several questions asking “how?” I took the shots with an iPhone, so I thought I would share that here today.
Yellowstone National Park: We were driving in Lamar Valley in the evening and no one was around. The sun was low on the horizon and the clouds were dramatic. Phones need lots of light to capture action. Since I had a lot of light, I knew we could freeze the jumping action. We parked in a pull-out and I looked for the angle I wanted. I decided I wanted low on the ground near the yellow lines. Next I asked my 8 year old to hop out of the car. I took an example shot and then explained to him where to hold the phone and what I was hoping he would capture. He nailed it. If I wanted a silhouette shot I would have had him stand facing the sun instead of the sun behind him.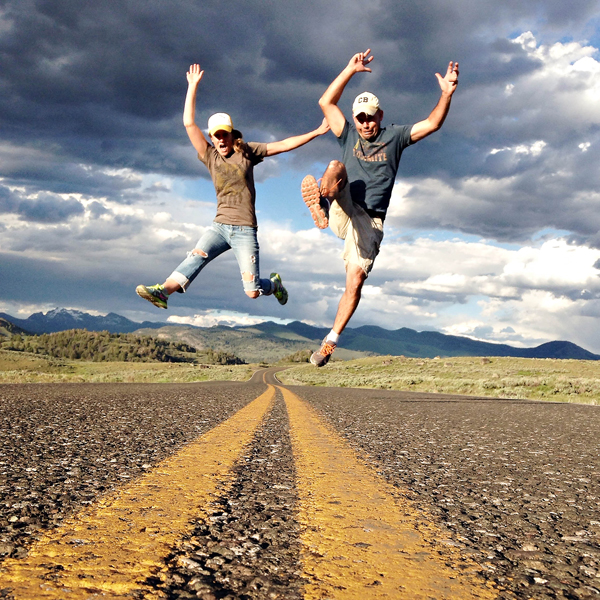
Glacier National Park: It was our last night in Glacier and the sun was setting so I knew we didn’t have much time. I scoped a location that had a glacier in the background and ’empty’ space for us to jump in. Jumping shots work best when you don’t have a distracting background behind you. For this shot, I showed my 8 year old what I wanted again. Then Chris and I jumped off that ledge you see…this gave us extra height so the mountains weren’t behind us.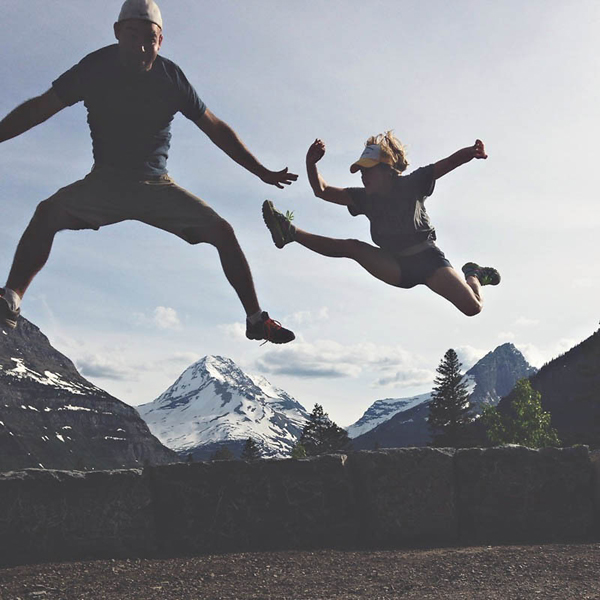
Beaverhead-Deerlodge National Forest: For this shot, I convinced my sister to jump with me. We found two stumps that were somewhat close together that we could jump off. She chose the lower, level stump leaving me with one that was hard to stand on, but was higher. We had tons of bright light so I knew the jumping would be ‘frozen’. I took an example shot for Chris of what I wanted and then he snapped this photo for us. I find if I take example shots first it is much easier for Chris (and my kids) to really see what I am wanting them to capture.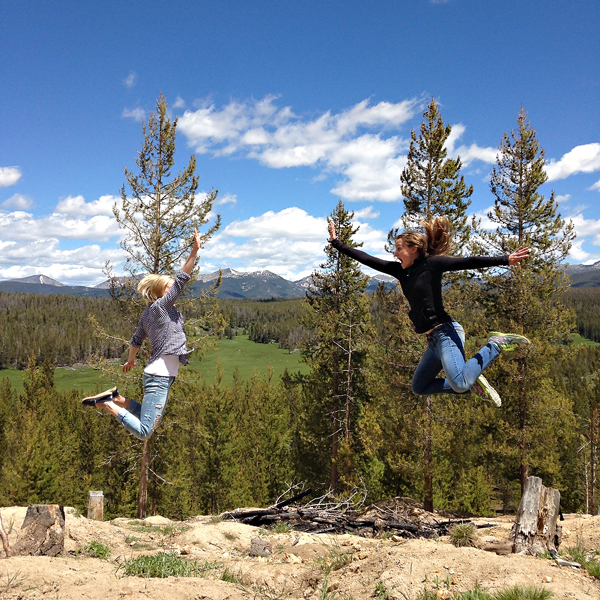
Mount Rushmore: I knew before I took this shot that it would be blurry and grainy because the sun was already setting and the light was not very bright. For this shot, I just counted and asked the kids to jump at the same time.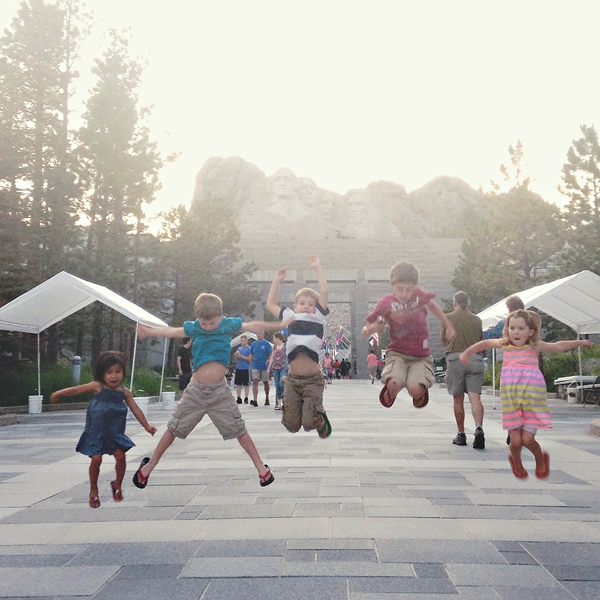
Now just a few example shots related to jumping shots with your iPhone:
In Glacier, we arrived at a beautiful lake after sunset. I thought we would attempt a jumping shot just to see if it might work. It didn’t. Without bright light, an iPhone just can’t freeze action. You can see the difference in quality between the action shot and the one of Chris standing still. You need light for action shots, especially with a phone.
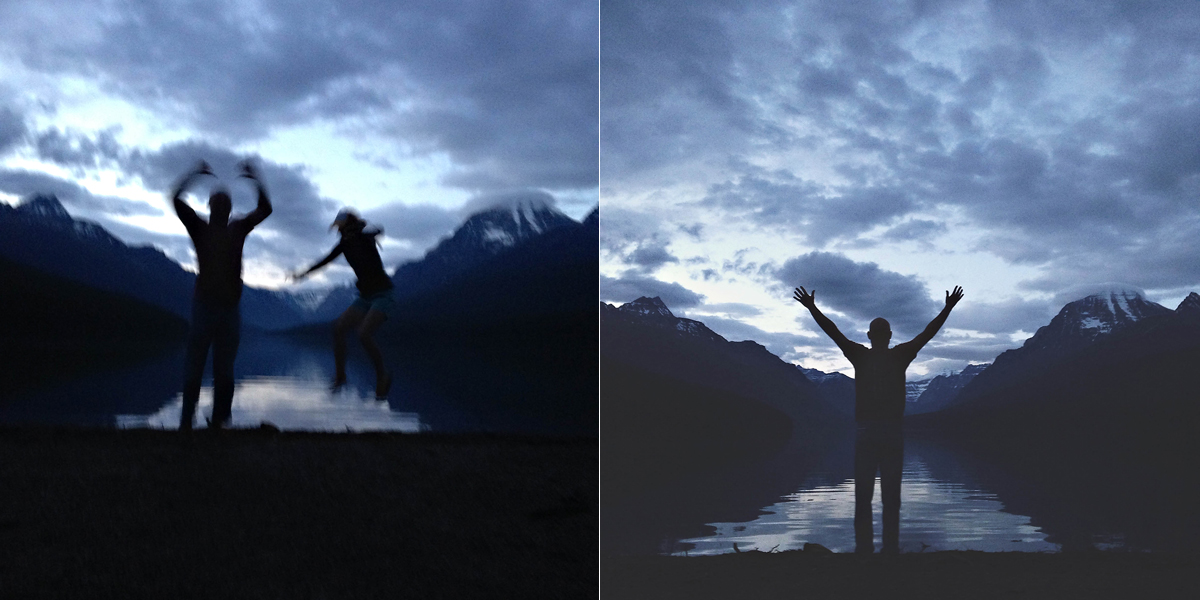
When I find a place I think might work for a jumping shot, I usually do a test shot first. Chris jumped in a lot of places before I found the ones I liked best. The second shot is Lesley doing my test shot where we took our photo together. Isn’t she cute?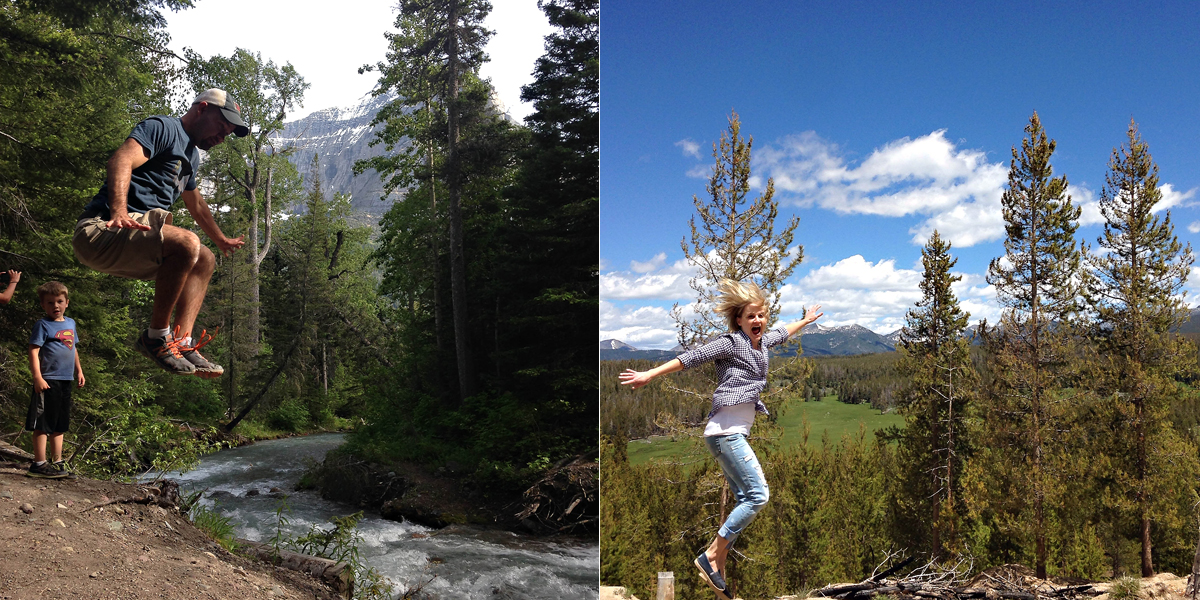
The next two shots are not related to jumping, but are fun things you can do with your iPhone. Most phone cameras keep the majority of your shot in focus, so you can really do some unique things with them really easily.
We were at Glacier and my 8 year old laid down on the ground near the lake. He asked me to take a picture that looked like he was sandwiched between the mountains and the ground. He is so stinkin’ creative! I just adjusted my angle until I could fit him between the two. Then I coached him on keeping his hands flat. I love this shot because it was totally his idea! He also had me take about 20 pictures of him ‘eating’ random wildlife while we were in Yellowstone.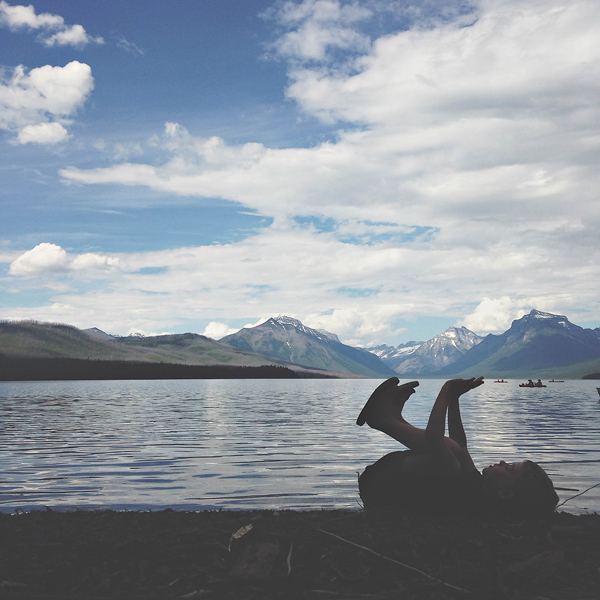
So random. This was my attempt to make it look like Chris was drinking my lemonade/tea. It is how I entertained myself while driving. He is such a good sport.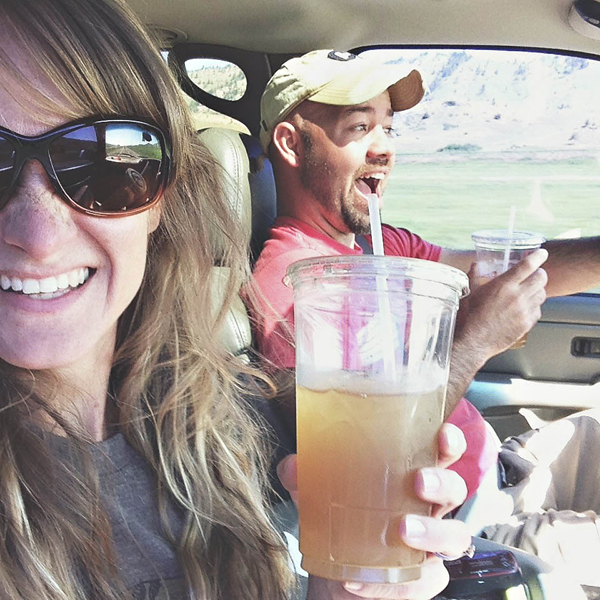
If you are interested in learning more about photography from the view that your phone is your main camera, you can read more about my SnapShop: Phone online photography course on the course website. Registration is open for the August course and there will be one more in the fall.


