diy {best of my days 2014}
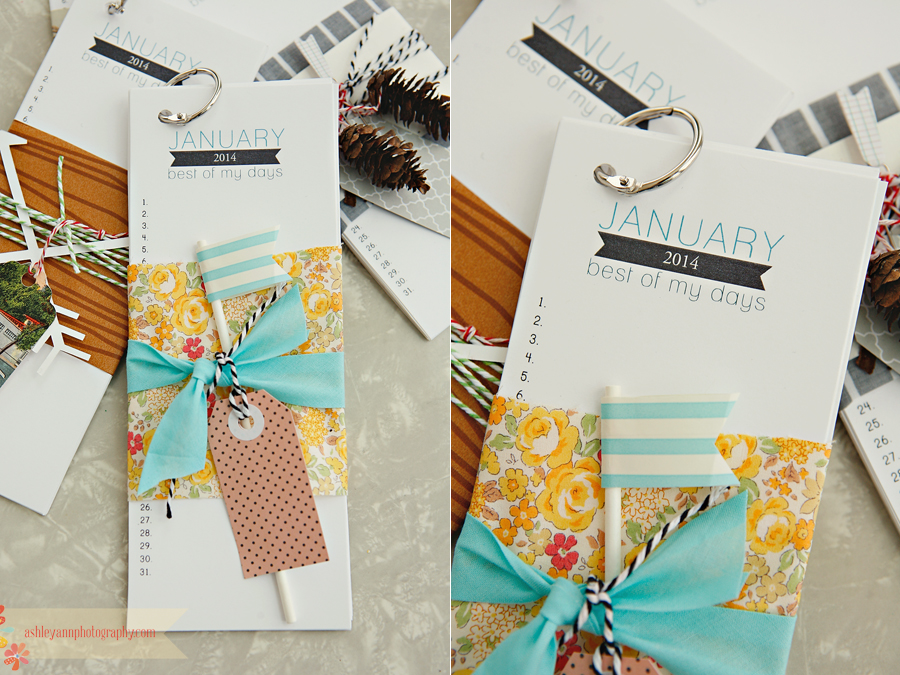
I started getting emails and comments in late October asking if I would be posting another one of these for 2014. I can’t tell you how much fun it is for me that some of you like this enough to ask me to do it each year. I am not a graphic designer – I should get my sister to help me with this next year. Hear that Lesley? Add it to your long To-Do list!
If you are new to the blog, this is a very simple idea. It is kind of like a little notepad, but with a goal of recording something great from each day. Maybe it is a big event or maybe it is just something small. Recording the joys of each day helps me nurture gratitude in my heart. The calendars were actually created with the idea of giving them as a gift at Christmas. It can be something to slip in with gifts for friends, teachers, family and kids.
The first year we kept this going for a bit with the kids, but then I dropped the ball. This year the older four our getting one in their stockings. I am really going to try my hardest to help the kids do this each night before they go to bed. I think it will be a great practical way to practice gratitude, but it will also be really fun to look back on one day. I keep my own list in my perpetual calendar.
Step 1: Download the pdf files by clicking here (you will need to open each file by clicking on the picture of it, then go to the bottom right corner and click on the arrow, then download)
Step 2: Print each pdf on cardstock paper. The text is blue, but if you wanted to save money by printing it in B&W, it would still look good that way. I print mine at FedEx Kinkos.
Step 3: Trim each page. Mine are cut to about 3.25? wide.
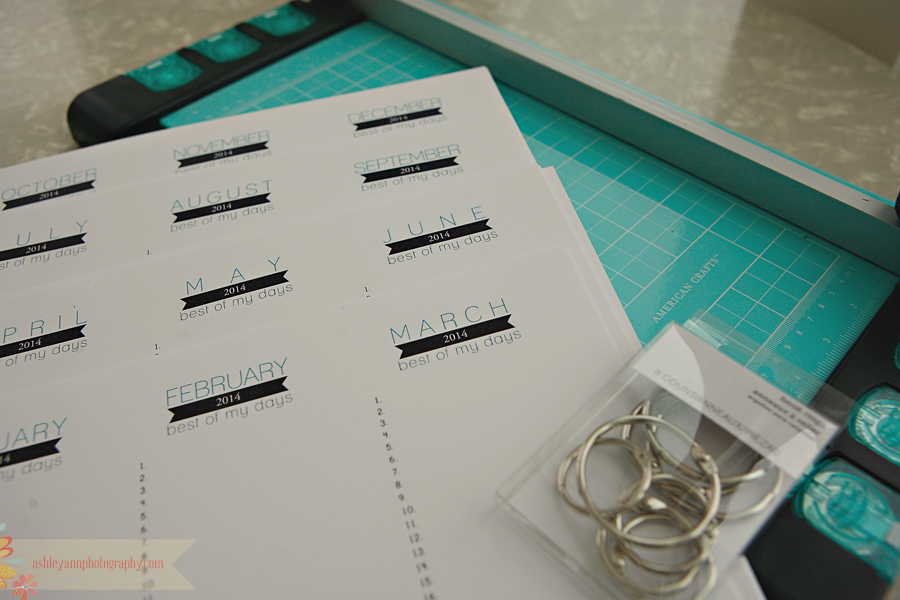
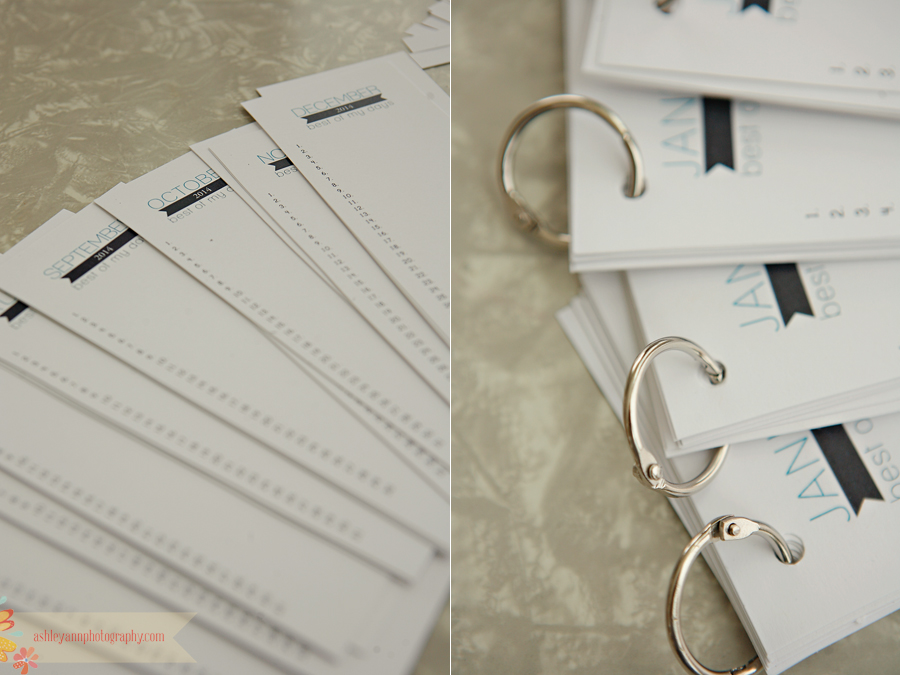
Step 4: Punch a hole in the top corner and add a metal ring to hold them all together.
Step 5: Add paper, ribbon, tape, etc. to wrap around the calendar for a bit of embellishment before you give it as a gift.
Left: wood wrapping paper (Target), arrows, tag (I made using a vintage postcard and tag punch)
Right: Scrap paper from an old book, ribbon, shimmer twine, deer (Hobby Lobby), tag (I made using scrapboooking paper, reinforcement circles and twine)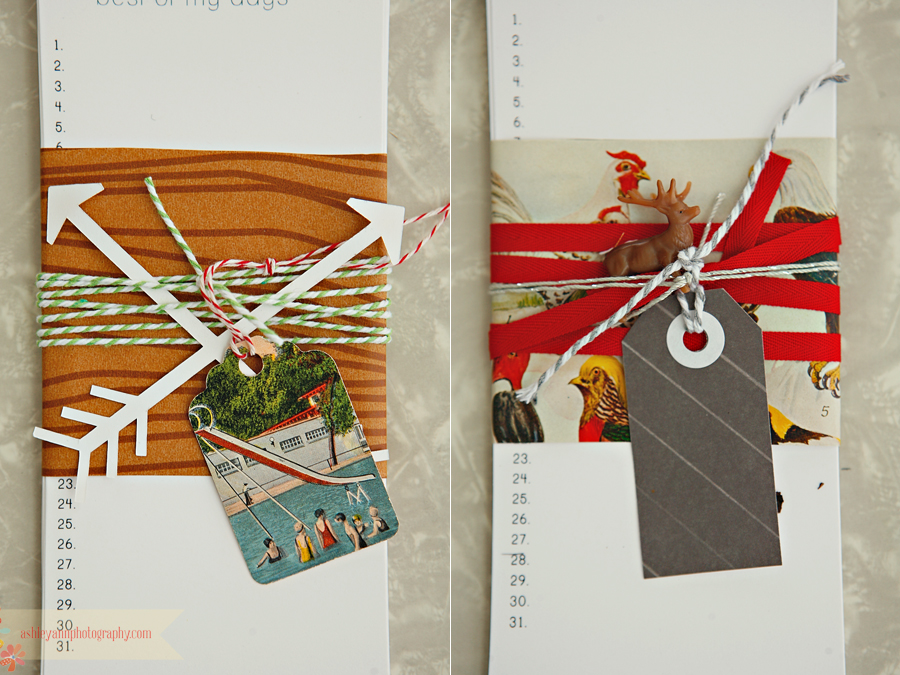
Left: scrap fabric, twine, pinecones (from Hobby Lobby, I attached them with hot glue to the twine), paper clip
Right: Scrap fabric, trim, flag, tag (I made using scrapboooking paper, reinforcement circles and twine)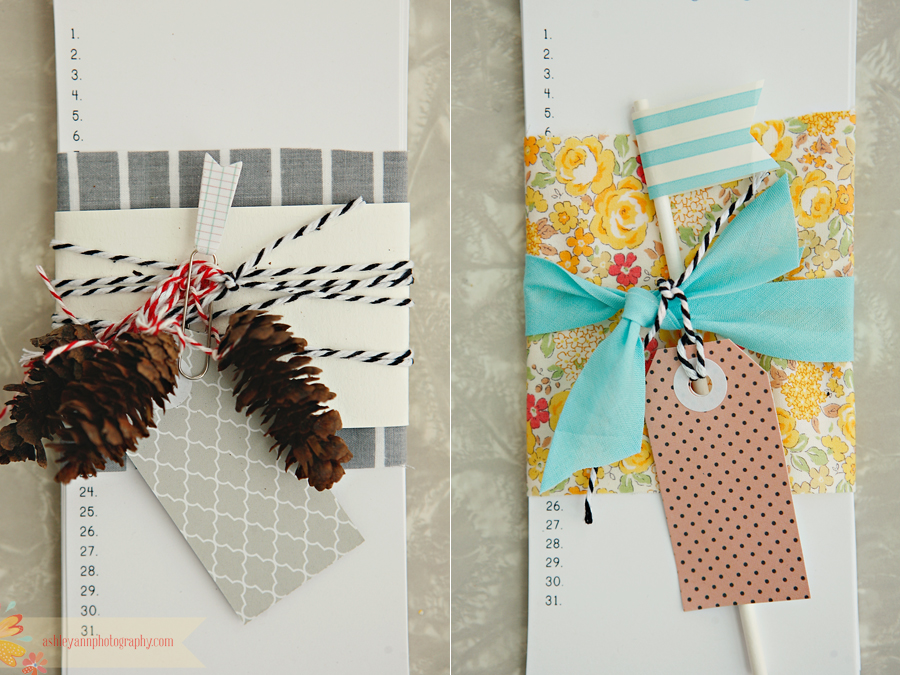
I really LOVE having three boys, but I would have much rather wrapped all of these for girls. Boy wrapping is so much harder! Hopefully next year Little One will be talking and ready to keep her list….and I’ll get to wrap two girl versions!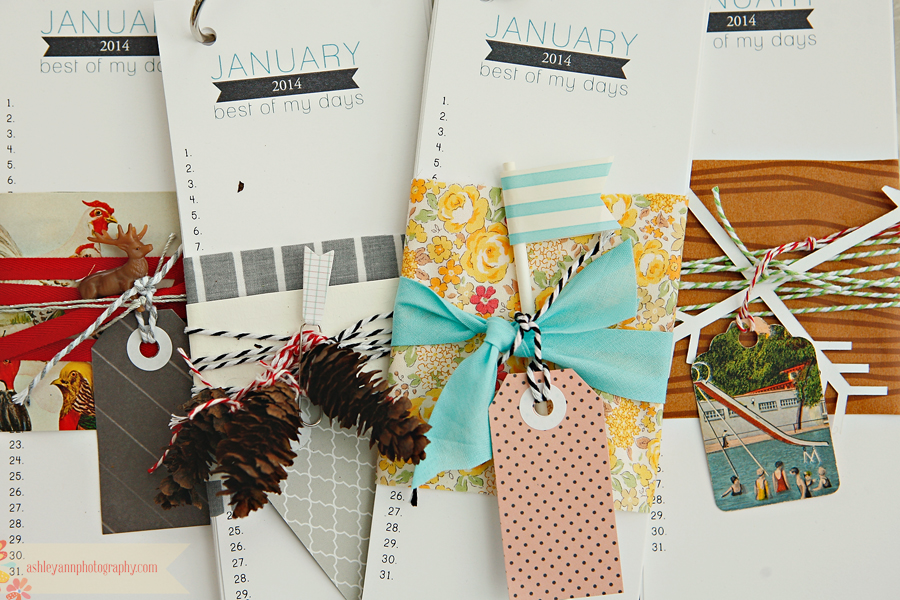
![]()
And just a little update on SnapShops (my online photography workshops):

January 5-26, 2014 – BOOKED
February 23 – March 16, 2014, registration opens January 6, 2014
![]()

January 5 – February 2, 2014 – BOOKED
February 23 – March 23, 2014, registration opens January 6, 2014
If you would like to purchase a spot in either of the February/March courses as a gift, please email me at ashleyannphotography at yahoo dot com
