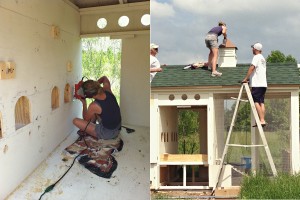
a tour of our chicken coop

Yesterday, I shared pictures of the process of building our coop. Today’s post is simply a photo tour of the coop. Like I mentioned yesterday, our coop is based off of Heather Bullard’s Chez Poulet plans. I purchased her plans and then decided we really wanted a bigger coop to house more birds. As a result, we basically doubled the coop. We changed up most of the dimensions and a lot of the materials based on what we had access to and cost. My dad did all the planning and drew up new plans based on Heather’s. I will not be sharing any dimensions for our coop or answering specific questions about the design because though we reworked the plans, they are still very much Heather’s. You can purchase Heather’s plans by clicking here.
We have a lot of empty field around our house, which feels spacious, but we love trees. We started a raised bed garden several years ago, but haven’t done much to it since – kinda had a lot going on (like having babies and an adoption!). This year we put big chunks of time, labor and sweat into one area of the yard. We started a little orchard of several fruit varieties, added the coop, built bigger compost bins and fenced in the garden.
Next up we plan to add another fenced area, add potager garden elements, 6 goats, 2 zebu, and a dairy cow. Not really. Just the fence and garden elements. We’ve got all kinds of dreams for the area. I am a reader, planner then an implementer. I’ve been quietly doing my research and planning for the long term. We built a lot this year and missed out on a lot of the growing season. I can’t wait to see this area next spring!
And now the coop.
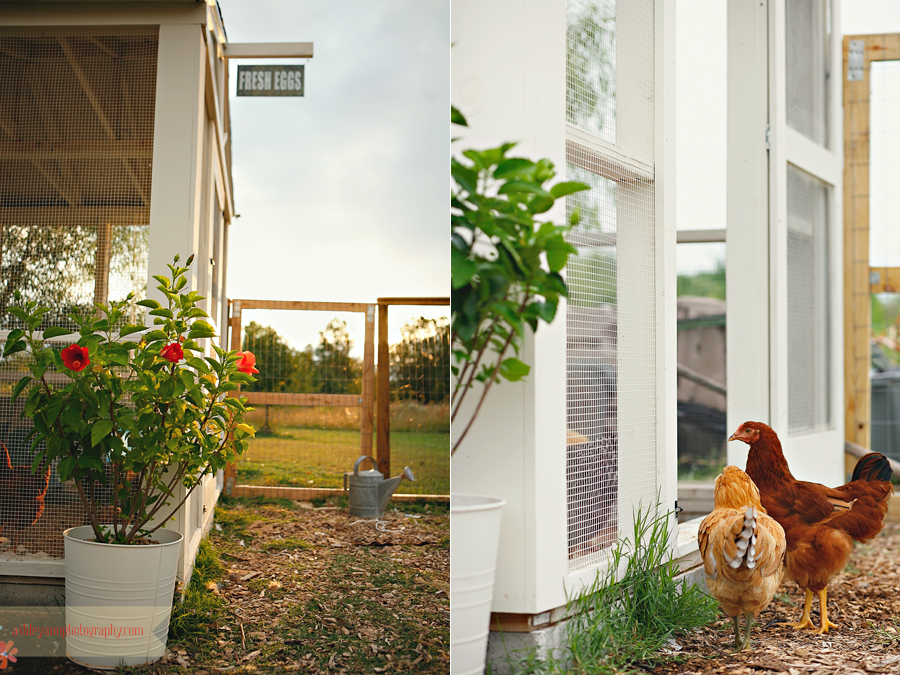
I really wanted to hang Meg Duerksen’s cow picture on that big white wall.
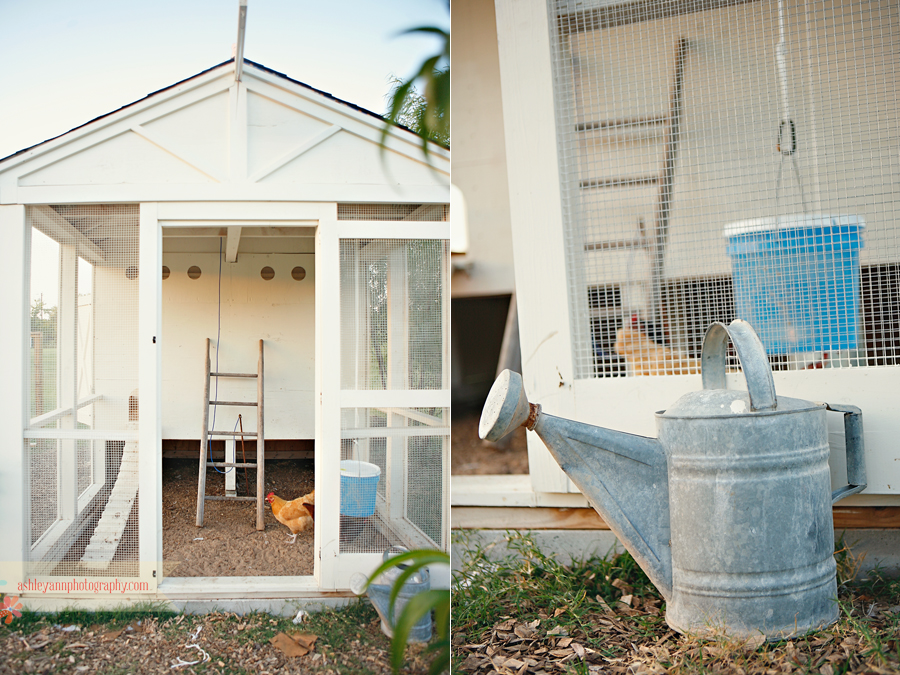
The inside of the coop has a sand bottom with some wood shavings mixed in as well. I really questioned how this would work when I read about it, but so far it has been great. It stays oddly clean. The chickens are pretty much never in here though – usually they are in the nesting boxes laying an egg, roosting on a rafter or out running in the yard.
Most days we leave the coop totally open like pictured below. The chickens mainly roam our yard – with the occasional visit to the neighbor’s picnic table during dinner. Our compost bins are on the backside of the coop and the chickens are the best compost workers. Eventually we will fence in the compost area and rotate the chickens between that area and the garden area depending on growing season. We’ll keep them out of the garden when things are growing. When it is time to turn the garden soil, we will let the chickens do all that work for us (and ‘compost’ it as they work!). If you are curious about using chickens in your garden or how to have them not destroy your bountiful harvest, I recommend the book Chicken Gardens. We’ve used it extensively for our long term planning.
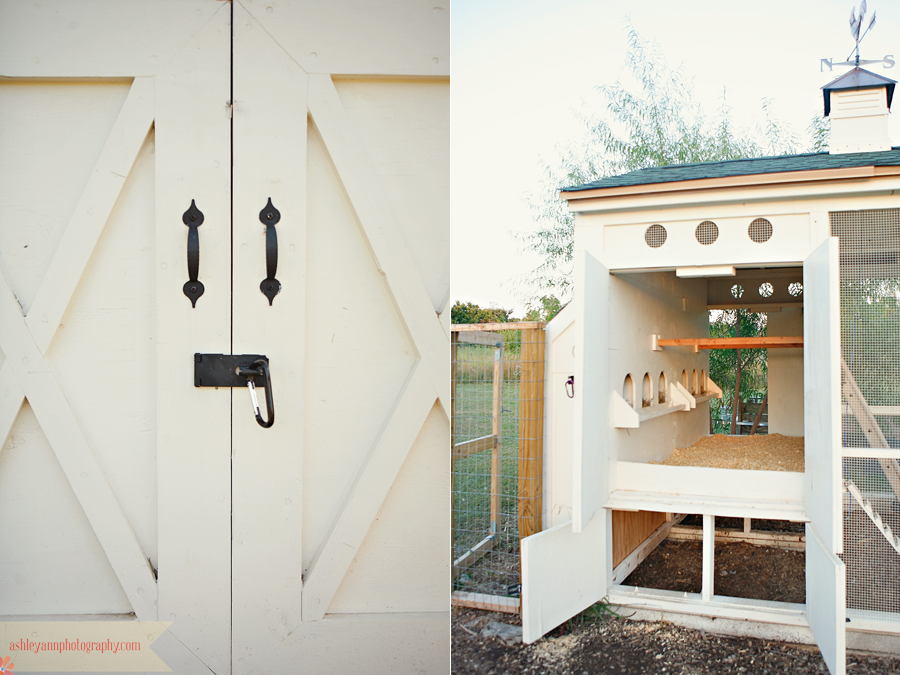
The sliding door encloses the roosting & nesting box area. The rope to close it is connected to the outside of the coop. We actually leave this door open all the time since the outer part of the coop in strongly enclosed. We have three chickens that prefer to roost in the rafters of the outer area of the coop. The rest roost in the rafters of the roosting area (despite the fact we built roosting bars for them!)
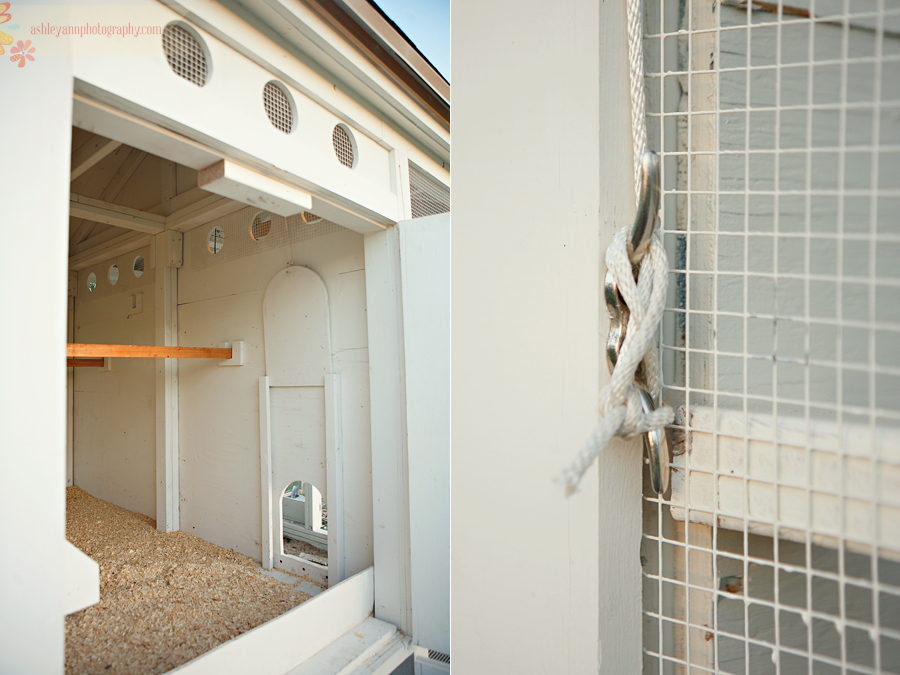
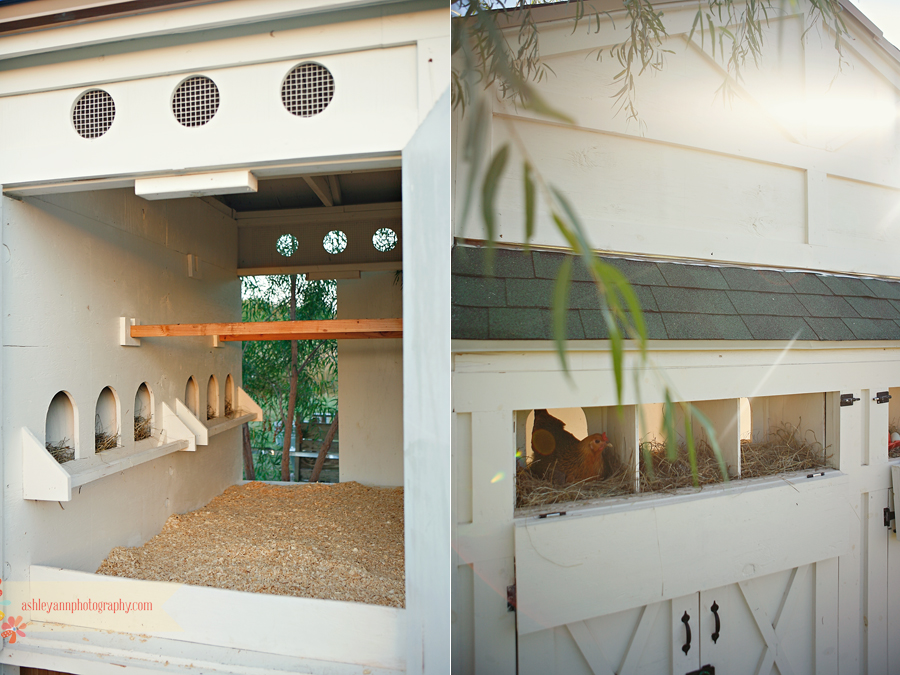
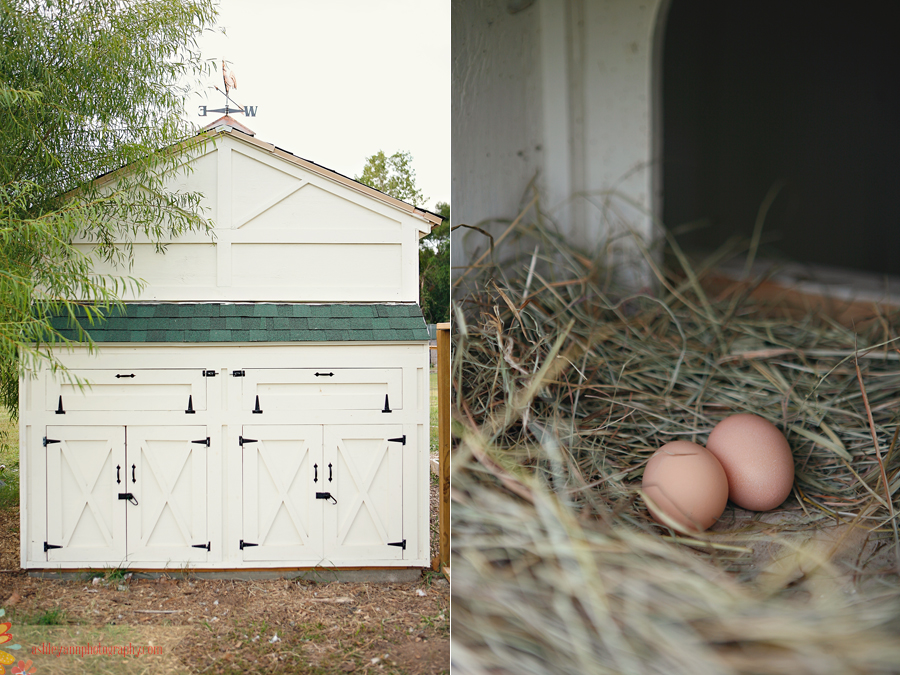
The inside of the roosting area does not look this pretty very often. The boys deep cleaned the coop before I took these pictures. We deep clean it (power wash the walls and scrub everything down about once every two months. Chickens poop a lot – everywhere. We add more wood shavings about every 5-7 days and then totally change them out every couple of weeks. Our chickens are only in the roosting area when they sleep, so that affects how dirty it gets compared to chickens that might be inside for longer lengths of time. The little cut-out holes you see lead to their nesting boxes (where they go to lay eggs). We access the nesting boxes from an exterior wall of the coop (seen in photo on right).
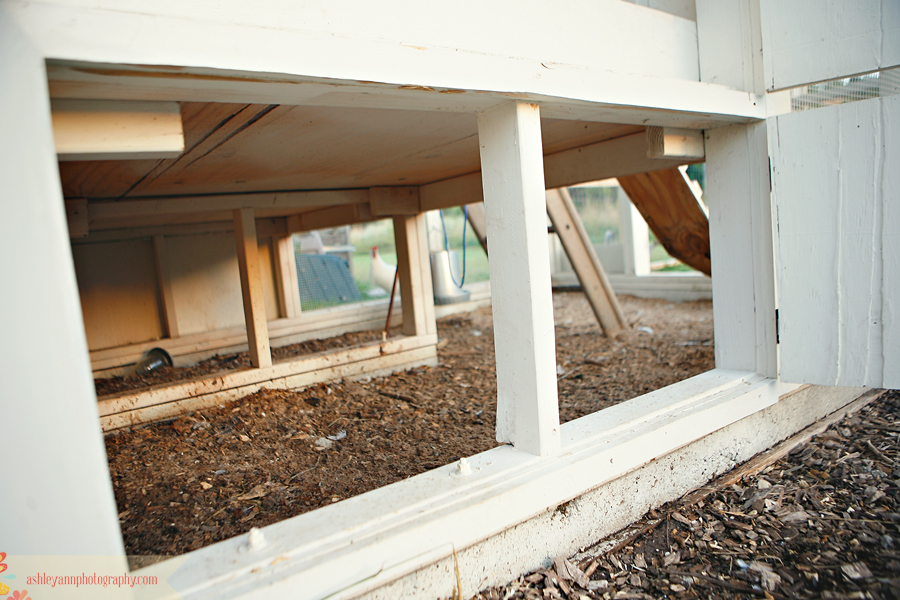
The best part of the coop is the ease of cleaning it. We move our wheelbarrow to the back side, open the doors and push all the dirty (AKA poopy) shavings into it. Then we dump it all into the compost bins, where it becomes awesome compost. Our compost bins are to the left of the wheelbarrow in this picture.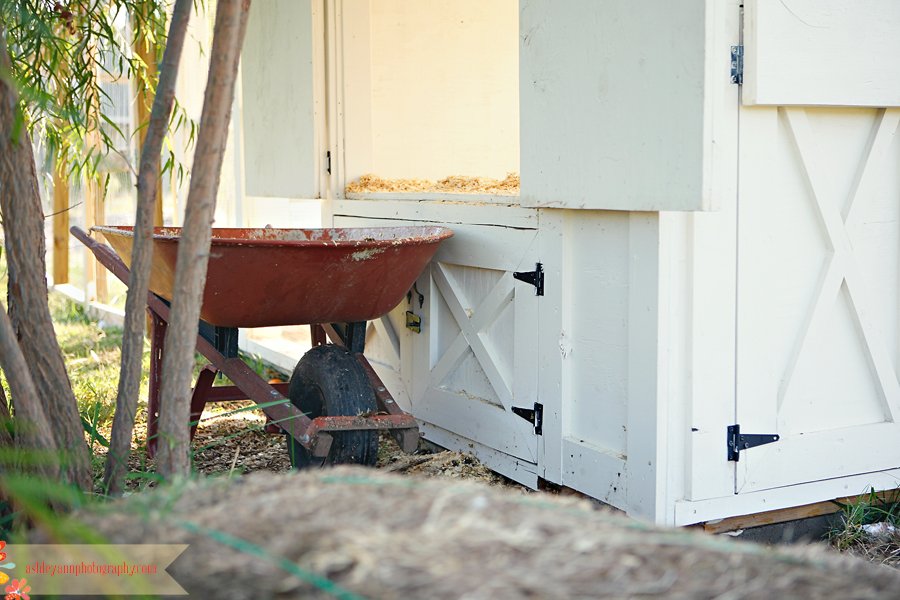
On this end, we can access the 6 nesting boxes to get the eggs. We also have 2 large compartments for storage. We store chicken supplies, garden supplies and small tools in these areas.
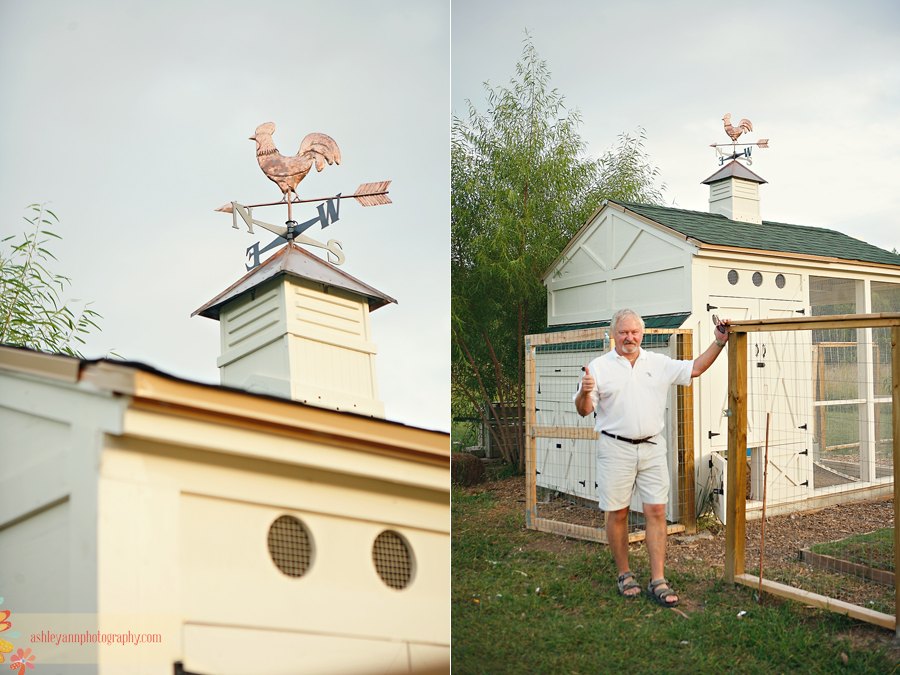
I’m not sure my dad really knew what he was committing to when he agreed to ‘help me’ build a coop. I’m thankful he said ‘yes’. When we look out our kitchen and studio windows, the coop and garden is what we see. While I think it is a beautiful coop and I enjoy looking out at it, what I love most about it is that I got to build it with my dad. Maybe I doubled the size so it would take longer to build! My dad finished off the coop with a handmade weather vane. One more creative work by my dad. My dad can build anything – he really can. Thanks Dad!
Just a reminder – I will not be sharing any dimensions for our coop or answering specific questions about the design because though we reworked the plans, they are still very much Heather’s. You can purchase Heather’s plans by clicking here.

