diy {wood flag garden markers}
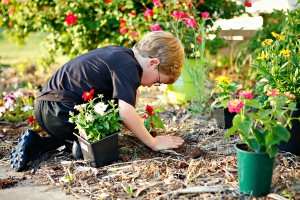
Last night we had our first salad from the garden. It was delicious. The kids were so excited. They’ve been working hard planting, watering, and tending to the garden. They nearly didn’t believe me when I told them it was time to do some harvesting for dinner. Nothing gets them eating their vegetables like growing them does.
We needed some labels to help the kids know what is planted where until they learn to identify the plants based on appearance. I had some wood on hand, so I sketched out a simple idea that would be easy to make with supplies I already had. So, our garden has markers now and I had a little fun with my moto saw.
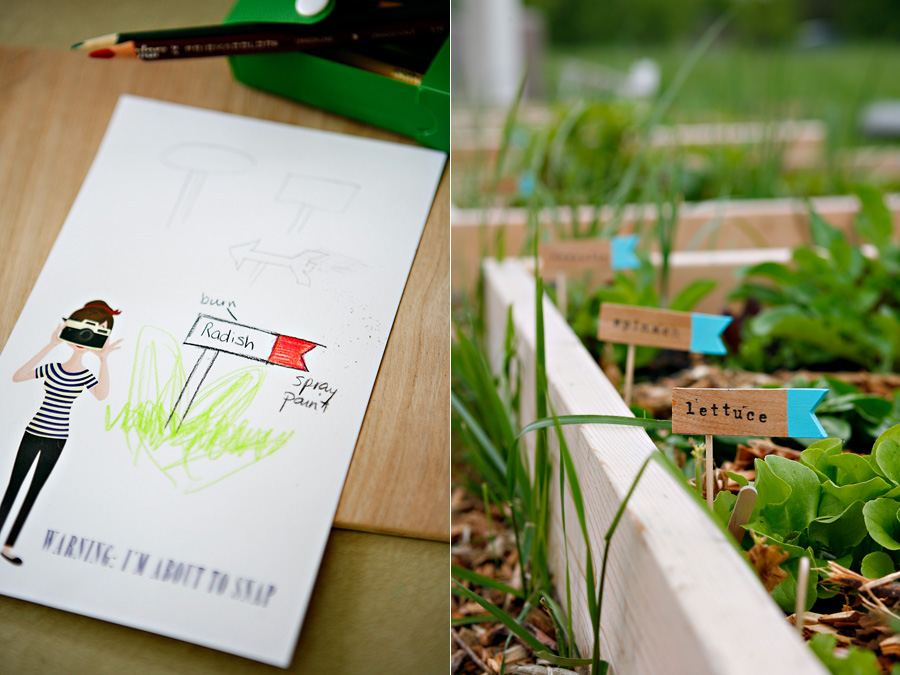
Tools & Supplies:
- Ruler
- Pencil
- Craft paint – I used Americana Bahama Blue
- Wood glue
- Small dowel rods
- Dremel Moto Saw
- Clear spray sealer
Step 1: Mark your wood about an inch wide. My markers were about 4 inches tall and an inch wide.
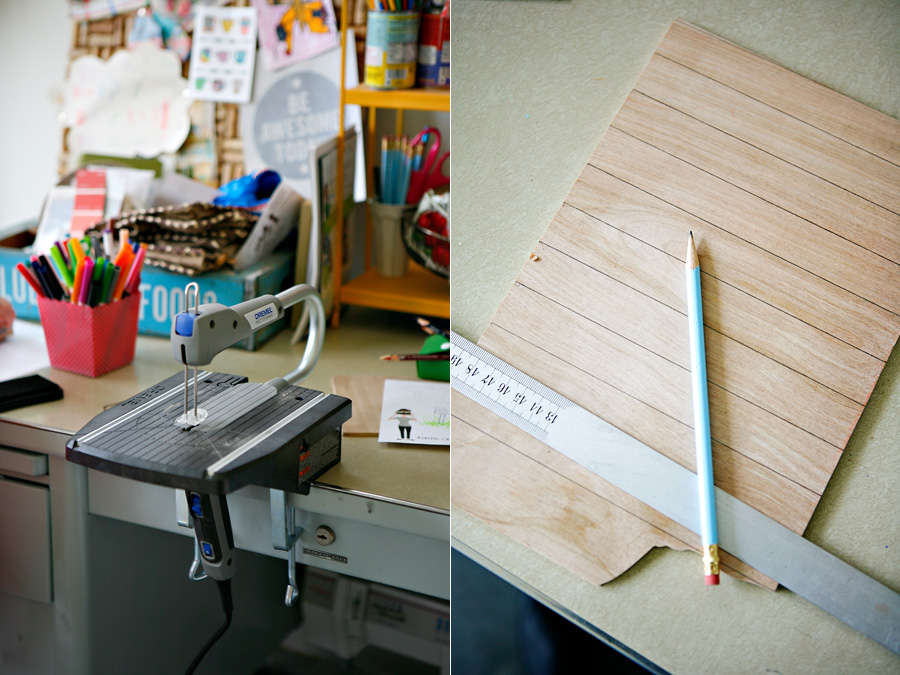
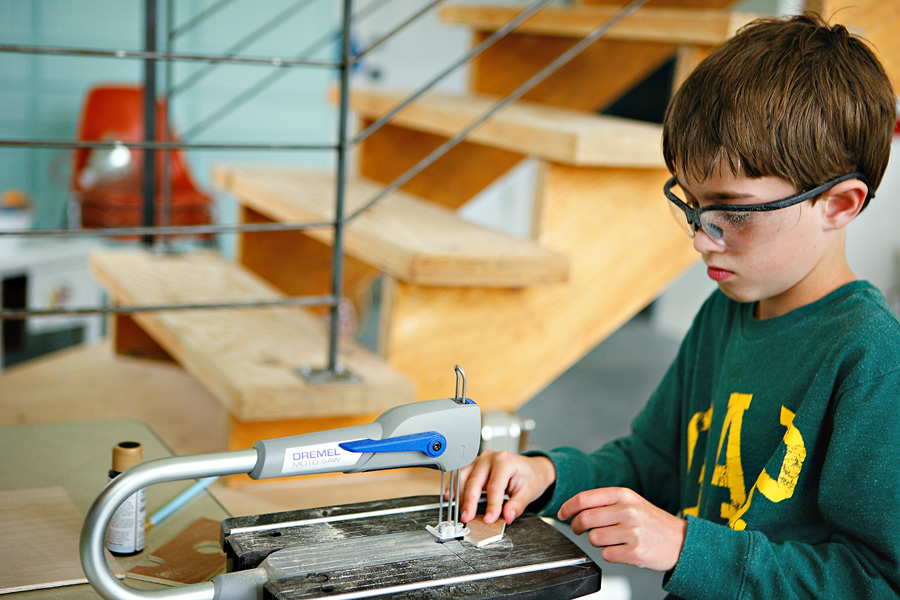
Step 2: Cut the boards. So my Moto Saw is new and it is quickly becoming my favorite. It is so easy to use and is portable (the saw detaches from the base)…big plus for me. My grandpa is incredible with a scroll saw. He can do the most intricate designs. I’m sticking with straight lines for now. I would highly recommend this saw for those that are intimidated by big saws, but would love the ability to freely cut various shapes.
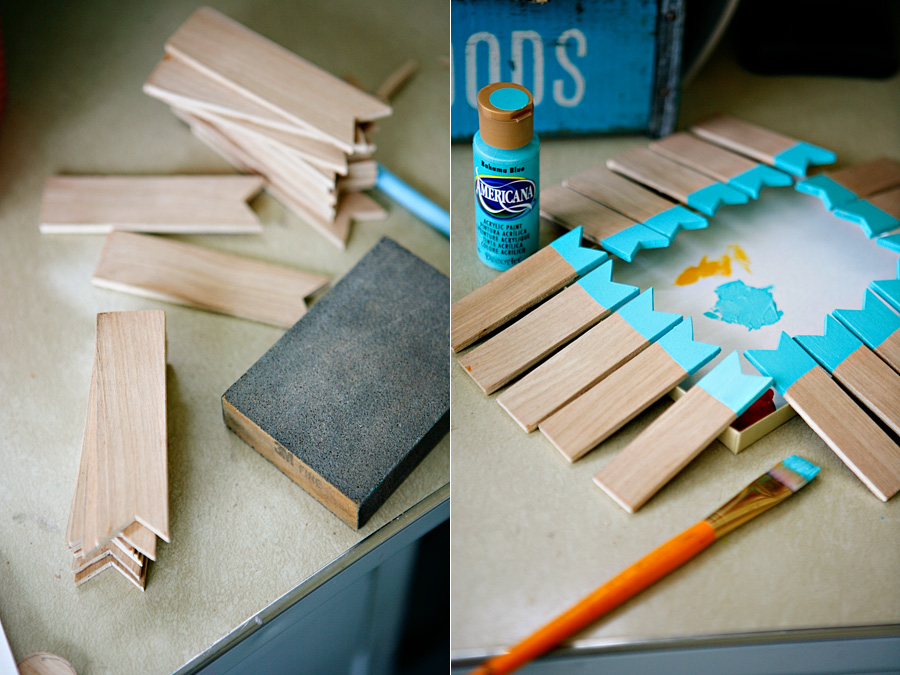
Step 3: Draw a small triangle on one end and cut
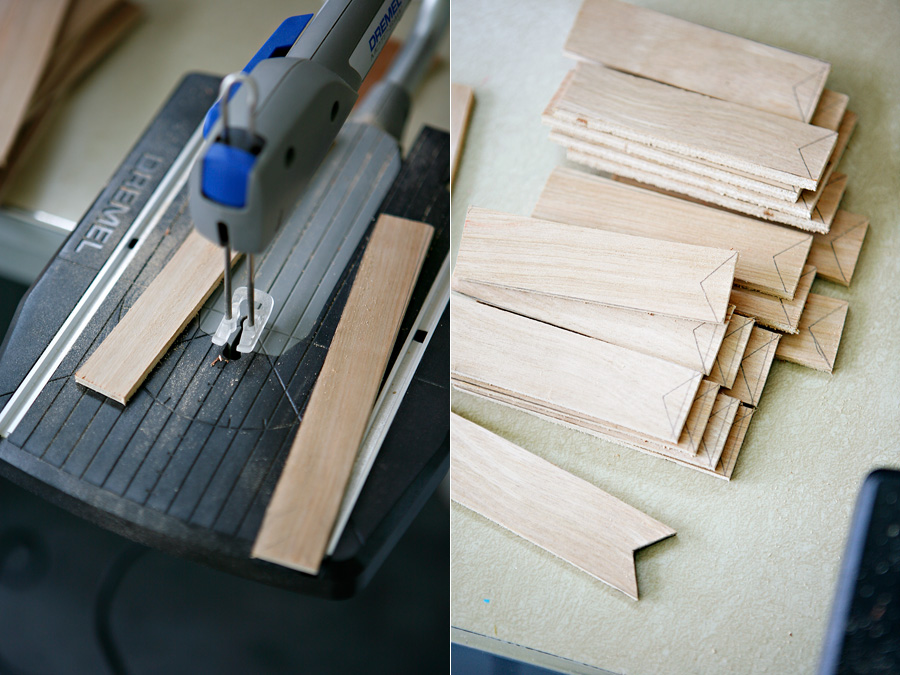
Step 4: Lightly sand the edges
Step 5: Paint the edge
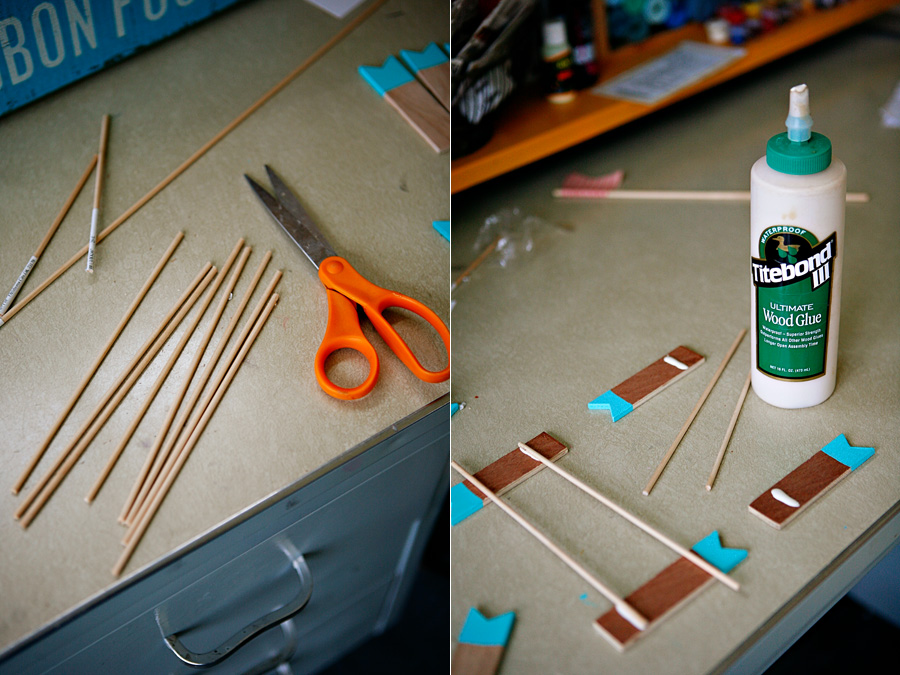
Step 6: Cut dowel small dowel rods about 6 inches long
Step 7: Use wood glue to attach dowels to back of garden markers
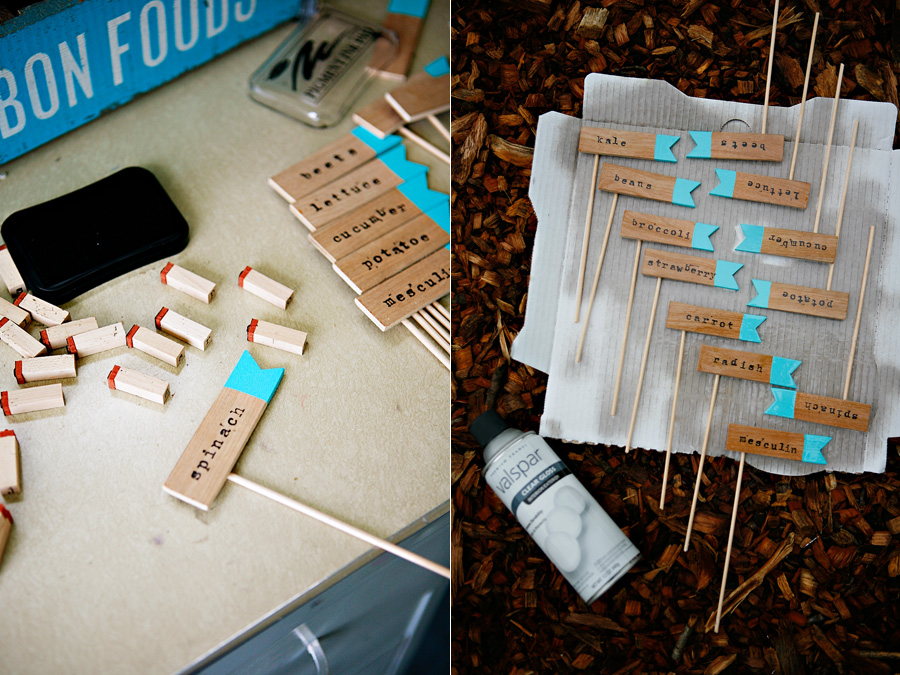
Step 8: Stamp on your veggie names
Step 9: Seal markers with a clear spray…really any that aren’t water based should work. It is important to seal if you want the markers to last and don’t want the ink to run when you are watering your garden.

I know not everyone has a saw, you could improvise or use a different shape. I introduced my oldest to scroll sawing since I had it out. He made swords for his lego men, a bow & arrow, a throwing star and I am not sure what all else, but he was having fun. Today I am putting him to work to cut out the brackets for the coop roosting bars. It will be one job I know he won’t complain about! For those wondering, he is nine and it is so easy for him to use.
So my garden has labels now for the kids to easily identify things…and things are growing…and the chickens are busy making some great compost for a later date!


