diy {fabric backed hutch}
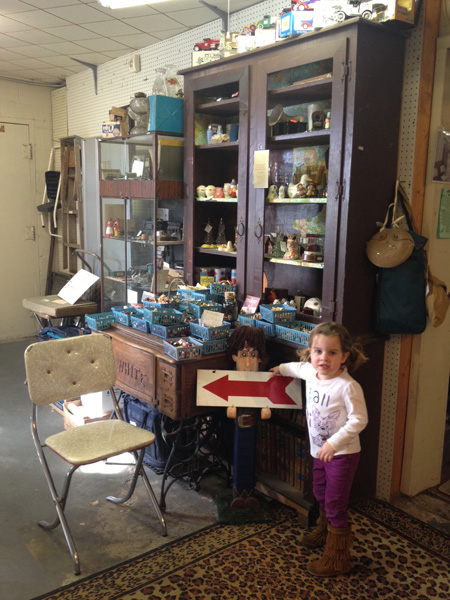
Last December FireCracker and I went on a hunt for a hutch I could use in the studio. Under piles of trinkets and shelves full of stuff, I found my gem. It is that dark brown wood thing if you are wondering…
I really wanted to somehow salvage the little sections of retro contact paper, but I just couldn’t make that happen. So I lightly sanded and then painted the whole thing white. I kind of wanted to do it a fun color, but with the red chalkboard wall I thought I better just stick with white.
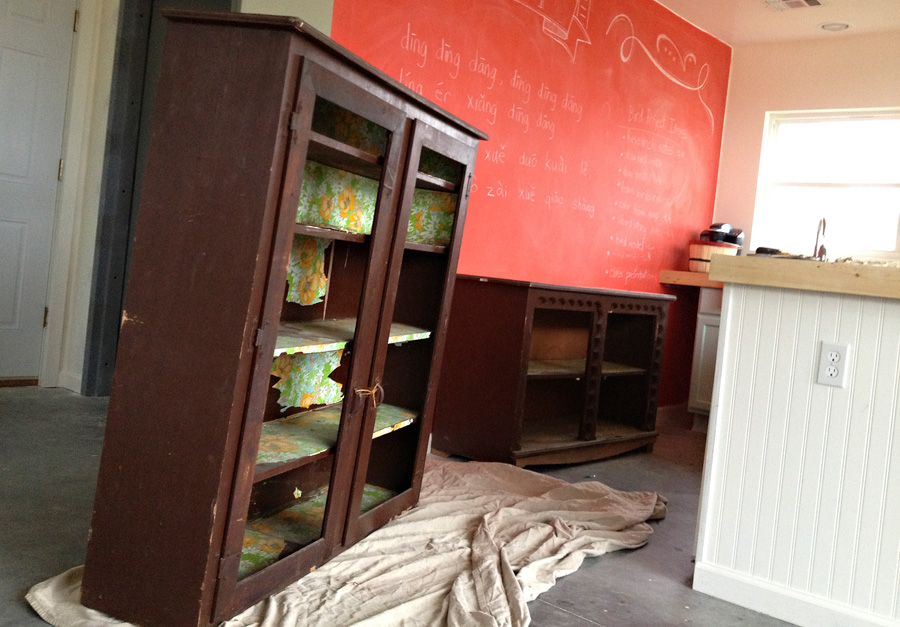
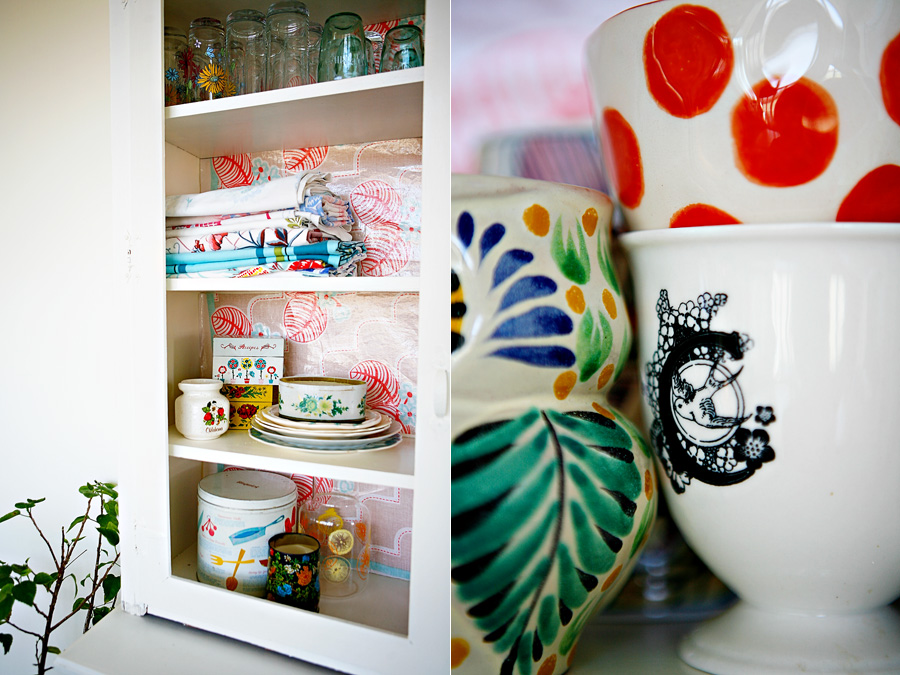
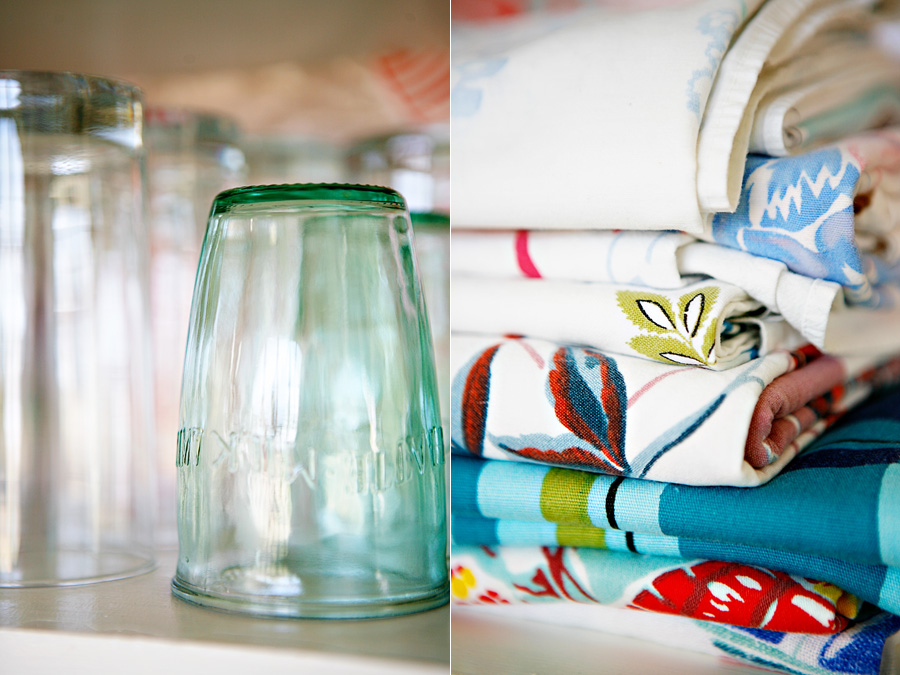
I also wanted a fun background, but again was stuck trying to find something to coordinate with the red wall. I had some wallpaper that would have been easy to apply, but it clashed. So I waited a bit and one day came across a vintage tablecloth in the perfect red. The studio is very much a ‘studio’…we are creating in there and often that includes a mess. Knowing it was highly likely the fabric could get stained or messed up (and just dirty) in a hutch with no glass, I knew I needed to protect the fabric. So I turned it into oilcloth basically. Super easy. I might be doing this to my kids’ clothes next.
Supplies:
- Tablecloth (or fabric)
- Iron On Vinyl
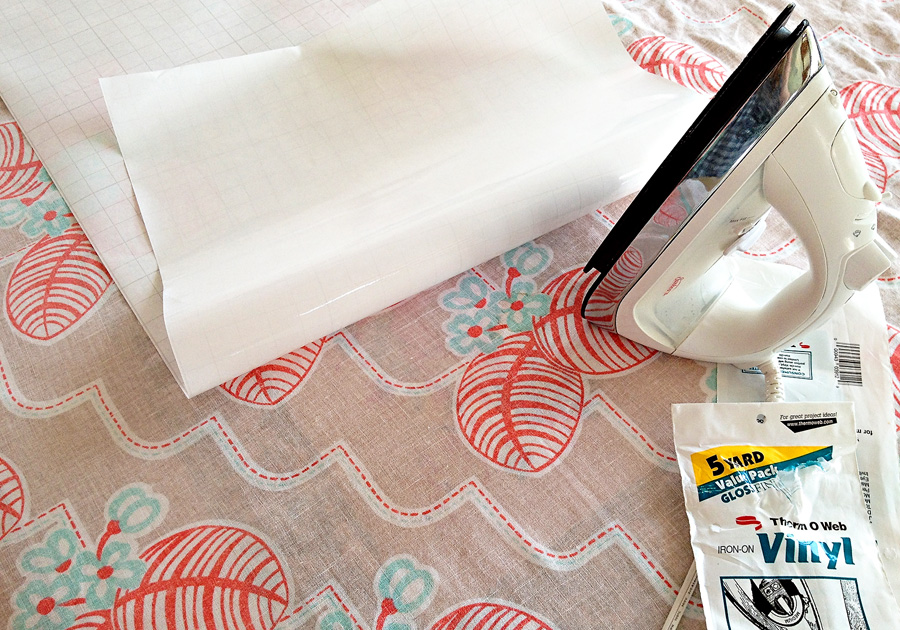
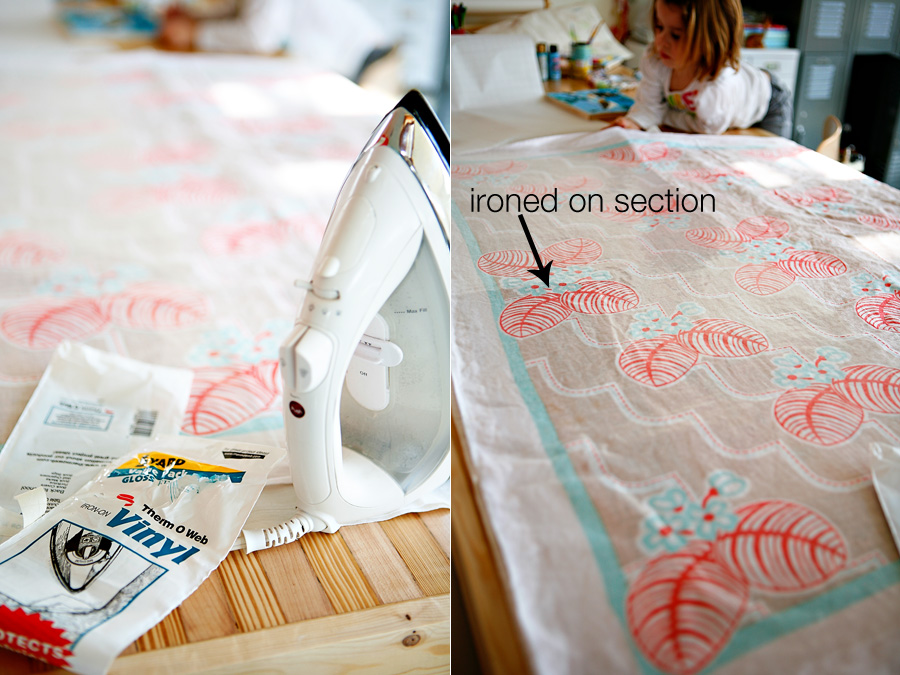
First, I ironed the tablecloth to get out all the wrinkles. Next, I followed the vinyl instructions and covered the whole tablecloth with the vinyl (I had already measured and knew I would need the whole tablecloth).
Next, I cut the vinyl into strips to fit on the backside of the hutch. It would have been better if I could have removed the back of the hutch and not had to cut all the strips, but that wasn’t an option.
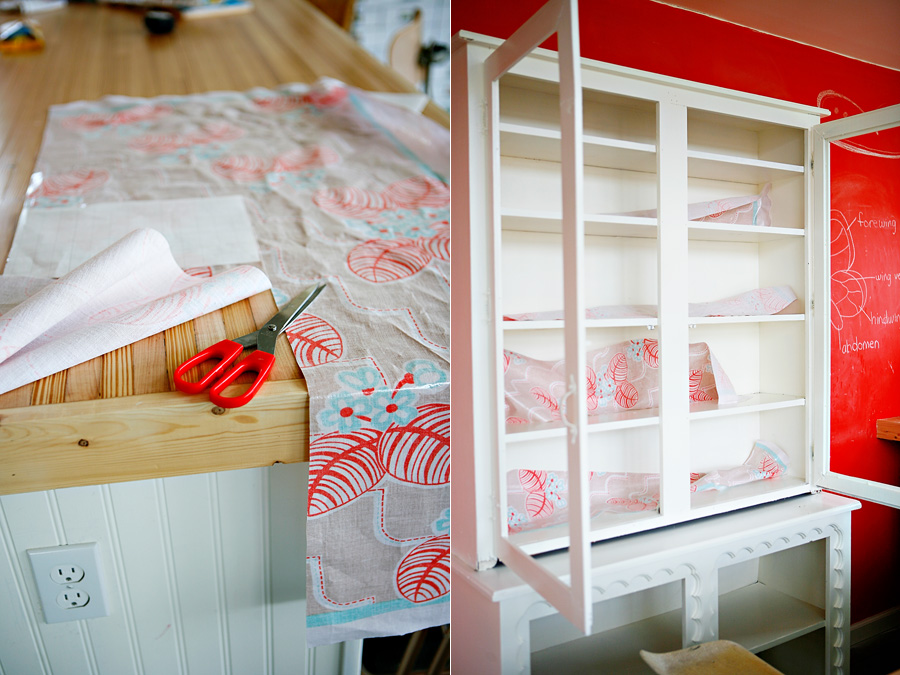
Finally, I used hot glue to attached the fabric to the hutch. I didn’t want it to be super permanent because I change my mind like the wind changes directions. Case in point…the red chalkboard is no longer red. This vinyl covered fabric worked great, but I am not super crazy about how it reflects light. It will work for now, but since the chalkboard isn’t red anymore…I might be using some wallpaper in the future. After I build a chicken coop. And a potager garden. And do laundry, dishes,…….
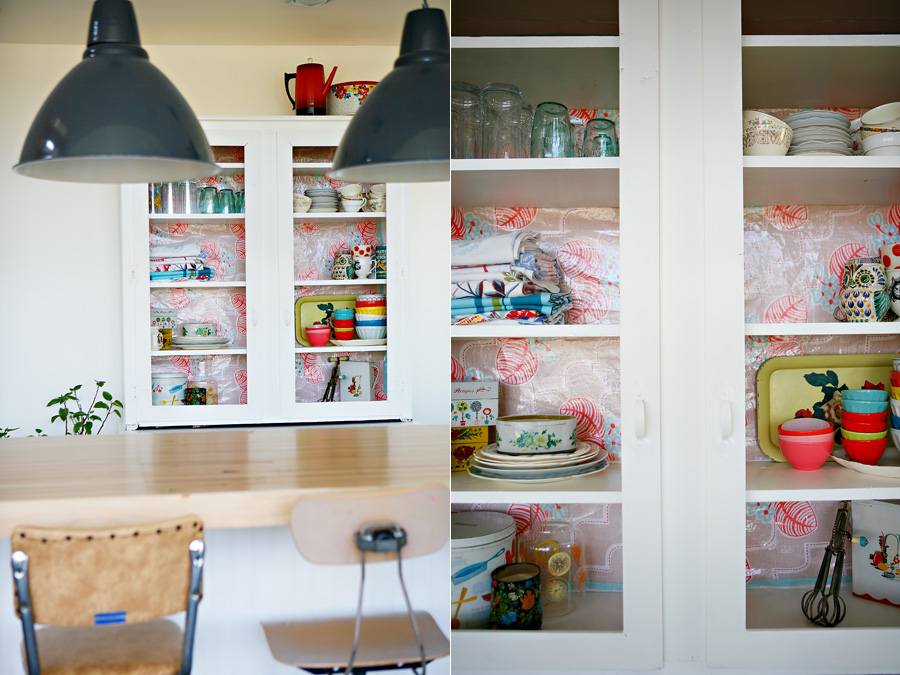
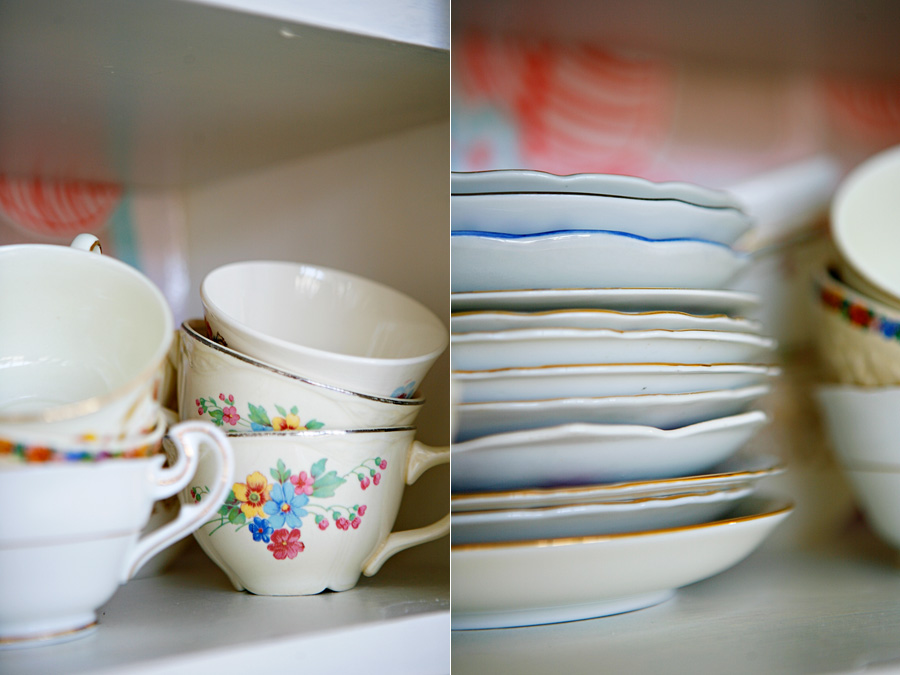
I’m filling the hutch with the little things that are nice to have on hand in that room for our family and guests. It is especially fun to watch little boys drink from tea cups – teaching them manners and keeping my hutch cute!
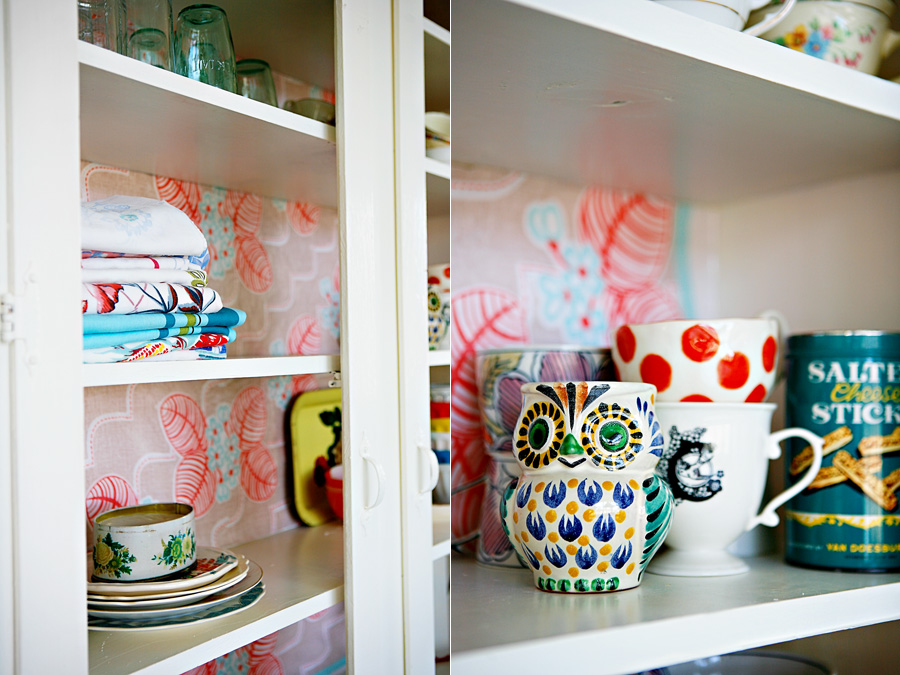
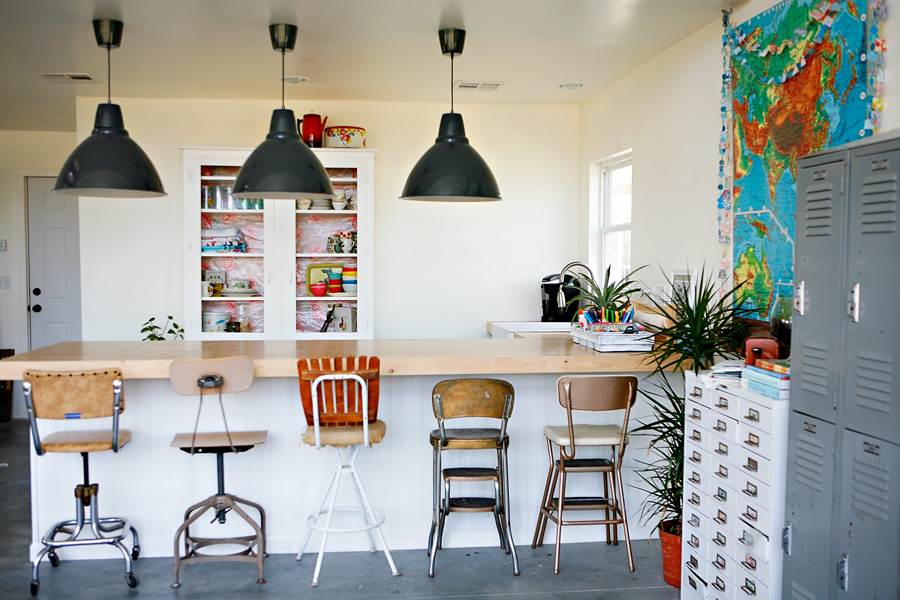
I tried really hard to love the red chalkboard, but I just kept wanting to go back to white. This space is still very much a work in progress. We still need to add a backsplash, cabinets and curtains. Then I will, of course, need to liven up that white wall. We spend so much of our time in this little corner. I want it to be homey and cozy.
P.S. Thanks for all the great advice and insight yesterday!

