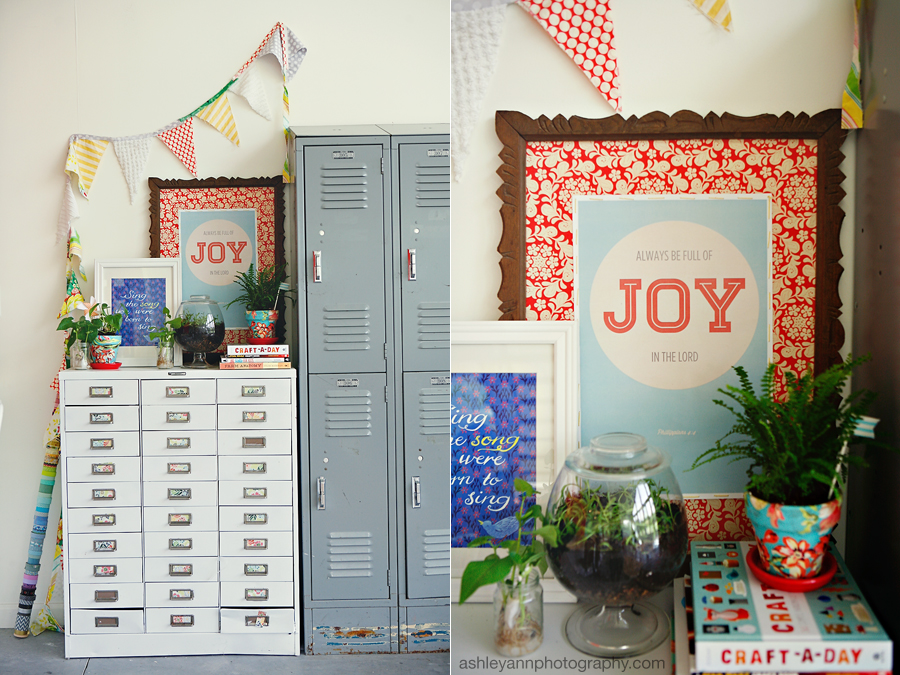
diy {stitch mounted print}
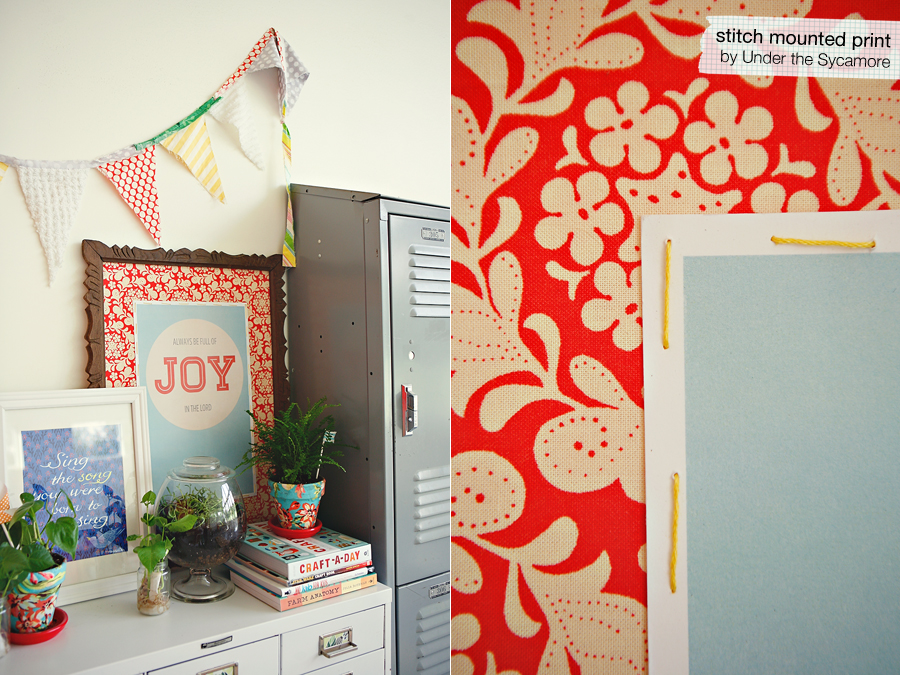
So that project I was going to start early this week – and got interrupted by the cat emergency – well I got it done. Granted it took all of ten minutes, but 10 extra minutes kind of feels hard to find these days.
Supplies
- Frame
- Print (mine is by my sister)
- Fabric
- Thread
- Easy-Tak adhesive
My frame is from a garage sale and was open back without glass. I hot glued fabric to the backside.
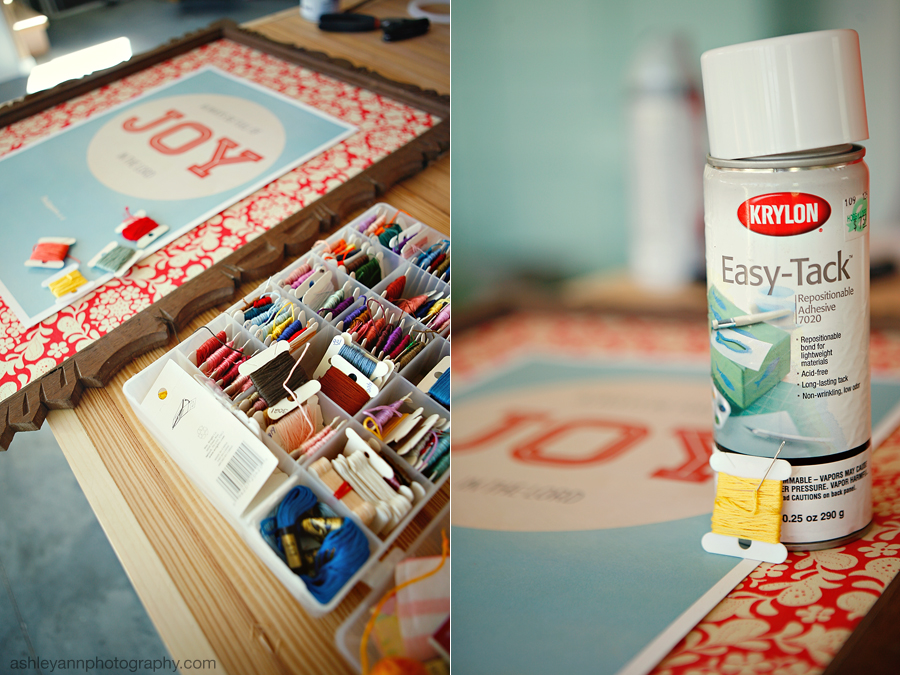
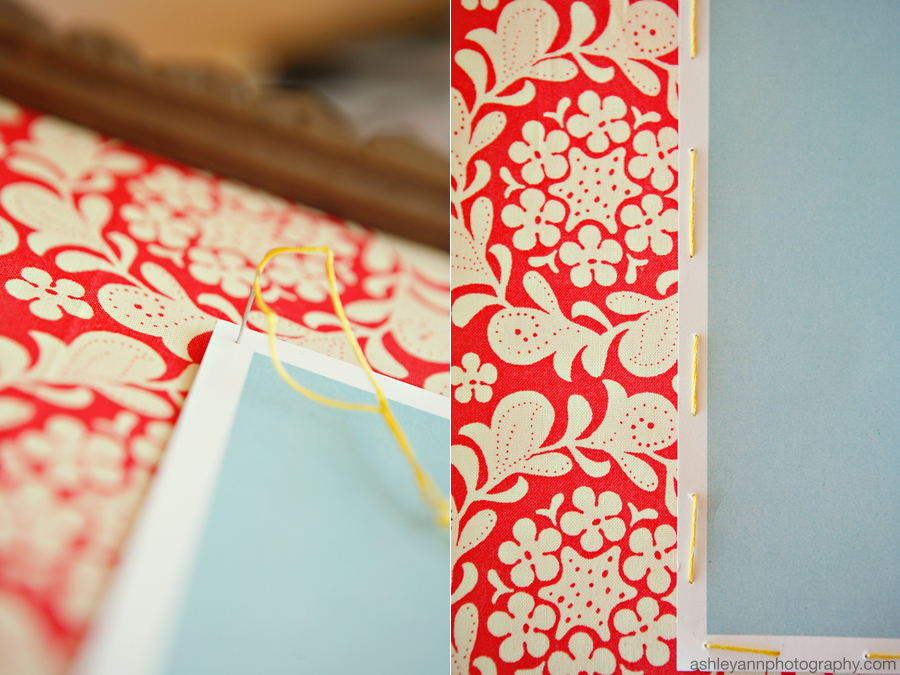
Step 1: Lightly spray the Easy-Tak to the back of the print and press it in place onto the fabric.
Step 2: Measure out plenty of thread to go around the outside of the print
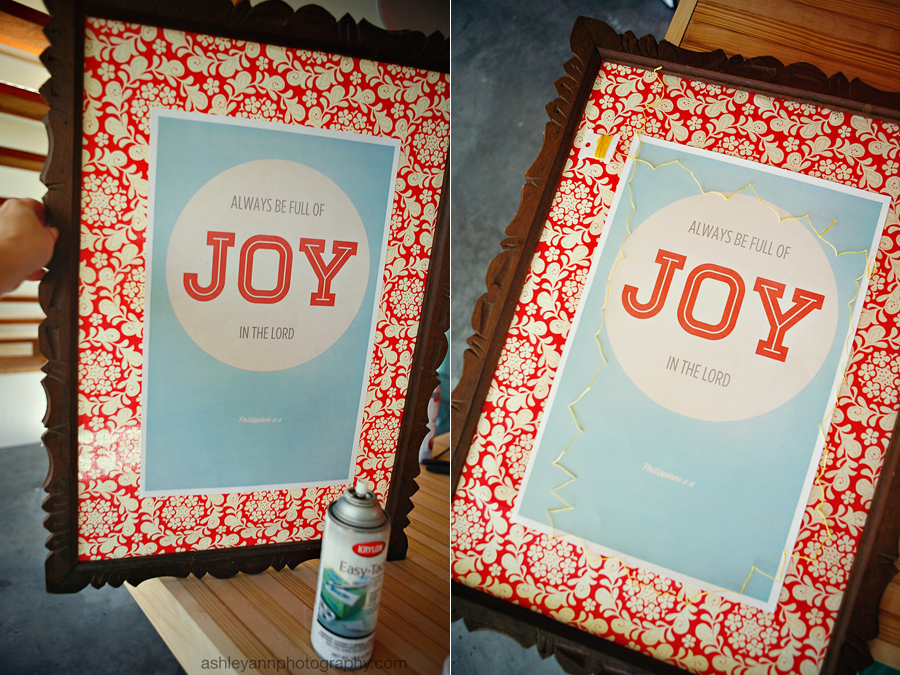
Step 3: Stitch the print to the fabric. I used large stitches that are not exact in length or straightness. You could take the time to measure and make everything very precise (but if you have littles running around, you probably appreciate a bit of wonky like me). You could also change up your stitches, color, etc.
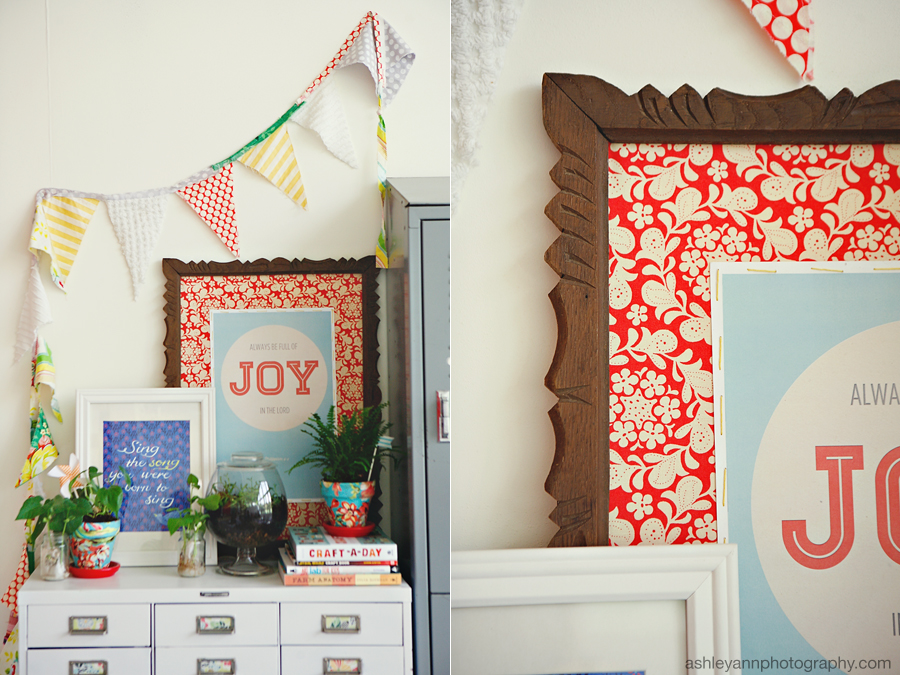
I semi-decorated a bit of the studio. I am sure it will change, but for now it is nice to have at least one area that isn’t piles of stuff.
