the other view of naptime & a diy
So the other side of all those cute nap time pictures are these….the pictures of FireCracker when I tell her to leave and let her sister sleep. Just as cute – in a FireCracker-y sort of way.



Do you remember our family pictures from last September? (and, yes, we are going to re-create this shot soon!)
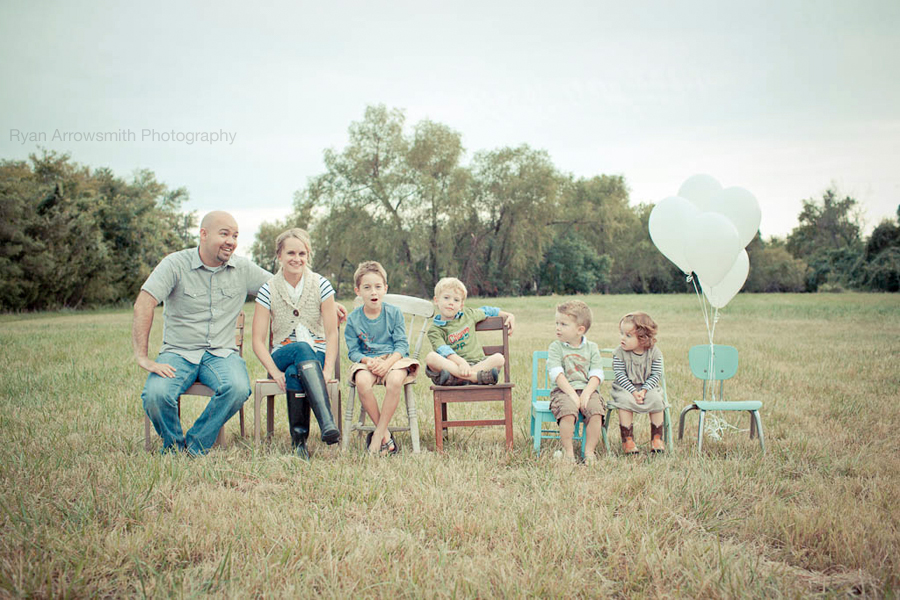
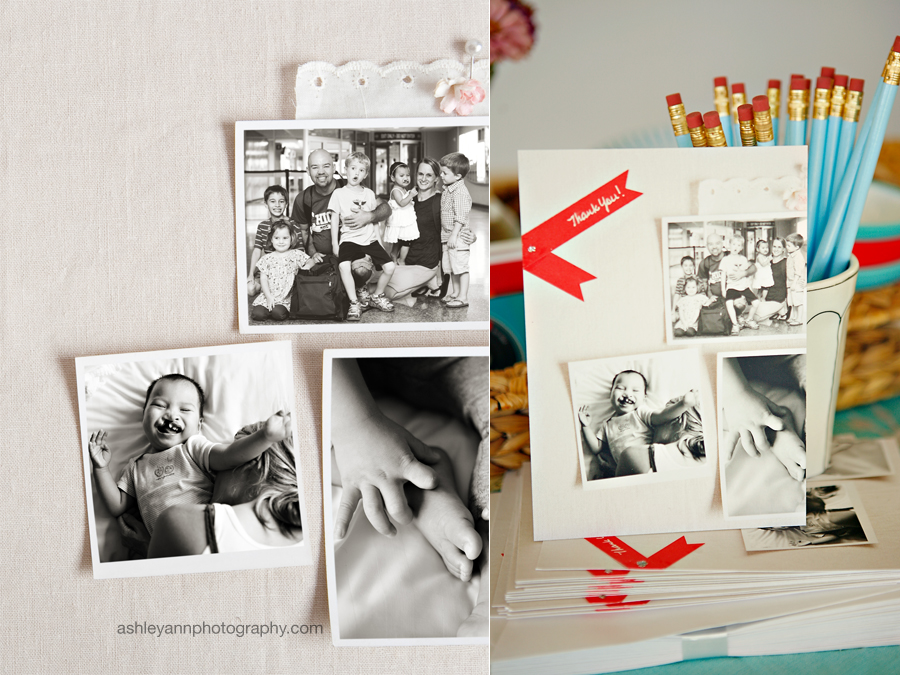
When we arrived home from China there was a package of cards waiting for me. Joy, of Brown Paper Packages, and I went to college together. She sent me the cutest cards inspired by that photo to use for all the notes she knew I’d be writing in the coming weeks. She also sent a larger print of the same image but with the words “We’ve been saving you a seat”. If I ever make it to Hobby Lobby again, I’ll be picking up a frame for it.
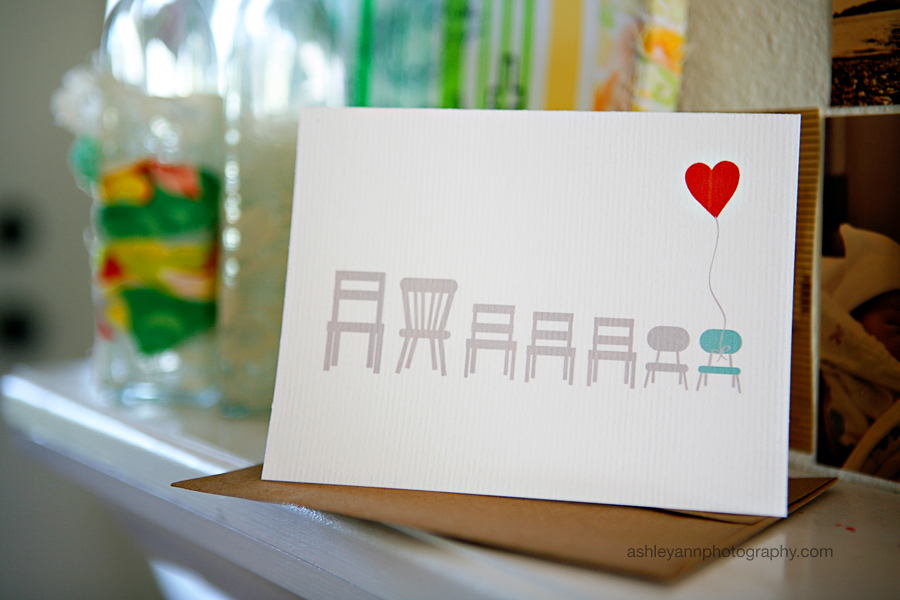
I ran out of the cards pretty quick. Well, I did save one for Little One – thought she might like to have it one day. Since I am avoiding all shopping right now and am at home most days, I decided to make up some more cards I can use for thank you notes or whatever else. And…because I like writing tutorials, I’m posting it here. Some bloggers write tutorials to draw readers or stuff like that. Not me. I just like to boss people around. I’ve been bossy since I was born. Ask my sister. DIY tutorials are like my way of getting to tell people what to do without being called bossy. Win-win situation 🙂
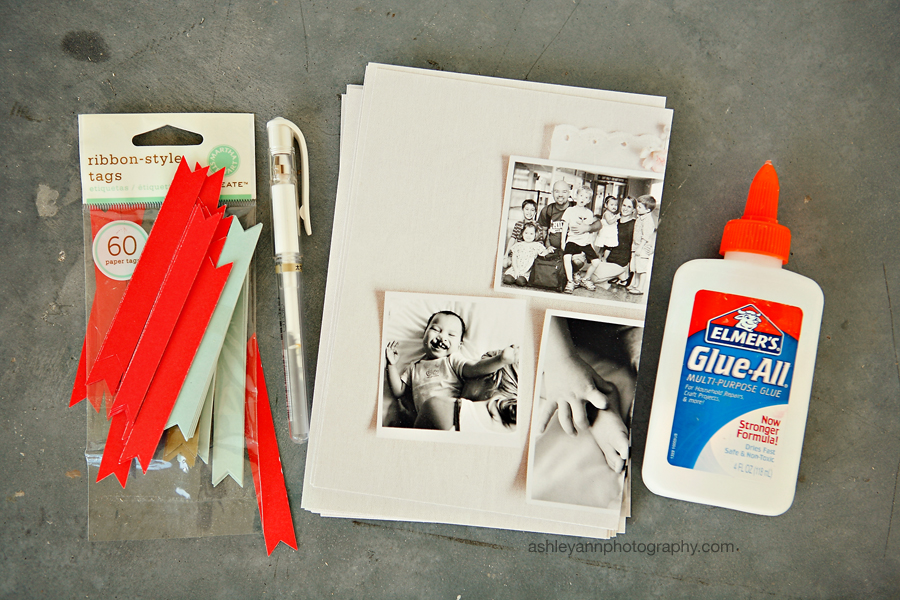
Supplies:
- Ribbon-style tags – mine are Martha Stewart, but I found them at Big Lots for CHEAP
- White gel pen
- Glue – I used Elmers because I couldn’t figure out where I moved my other glues and glue dots
- Cards – mine are 5×7 flat cards on recycled paper by Mpix.com
- Card template – I used a template from the Curated kit by Paislee Press & Kitschy Digitals
- Glitter – I used Martha Stewart glitter. You want fine glitter, not the bulky stuff
Side note: The red and orange in these photos is driving me nuts, but I don’t have time to mess with editing them to fix it.
Does anyone have any no fail Photoshop or Lightroom tips to make reds and oranges not so overly saturated.
Makes me nuts, but I don’t have time to really worry about it. I need a fast easy fix…any tips are appreciated.
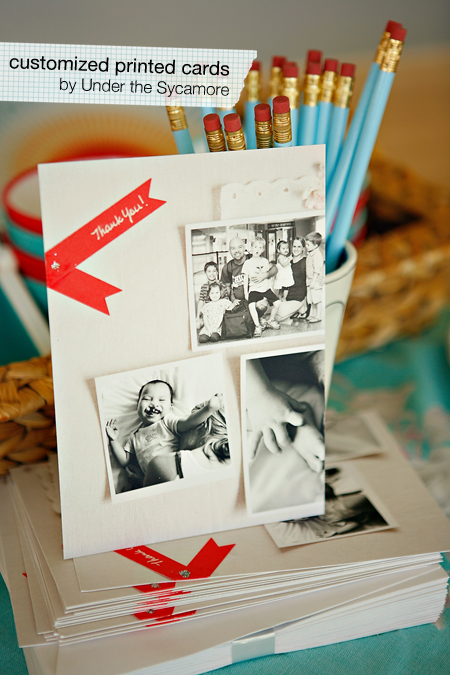
For the card design: I opened the template in Photoshop. I also downloaded the 5×7 flat card template from Mpix, and opened it. I placed the Curated template into my 5×7 template, resized it to get it the look I wanted. Then I added my pictures, uploaded to mpix (diy option) and placed my order.
For the added ribbon and text:
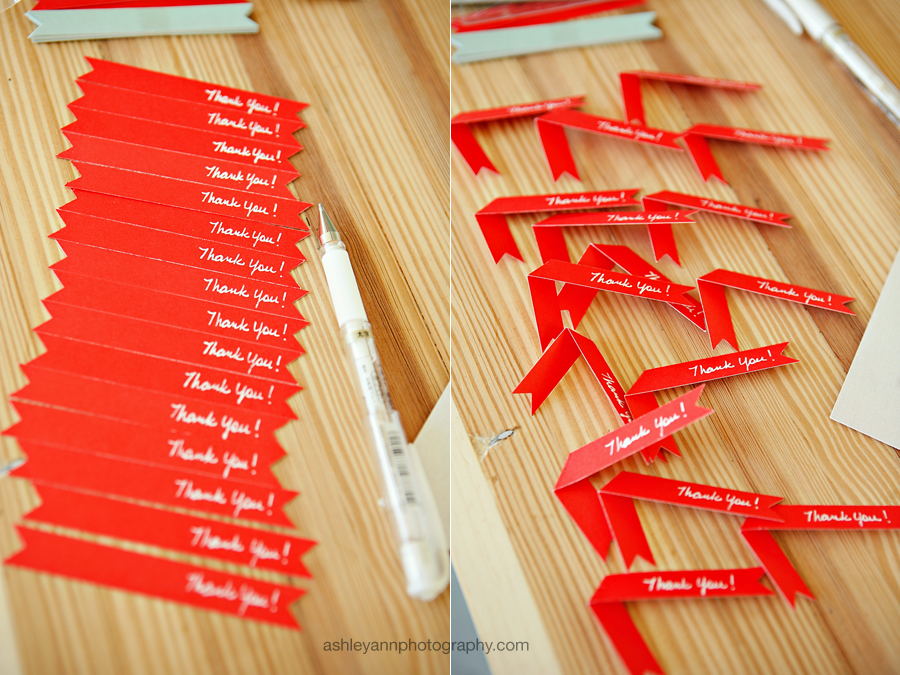
Write your note on the right side of the ribbon tag, fold tag at an angle about 1/3 from the end
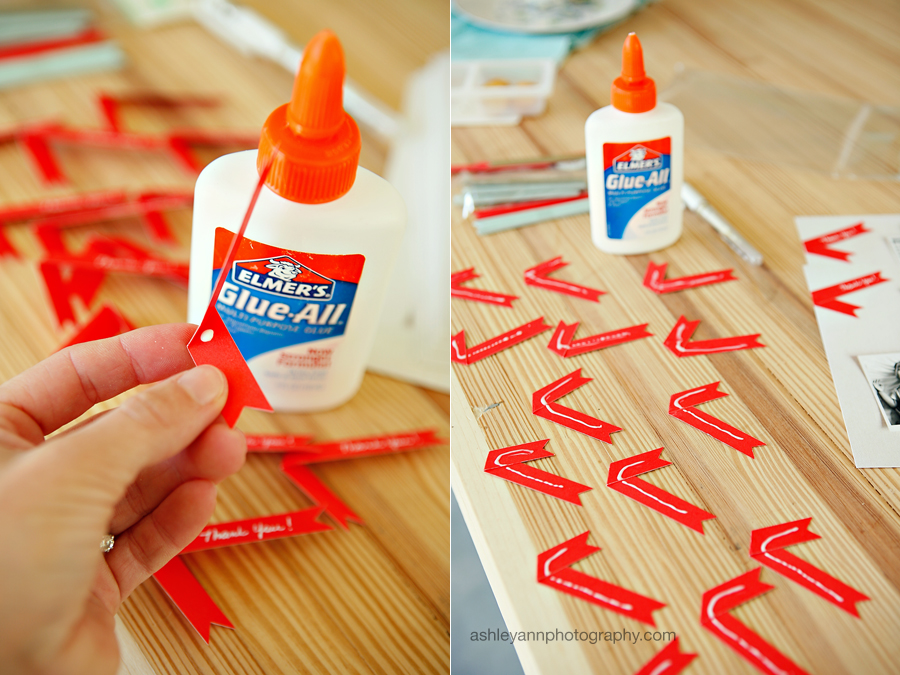
Add glue to inside, press together. Add glue to back side.
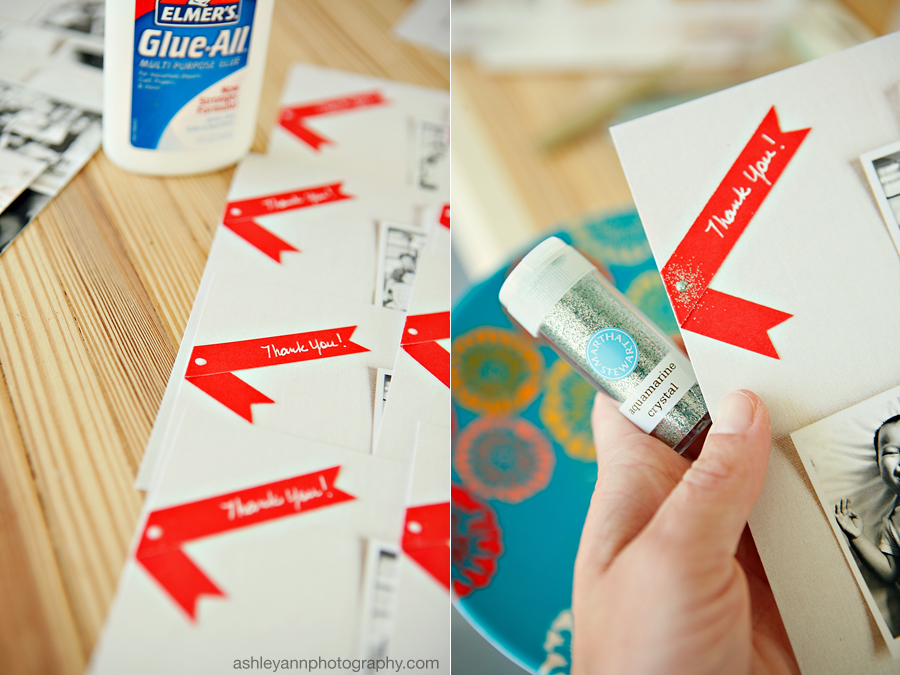
Press tags down on card. Add a dot of glue. Sprinkle a bit of glitter. Shake. Dry.
For some reason it is hard to see the card quality on these pictures, so here is a closer version. Now I just need to get organized enough to write my notes, address them and get them in the mail!
If I hide, mommy won’t know I’m here and she won’t make me leave.

Yes, FireCracker, I’m still here. Go play and let your sister sleep.


