diy week {heat transfer vinyl shirt}
So here is the 4th project for this week. The main part of this project I did in 15 minutes…while the boys were watching WordGirl and FireCracker was downing her breakfast. I like messing with Hobby Lobby t-shirts (because they are cheap and thick) and for the first time I tried heat transfer vinyl. It was fun! I like it better than doing freezer paper stencils and fabric painting.
Step 1: Big Brother picked out a bright blue shirt and I wanted to tone it down just a bit. Before I began the design portion of this project I soaked the shirt in bleach water for a bit. It didn’t do a whole lot, but it did take the edge off the brightness.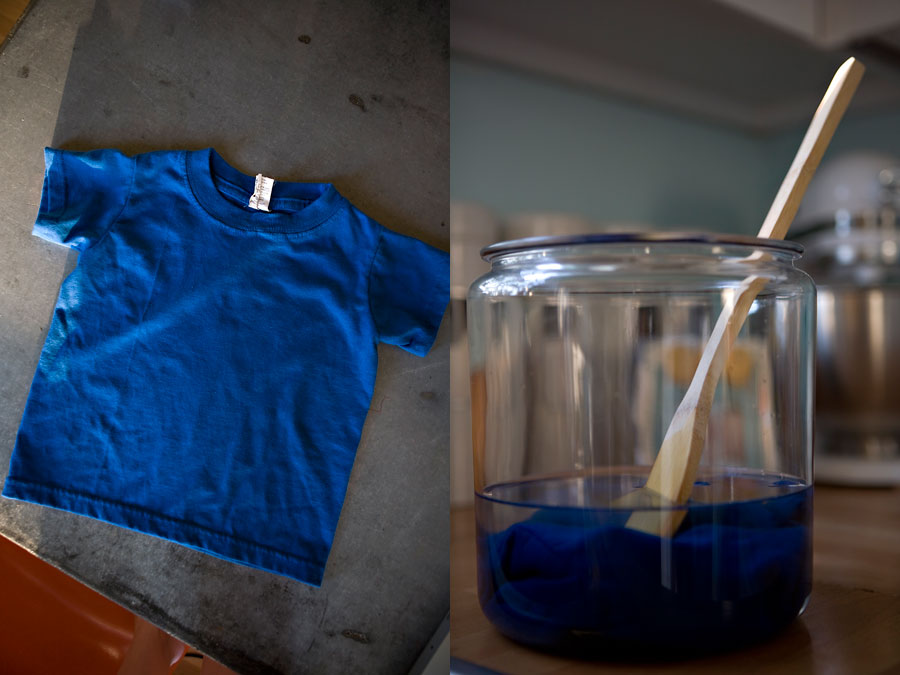
Step 2: Pick your design. If you have a CriCut machine it can perfectly cut vinyl…so yeah for those of you that own them and boo for those of us that don’t. In my head I wanted something similar to Chris’ old boy scout t-shirts…just a simple graphic. At first I was going to use the road sign graphic for camping, but then I went okie.
Step 3: Decide how big you want the graphic to be
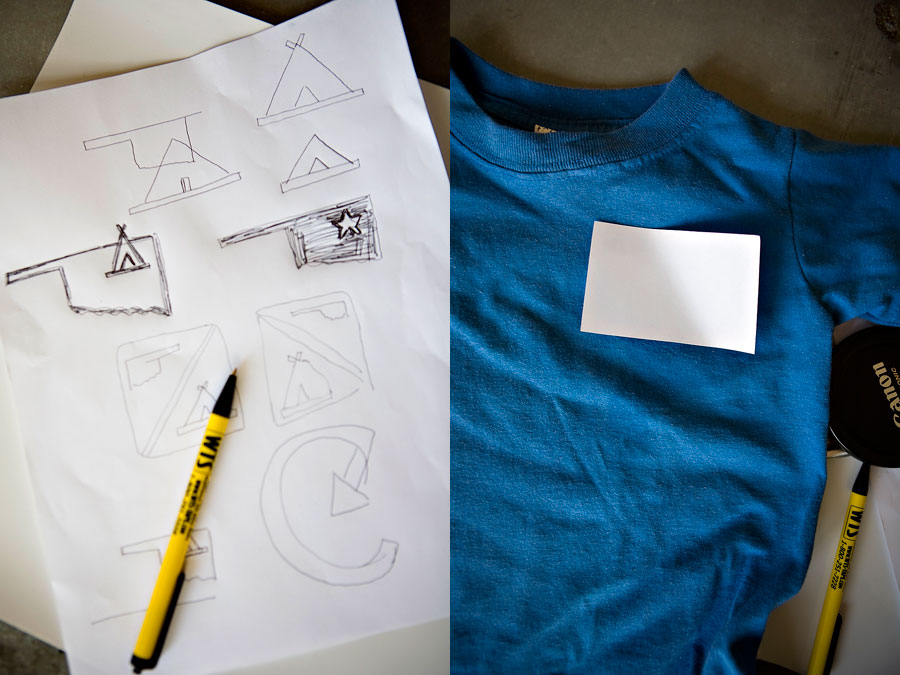
Step 4: Cut out a pattern for your graphic
Step 5: Flip your graphic over and trace it on the vinyl portion of the heat transfer paper. The paper has two sides, one is very glossy and one is more matte. The matte side will be the one to adhere to the shirt, the glossy side will be the one that touches your iron. You will now use an exacto knife to cut out the design. You want to only cut the vinyl layer, not the glossy base.
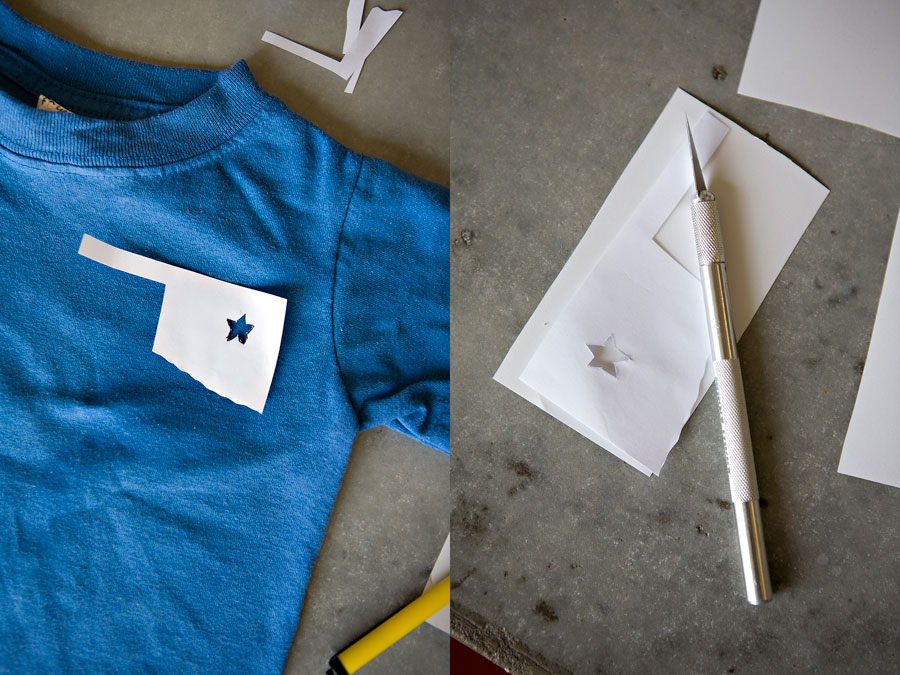
Step 6: Using your exacto knife remove all the excess vinyl so you are left just with your design
Step 7: Flip the graphic over so the vinyl is touching the fabric and the glossy side is up
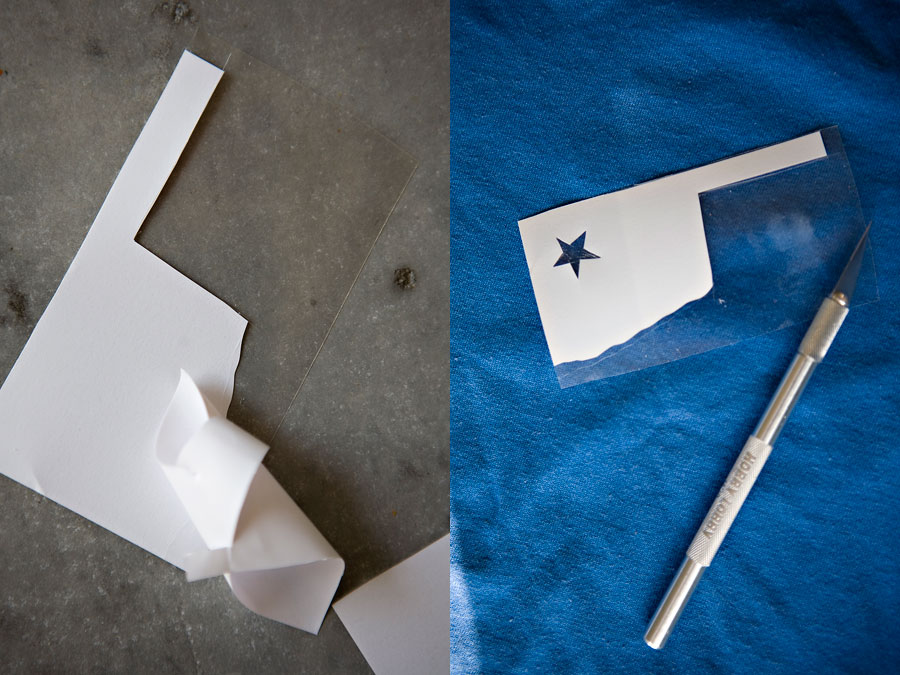
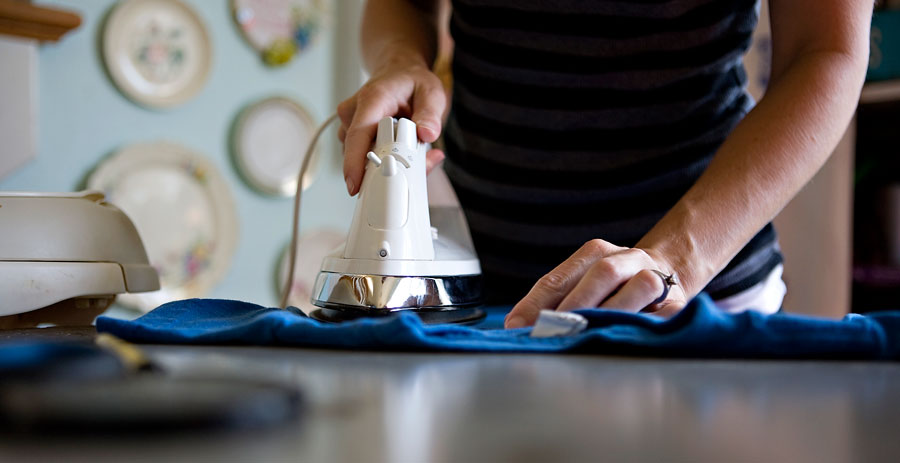
Step 8: On a medium, no steam setting use firm pressure to iron on the design.
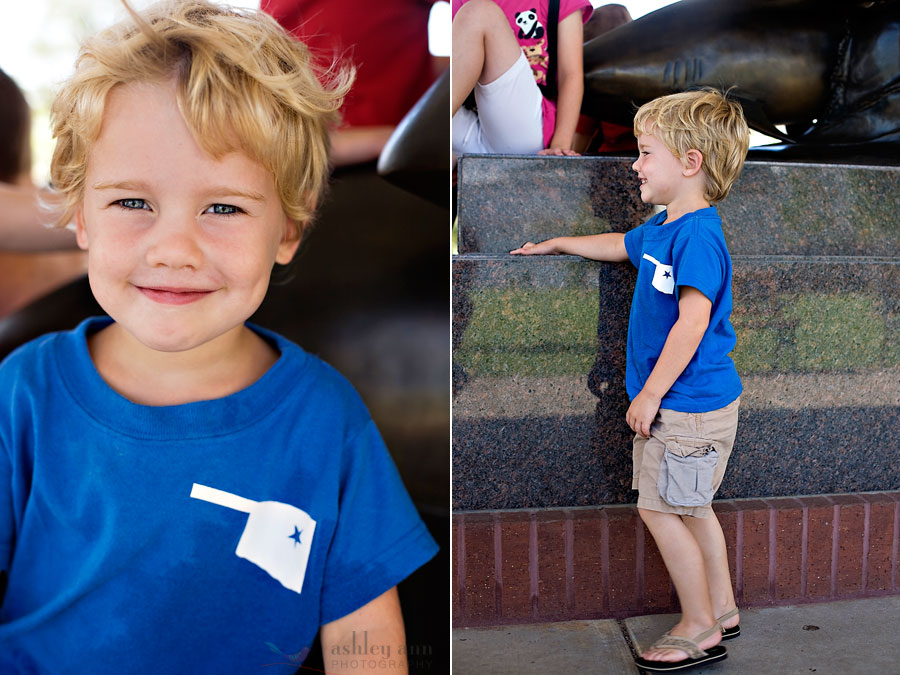
Step 9: Peel off the glossy top. The discoloration on this shirt is water from leaning over to pet a stingray. You know…normal stuff for an okie.
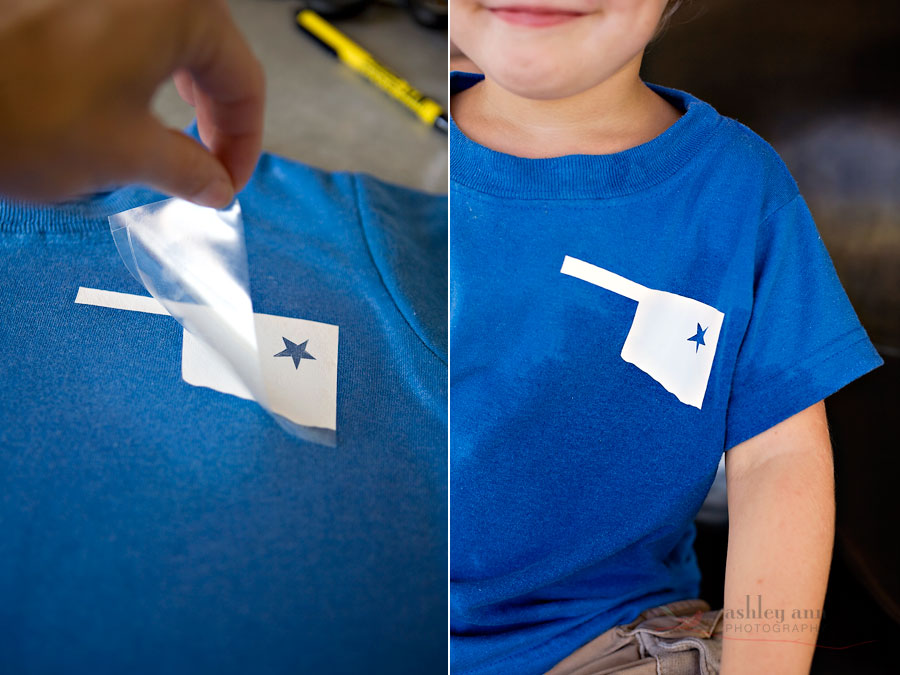
Step 10: Attempt to get your 4 year old to pose in his new shirt (which he LOVES). I purposely let him wear it to the Aquarium with his cousins…thinking I would for sure get a great candid shot of him in it. I tried.
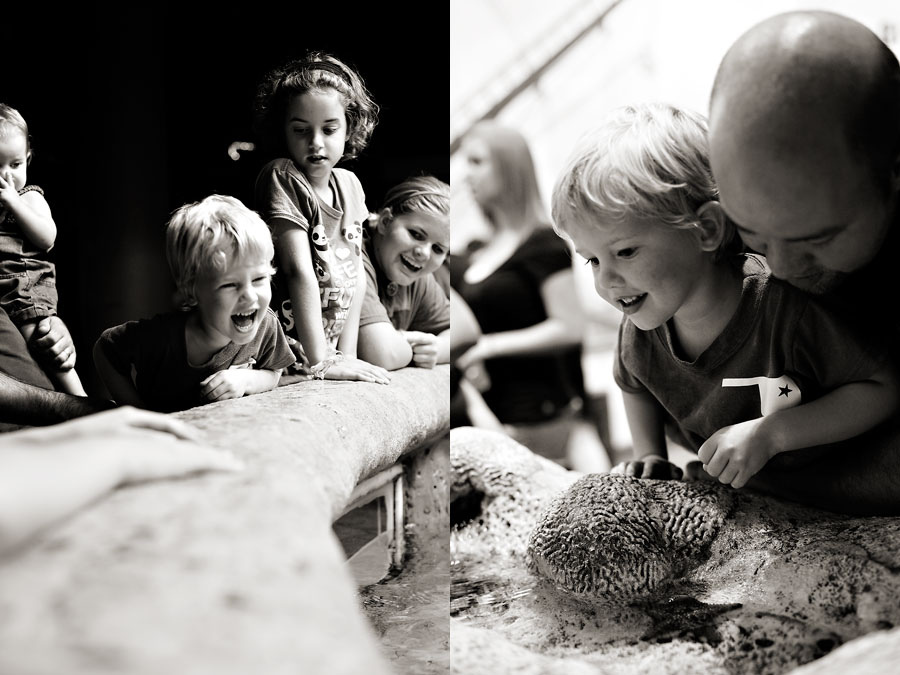
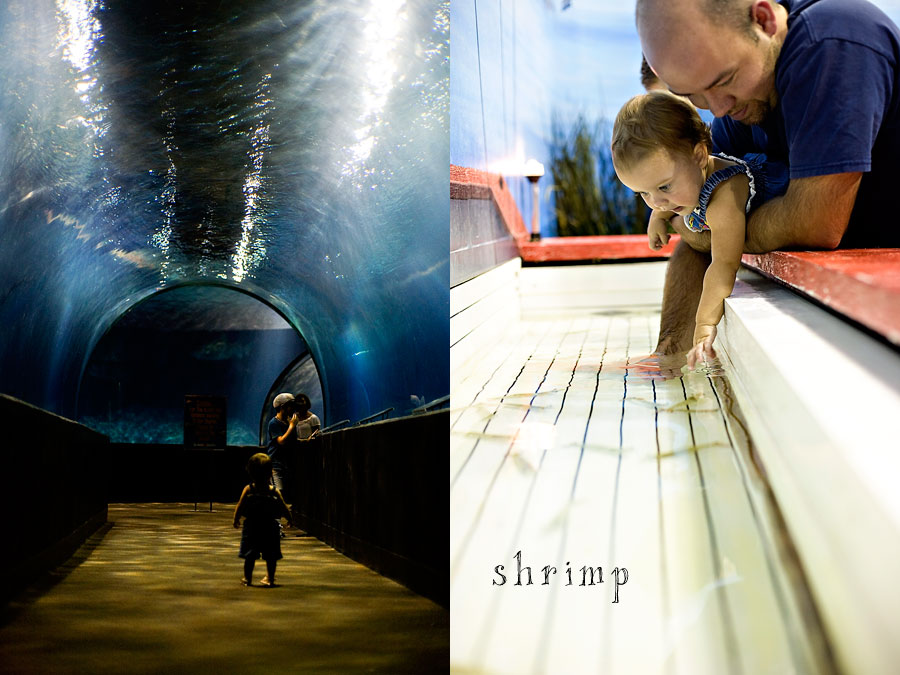
In unrelated news, his sister loved the aquarium. She looked tiny in the shark tunnel and she tried her best to catch a shrimp.
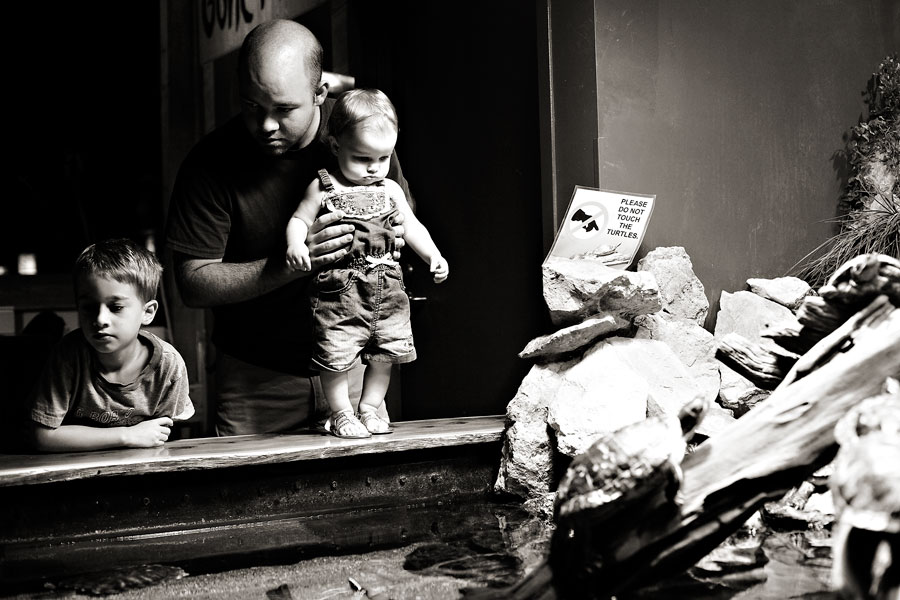
She also liked the turtles. I will say the Oklahoma portion of the Aquarium was a great reminder why I don’t swim in lakes.
Alligator Gar. No thank you.
My brother-in-law noodles. No thank you. I totally stole this picture off my sister’s blog…here is the post of what she made with that catfish. She cooks. I craft.
(Noodling means he stuck his hand in a hole in a dirty lake and pulled that fish out bare handed by sticking his arm down its throat. Seriously. SERIOUSLY)

Some of the cousins. I have 4 nephews and 4 neices on Chris side. They are a fun bunch.

FireCracker kept up with the big girls just fine.

And on our way towards the car I finally got him to semi cooperate. My design isn’t for everyone, you could do all kinds of crazy things with yours…in 15 minutes or less.
The heat transfer vinyl is from Expressions Vinyl…the $25.00 giveaway ends tomorrow. Scroll down to Tuesday’s post to enter.
For those of you with a CriCut, here is a great video tutorial.

