diy {plexi glass frame}
Contest winners are: Lauren -” if you pick me as the winner, i’ll be you a big ol’ kiss and squeezy!”….thanks for the offer, but I’ll pass 🙂
amanda torres – “I just got a little squeezy from my teeny weeny.”
UPDATE: Contest is now closed. Julie A. has the last counting comment.
I recently acquired the Graffiti art from Design Aglow…you’ll be seeing it pop up a lot on my pictures now…just so much fun.
Here’s a picture Shannon took of Chris & I…with a little graffiti.

I have an old French frame I’ve been wanting to use in the house and didn’t want to add glass to it. I also have a super cute poster that reminds me of my son’s kindergarten teacher – who I adore. I thought I’d hang the poster and frame next to the door to the boy’s room, but I also knew I needed to protect the poster from flying balls and LEGO men. Thus was born my custom plexi-glass frame using my Graffiti Art….
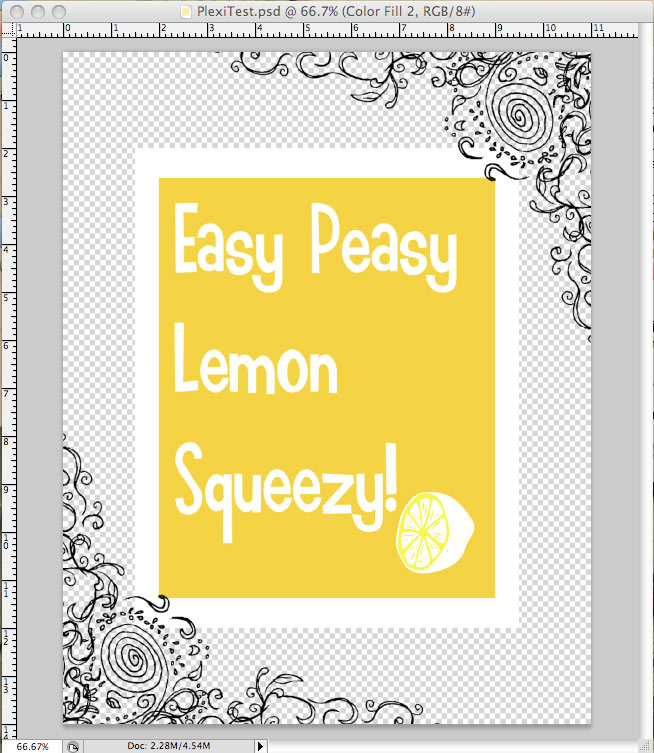
Step 1: Decide how you want the design of your frame to look. I wanted mine bigger than the actual poster. I drew mine up on Photoshop, but this isn’t necessary…just know in your head what you want. You can use any type of design….
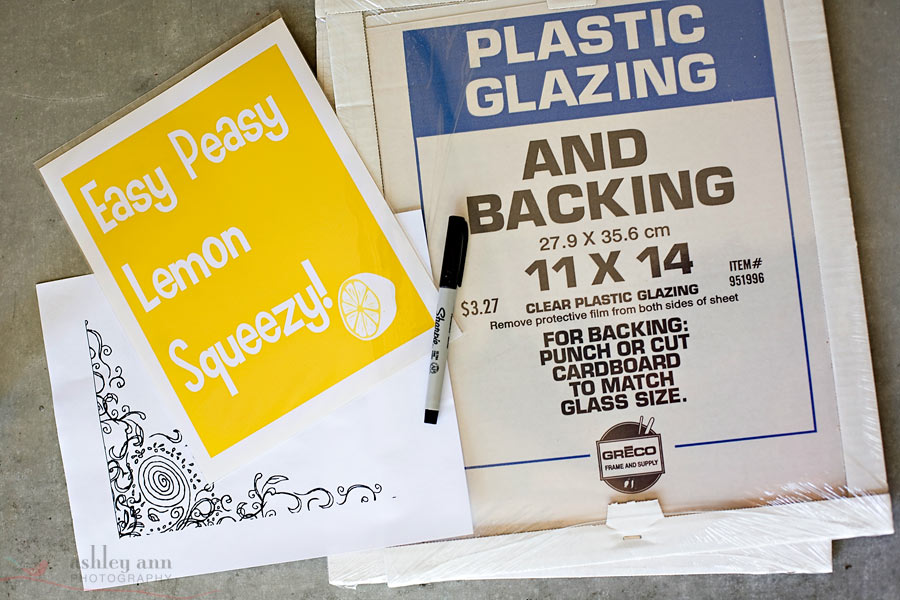
Step 2: Your supplies – 2 sheets of “plastic glazing” (thin plexi glass), your poster, sharpie marker, paint, small paint brush, easy tack adhesive, scrapbooking paper (if you want)
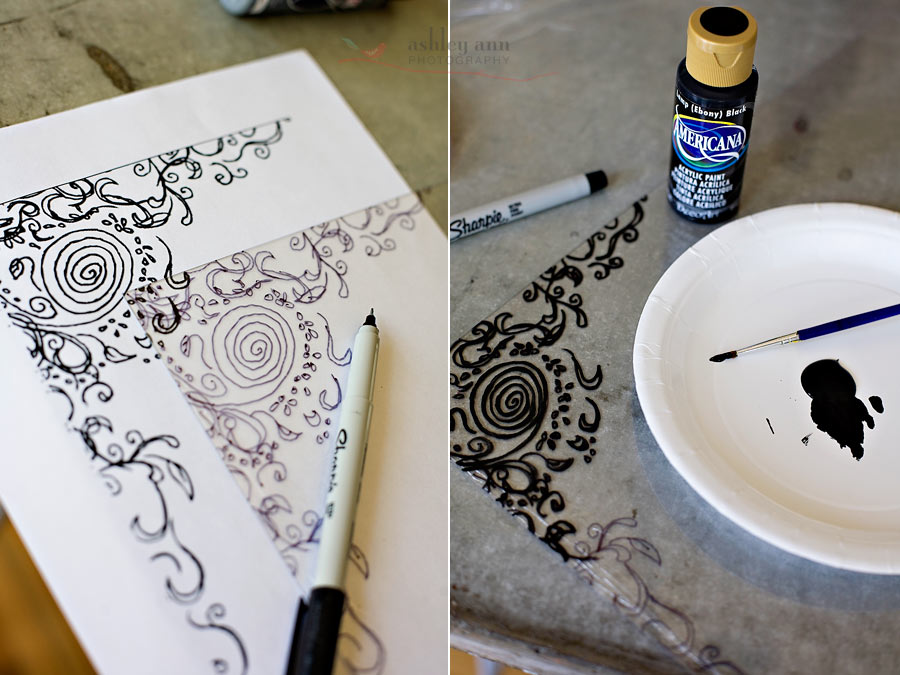
Step 3: Print out the design you want on your frame. If you want the paint on the inside of the glass you will need to ‘flip’ the printout before painting it. Trace the design onto the plexi glass using a fine point sharpie.
Step 4: Paint over the marker lines with craft paint and a small brush. You can leave the painted side facing out (but be aware the paint could get scratched off) or you could use it facing the inside (which is what I did….this also makes the paint look shiny).
Step 5: Use Easy-Tack (or another adhesive) to adhere the poster to the back piece of glass. I also wanted to add some scrapbooking paper to make the poster stand out since it was going on a wall with yellow paint. I used the Easy-Tack (acid free) to stick the poster to the scrapbooking paper, then the scrapbooking paper to the glass. I also used just a small sliver of double sided tape on the bottom to keep the two pieces of plexi-glass together (it is hidden under paint).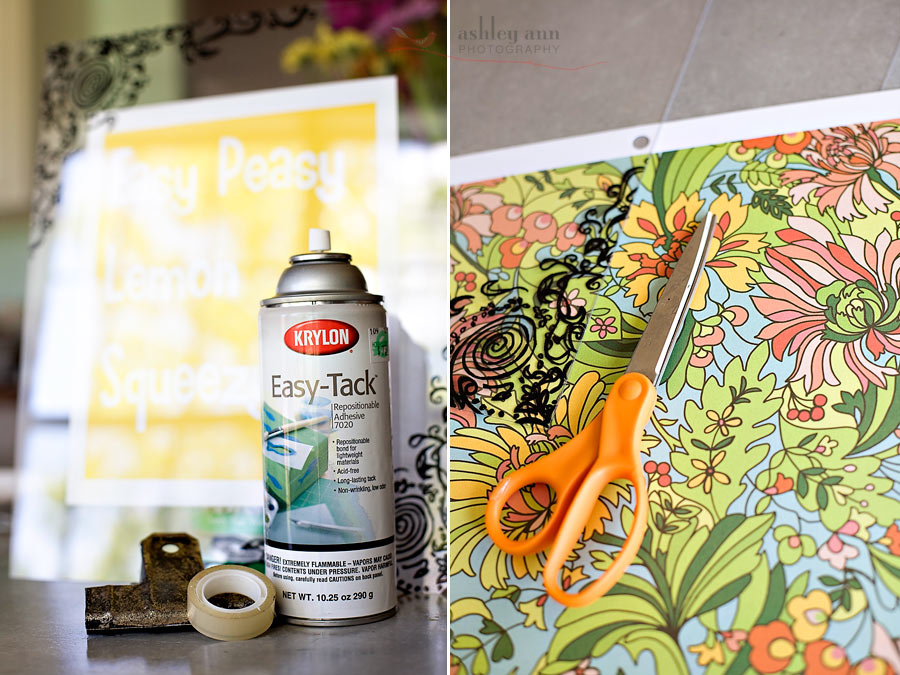
My finished product!
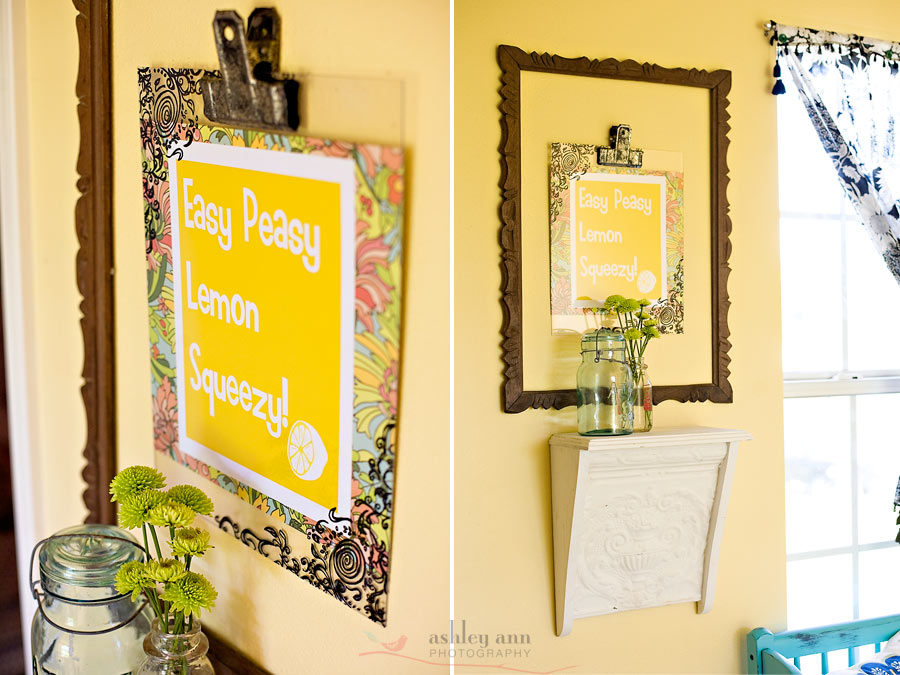
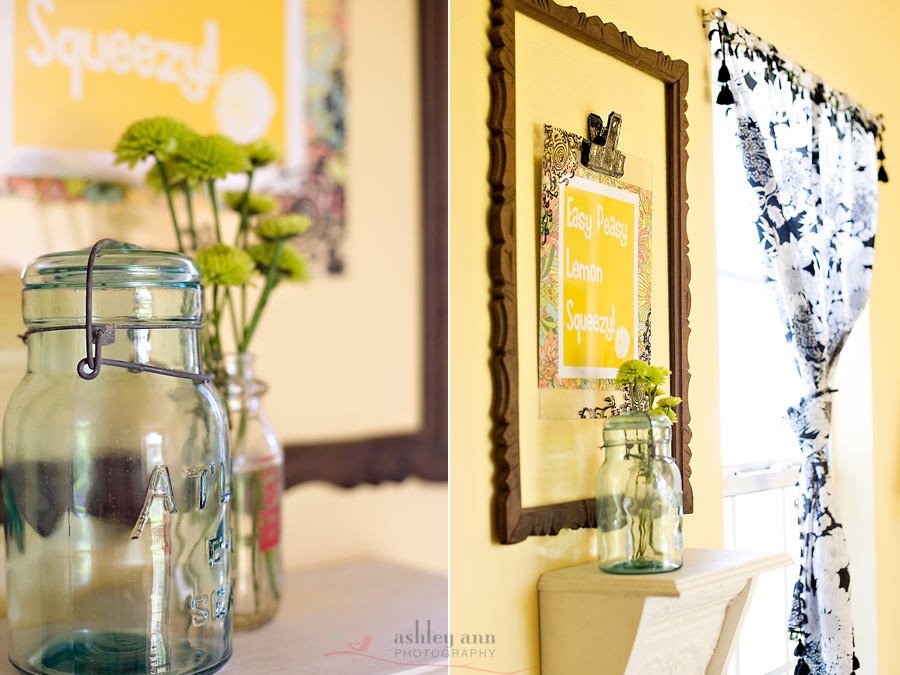
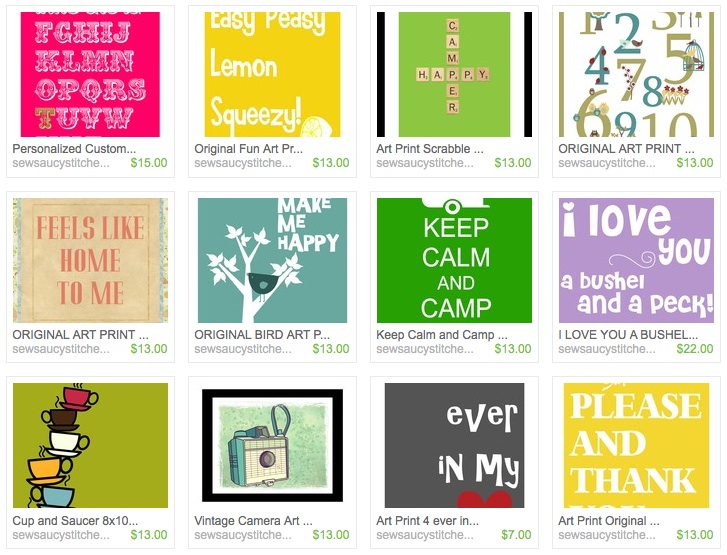
To get you started…how about a poster giveaway?! My poster is from Sew Saucy Stitches. She’d like to give away your choice of an 8×10 poster to TWO readers!
Giveaway Details:
2 winners chosen at random
One entry per person
Prize is 1 8×10 poster each of the winner’s choice from Sew Saucy Stitches
Contest ends Monday, June 28th 9:00pm US Central
To enter: Leave a comment on today’s post using one of these words “easy”, “peasy”, “lemon”, “squeezy”.
….(For example: “Pretty peasy, give me a bite of that brownie.” “I’d rather have a lemon than a lime.”, “Thanks for an easy diy tutorial.”)

