DIY {‘vintage’ cateye glasses onesie}
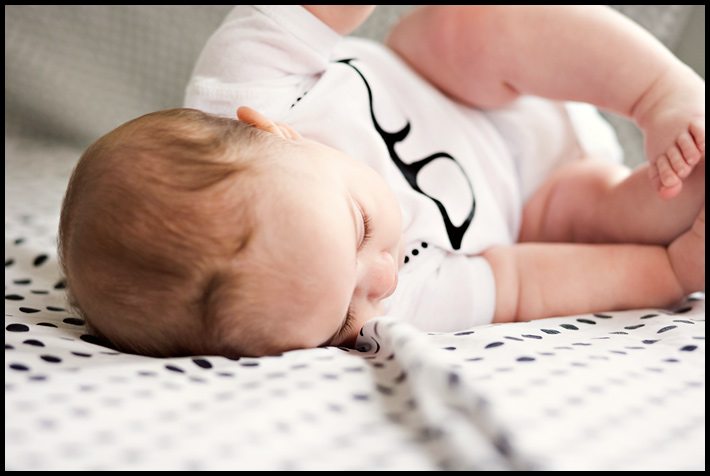
Baby Sister got a new onesie….Chris says she looks like an old school librarian in it. According to this picture, a shocked old school librarian.
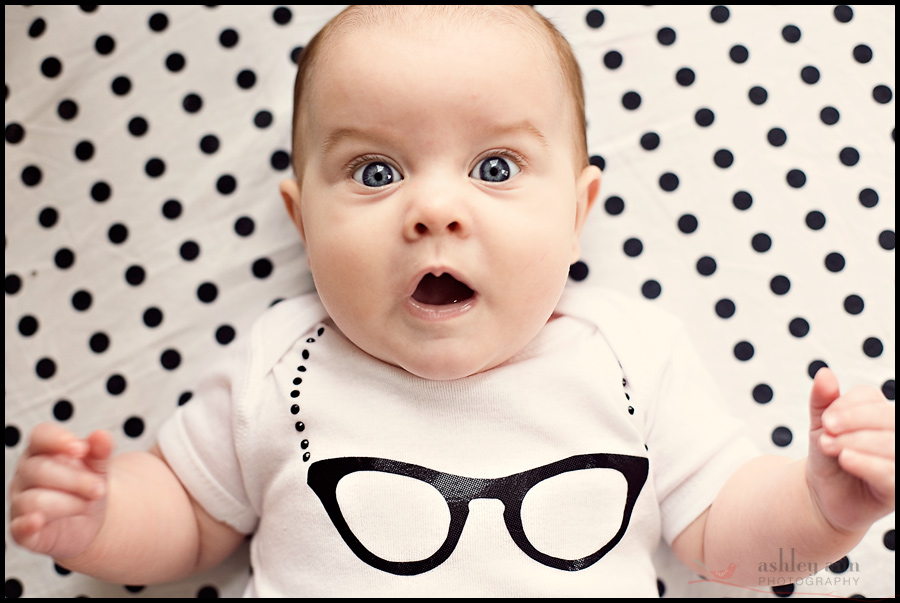
Oh my word, she is so cute. Her big eyes…love them.
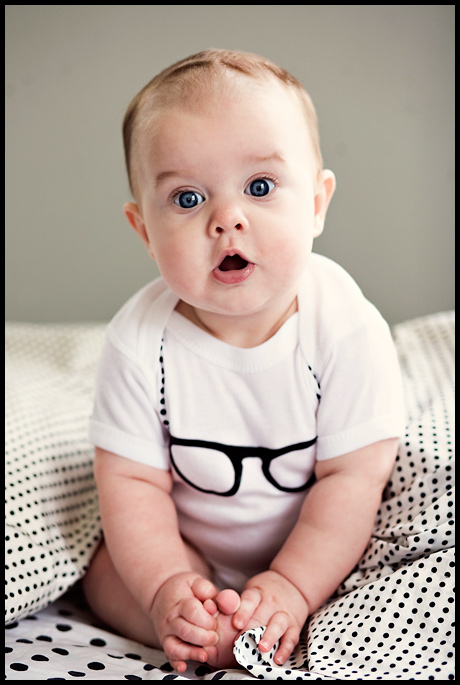
She has a crazy hairline…the front grows back and the top grows forward. Then they meet in the middle beneath that old Georgia pine (sorry a little country music snuck in on that. Sometimes I can’t help myself)
A friend saw Baby Sister in this onesie and asked if I bought it on etsy….”Nope, I made it.” And I put together a little tutorial for you all. Not that I picture crowds running out to make this funny little onesie, but I know some of you will like it. The best crafts are the ones you laugh while making them…I was laughing making this. I found an image online just looking in Google images for cat eye glasses.
THE INSTRUCTIONS HAVE BEEN UPDATED AT THE END OF THIS POST, PLEASE READ ALL THE WAY BEFORE STARTING!
Materials:
Onesie or T-shirt
1. Print out of the glasses you like (sized the size you want…mine were about 5 inches wide)
2. Shiny black material
3. Iron on crystals or black fabric paint
4. Heat-n-Bond no sew iron on adhesive
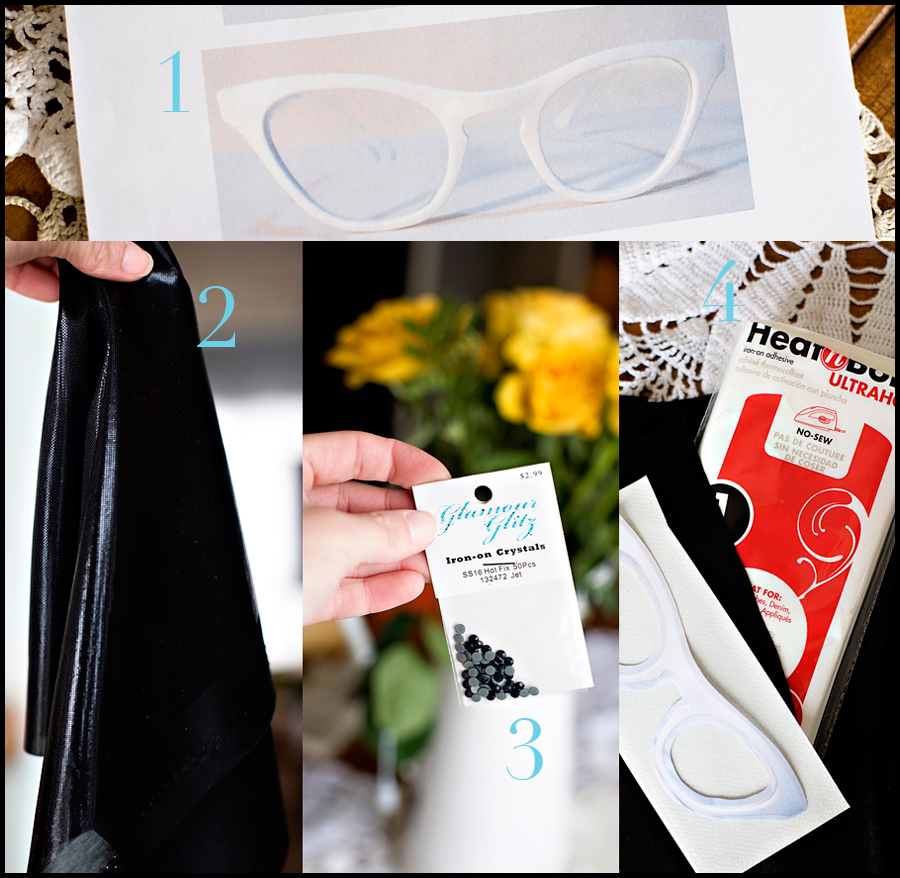
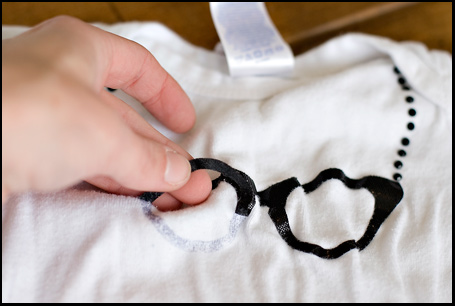
Step 1: Print your image the size you want it on the shirt. Mine was about 5 inches wide. Cut the image out.
Step 2: Iron the No-Sew Adhesive to the shiny black material
Step 3: Trace your glasses
Step 4: Cut the black material (that is already adhered to the adhesive) following your traced lines
Step 5: Remove the paper lining on the adhesive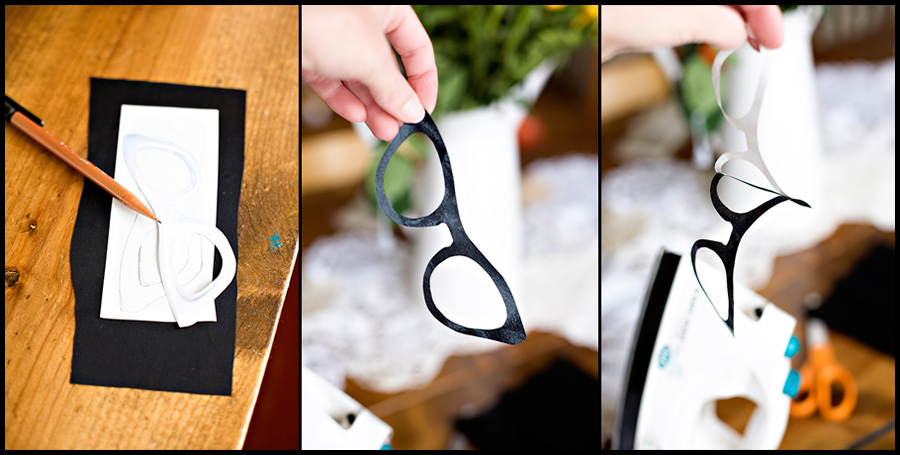
Step 6: Iron on the glasses to the onesie. I put a thin fabric between my glasses and the iron because I was afraid the heat would melt the shiny aspect of the black fabric.
Step 7: Arrange your iron-on crystals onto the onesie OR use fabric paint to make the “beads”
Step 8: Iron on the crystals following the package directions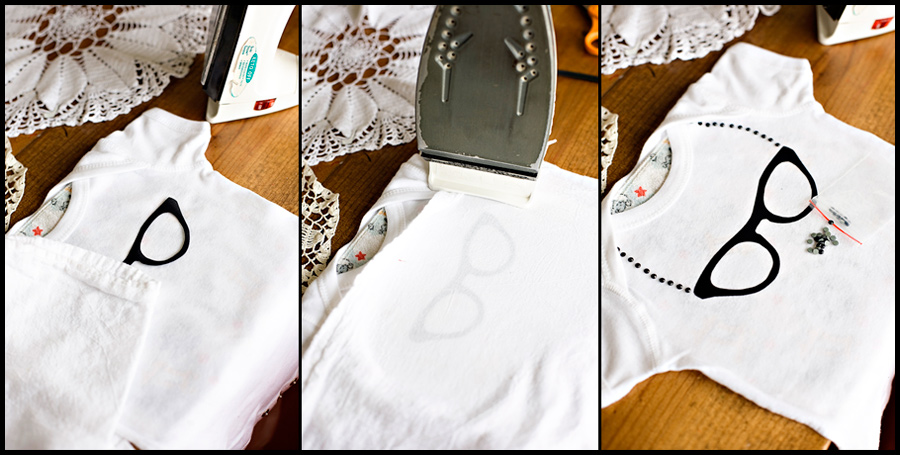
So funny story about this onesie. I went to Hobby Lobby to get shiny black fabric. While I was waiting in line for it to be cut the woman in front of me had a pile of fabric too. Her fabric choices included Thomas the Train, Raggedy Ann, Winnie the Pooh, ABC blocks and little lambs. Here’s the conversation that took place:
Hobby Lobby lady to other woman: “What are you making?”
Other Woman: “Oh some burp cloths and other items for babies. I’ve never seen the Raggedy Ann before. It is so great!”
Hobby Lobby Lady: “How cute! I just love all the sweet fabric we have for baby items.”
Hobby Lobby lady turns to me: “And what are you making with that shiny black lycra?”
Me: “A baby oneise.”
Hobby Lobby lady and Other woman in unison: “Oh.” as they looked at each other in disapproval.
I was a bit embarassed. I figured telling them I was going to cut out cateye glasses and crystals would only make them more bewildered. So I sheepishly grinned, got my fabric cut and quickly left.
On a totally separate note, when I was taking pics of this onesie Baby Sister got Littlest Brother pinned to the wall….kicking his little rear.
He was quite shocked and confused. It was pretty funny.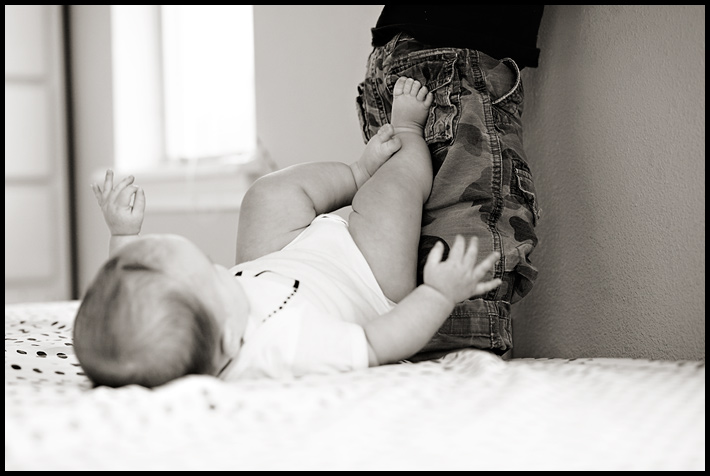
POST UPDATE:
After lots of wearing and washing, the iron on adhesive started peeling off. I ended up taking it completely off. I then used the same stencil on Freezer paper and used fabric paint. You can find all kinds of tutorials online for Freezer Paper stenciling. This will last much longer, but ultimately I preferred the look of the shiny fabric over the fabric paint for the glasses. Your call on what you prefer.
