DIY {garden plant markers}
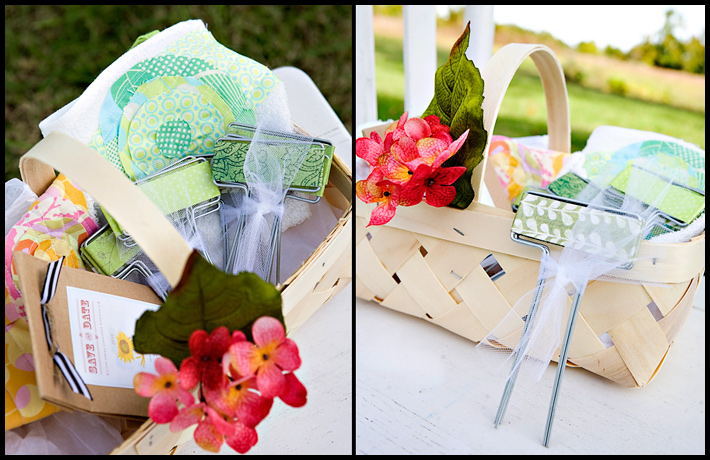
I’ve mentioned before I come from a family of gardeners. My sister’s thumb is much greener than mine. She’s super cute and really likes THIS SITE and I crack up at this onesie that is sold there. With her garden in mind, I made her a little something – cute garden markers.
Pic 1: Gather materials – Mod Podge, Aluminum plant markers, scrapbooking paper, clear finish
Pic 2: I got these as a packet from Target – in the dollar bin!
Step 1: Cut scrapbooking paper to fit the aluminum label. I used green so they wouldn’t stand out much and take away from the beauty of the plants.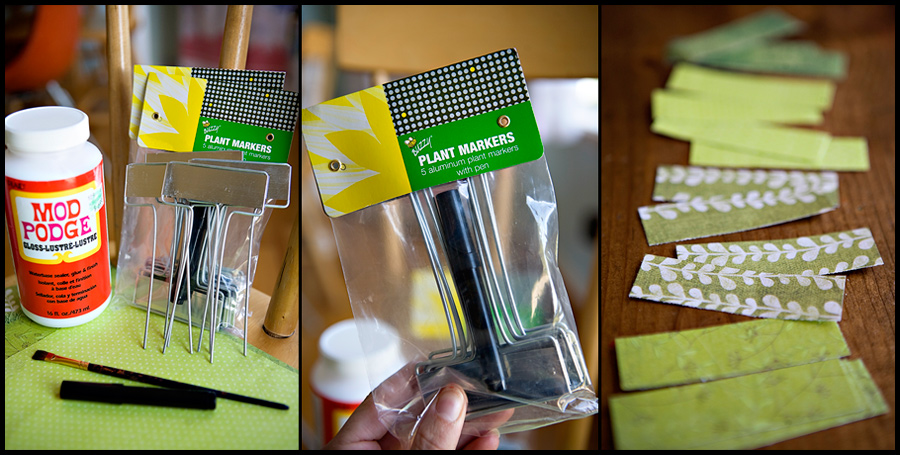
Step 2: Apply Mod Podge to aluminum
Step 3: Place paper on front
Step 4: Wrap paper around the backs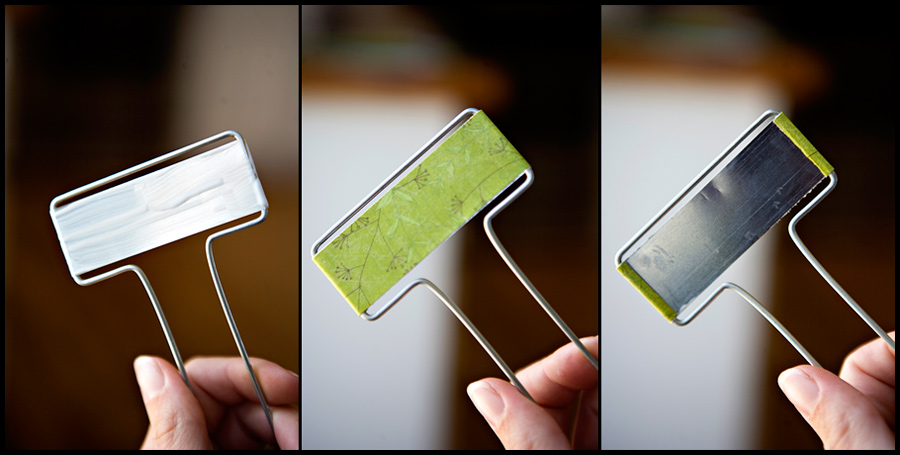
If you are lucky while you are doing this your 5 year old can demonstrate his new found reading skills by reading choice words out of his dad’s book.
Step 5: Let the first coat of Mod Podge dry
Step 6: Apply 2-3 coats of Mod Podge on top
Step 7: Apply 2 coats of a waterproof sealer. If you are creative you can use the box from your Chinese take-out lunch to hold the markers while they dry 🙂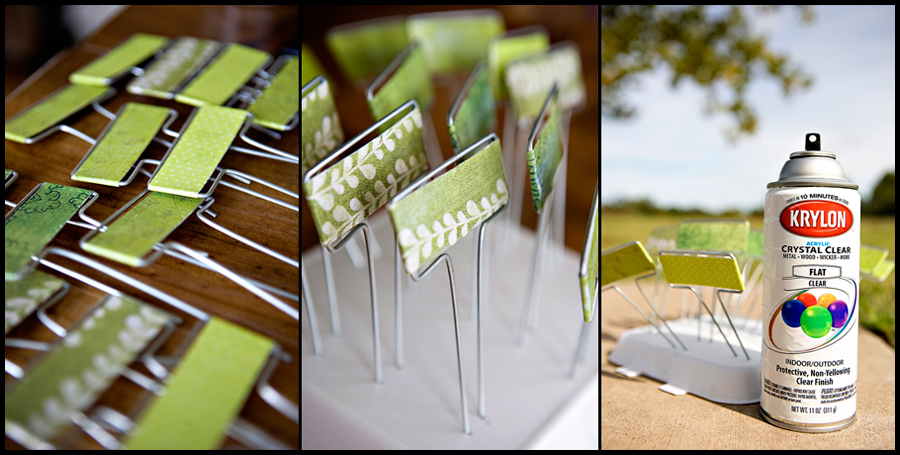
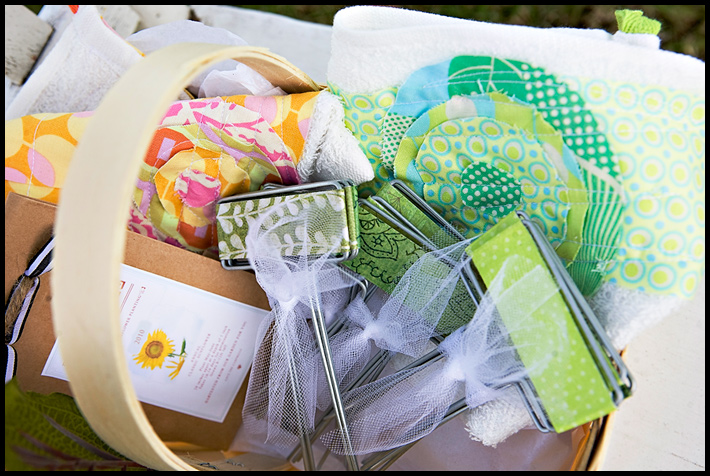
I combined mine with a basket to gather garden goods, some Sunflower seeds and 2 cute washcloths to use wipe off dirt while working in the garden.