Instagram
Pinterest
My Book
Notebooks
Travel
Home
Category:
be creative {DIY}
43 Results
be creative {DIY}
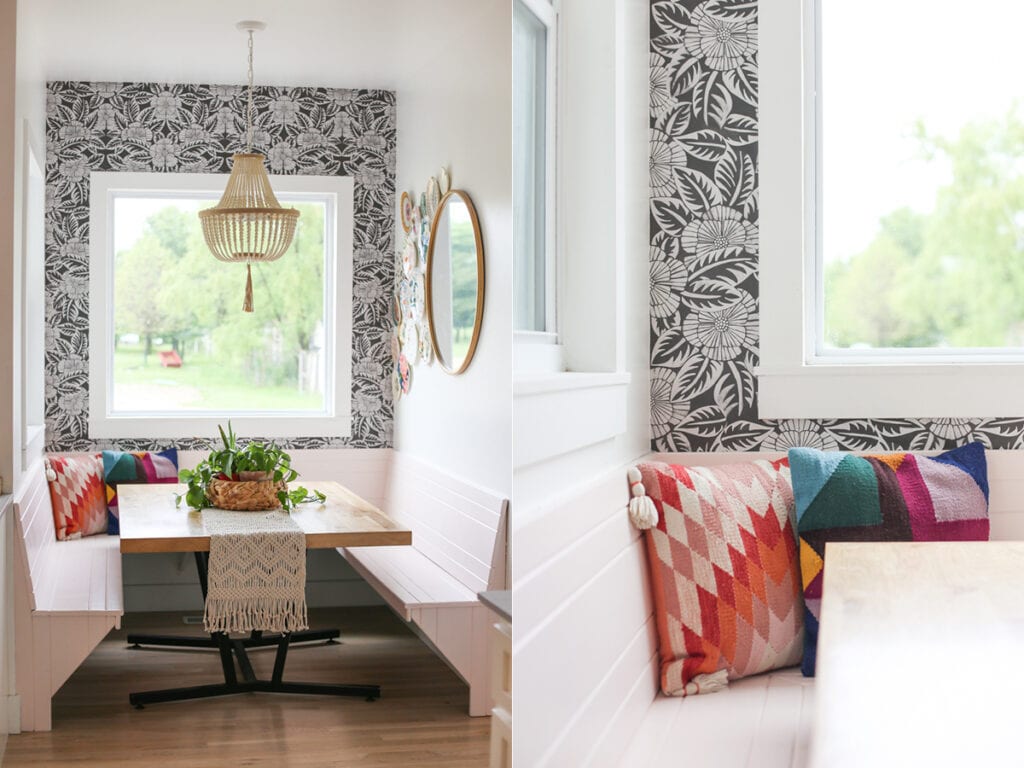
Changing it up {Calcutta wallpaper from Milton & King}
Read more
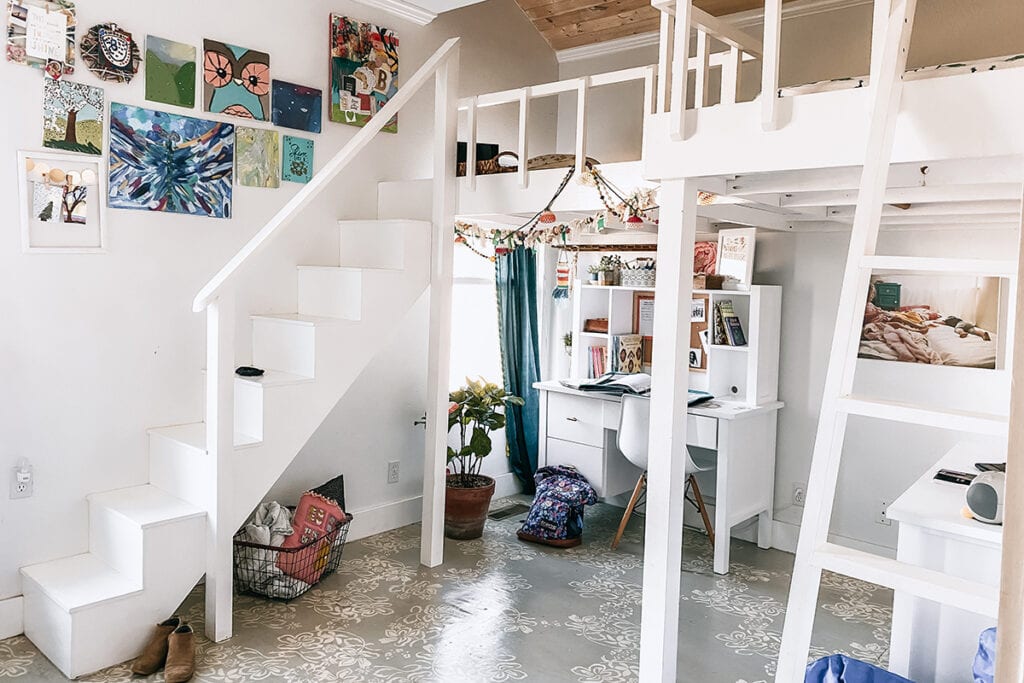
tour of the girls’ room {custom loft bed}
Read more
Rainbows & lace {her first baking gig}
Read more
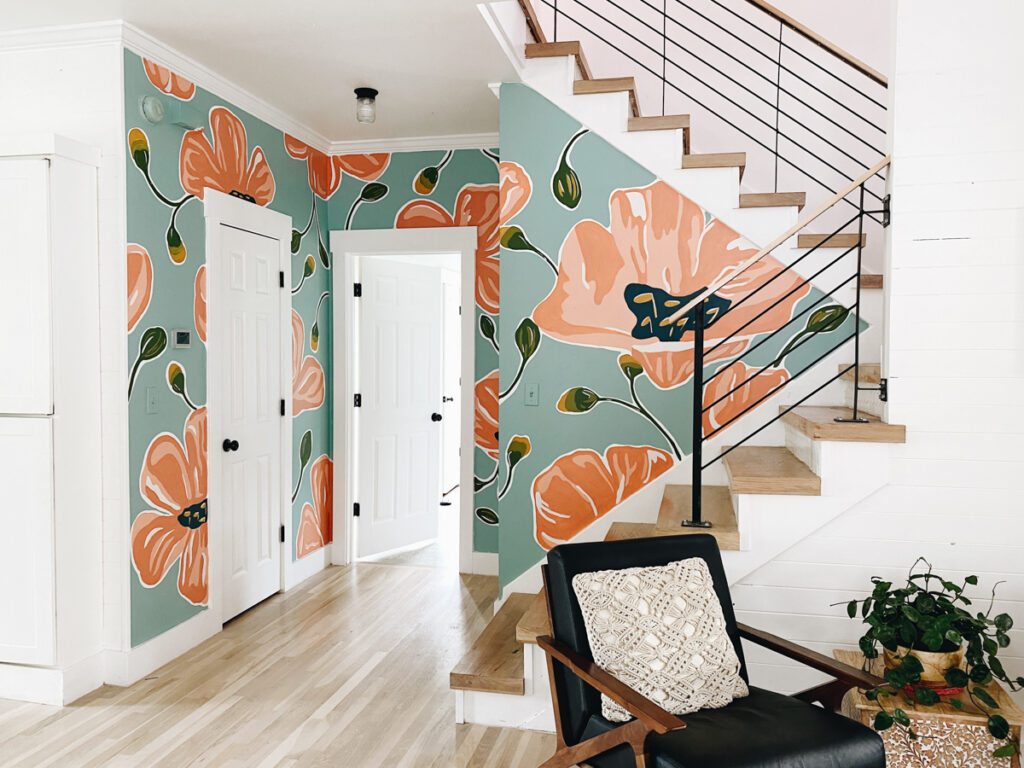
Floral stair mural
Read more
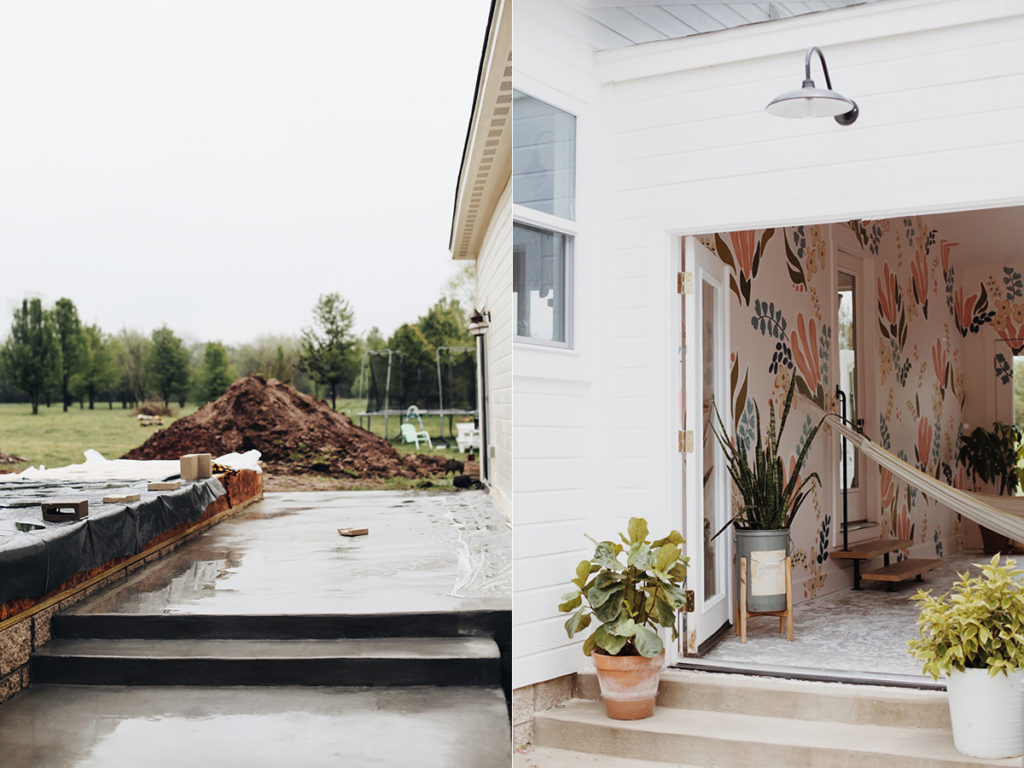
breezeway {done…until I decide to change it}
Read more
1
2
3
…
9
Older