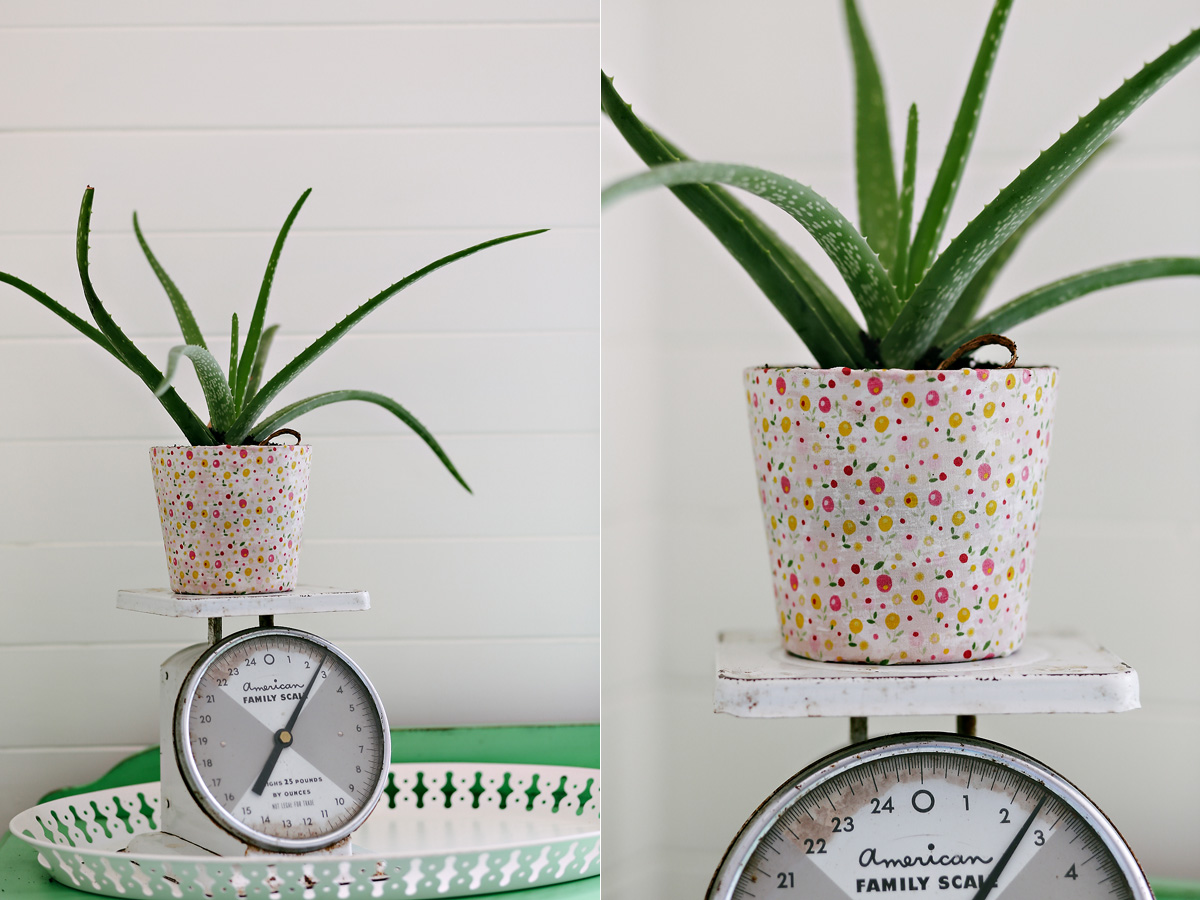
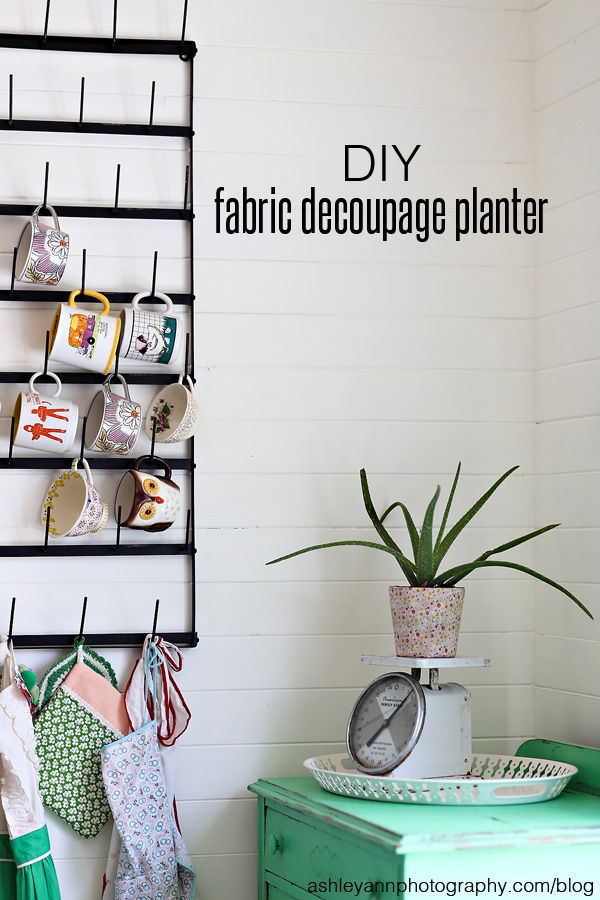
DIY {fabric decoupage planter}
Part of refreshing things around here has been making updates on old posts and transferring DIY posts (and others) to pinterest. On a weekly basis, I get visitors from Pinterest wondering about a couple decoupage pots I made years ago. (original post here).
Since I receive so many questions regarding more specifics on how I made the pots, I thought it was time for an update. The original idea is from Christine Chitnis in 2010. Her post includes a step by step description. I’m including more step-by-step pictures for those of you that are a bit more visual. Be sure to check out Christine’s post!
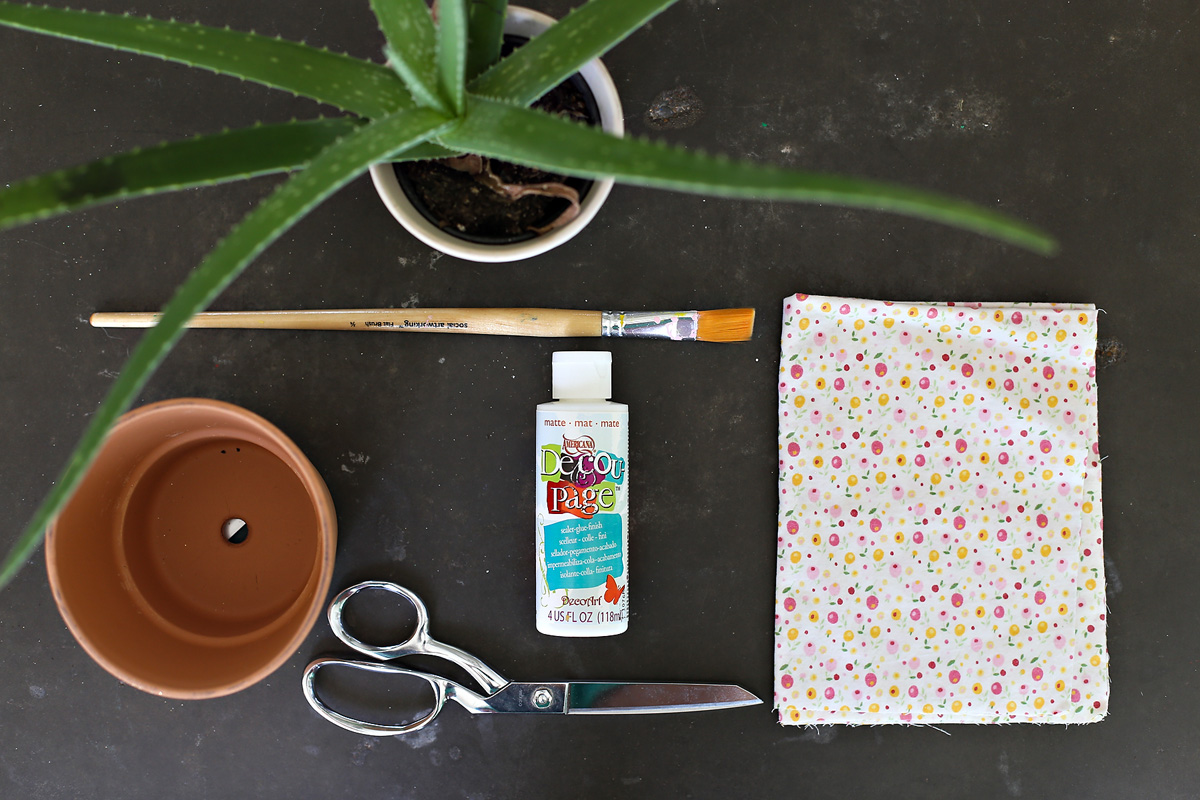
Supplies:
- Terra cotta pot – mine was from Hobby Lobby, 50% off
- Decoupage – also available at Hobby Lobby
- Fabric – mine was actually part of my eldest daughter’s crib sheet, circa 2009
- Scissors
- Paint brush
 Step 1: Wrap the pot in fabric and cut it with a bit overlapping – a couple extra inches on the top and bottom
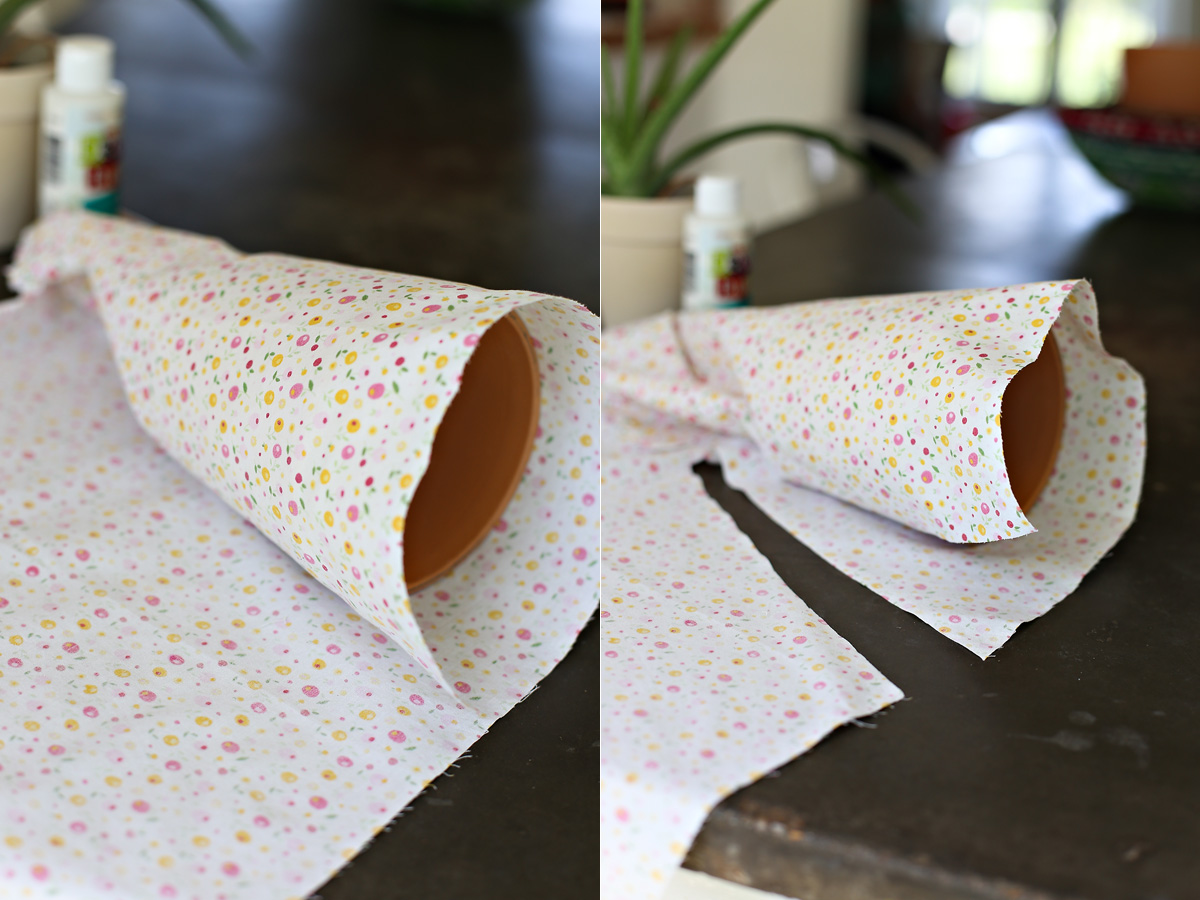 Step 2: cover the pot in decoupage, wrap the fabric around
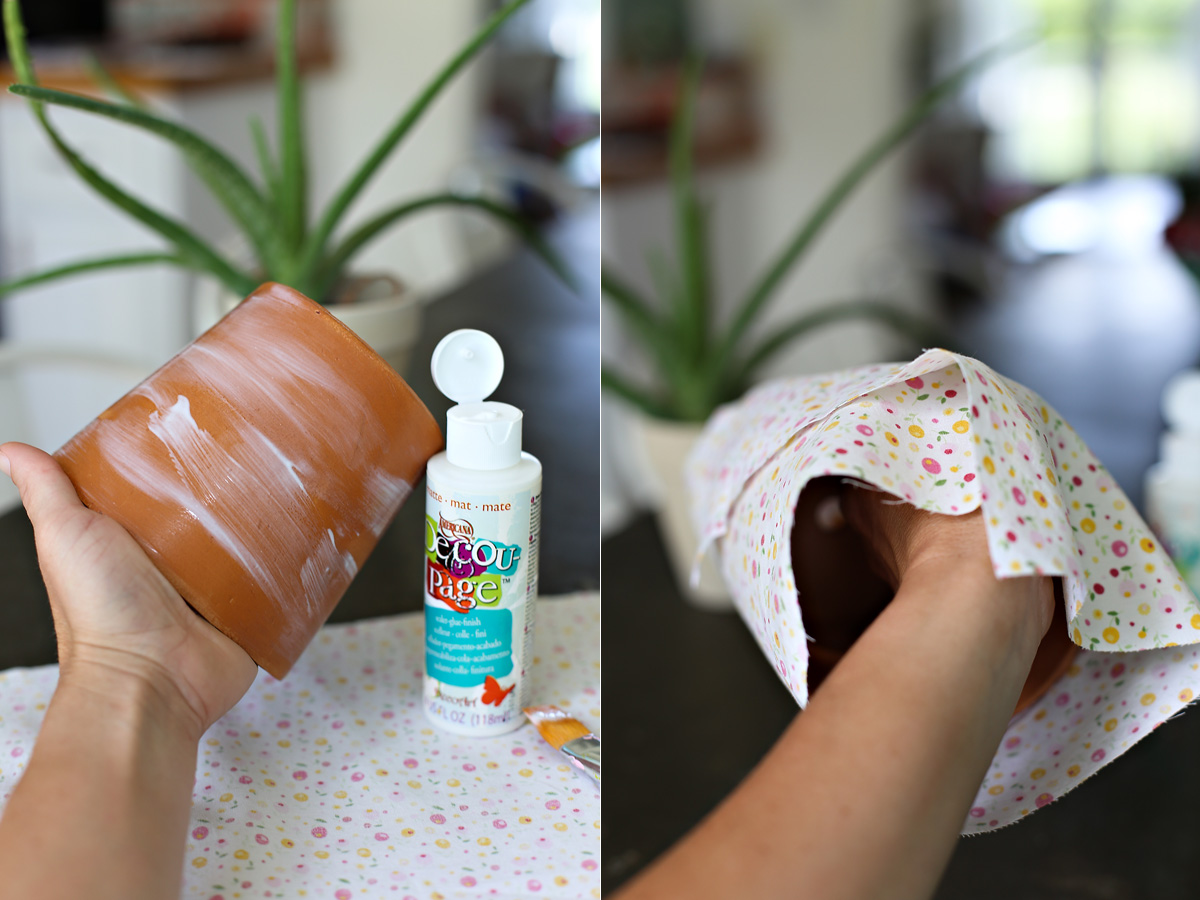 Step 3: trim the overlapping side where you can fold it over just a bit
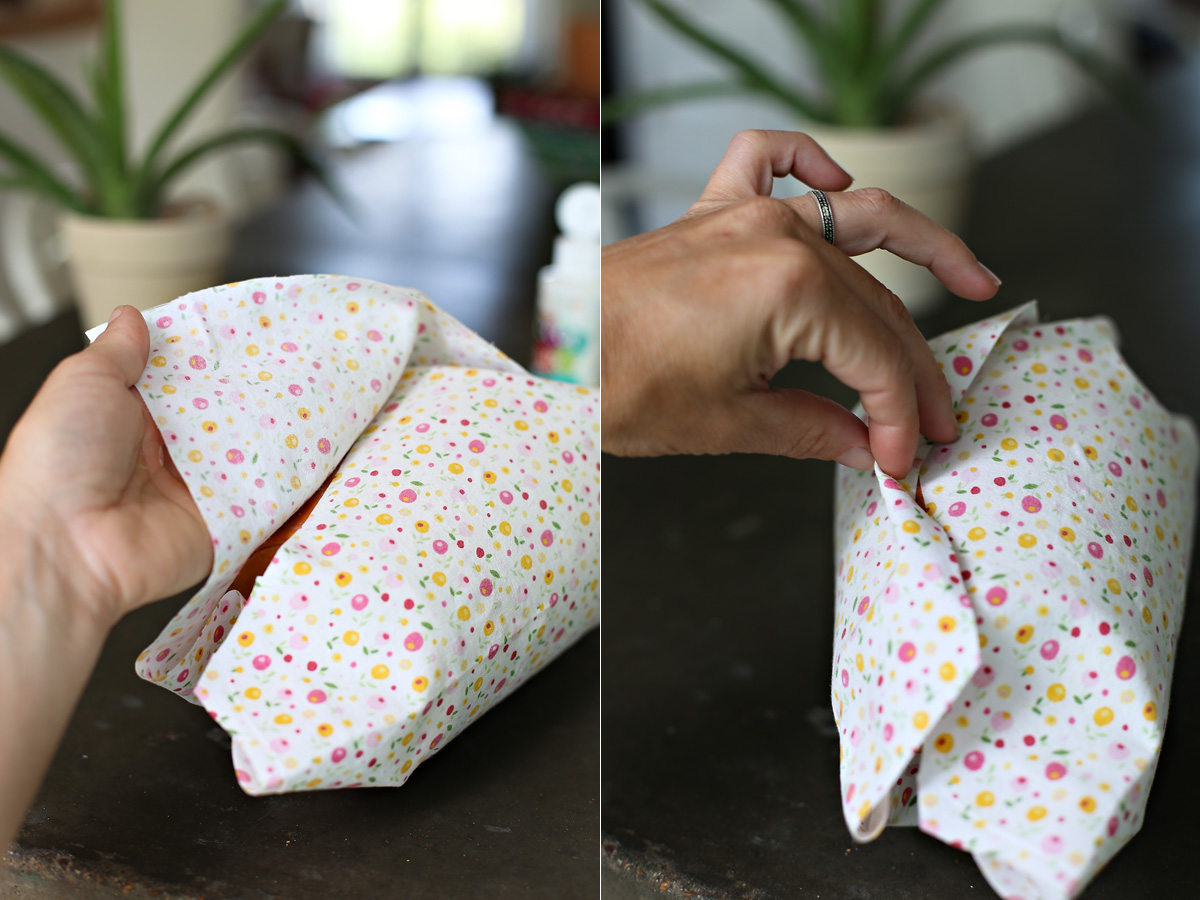 Step 4: using more decoupage, fold and press down the overlapping section
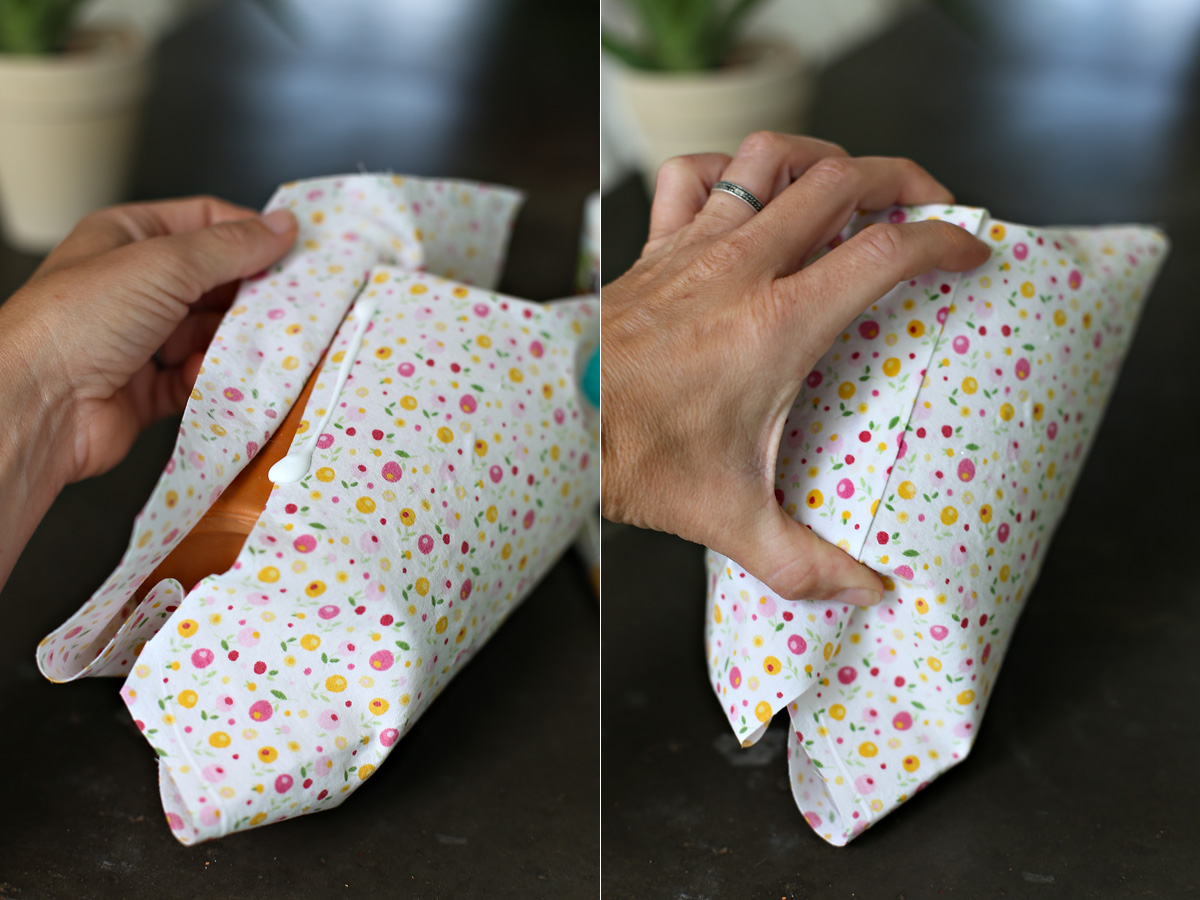 Step 5: Trim the bottom and glue it down with decoupage. Make sure you only cover a little bit of the bottom. You want the plant to still be able to drain.
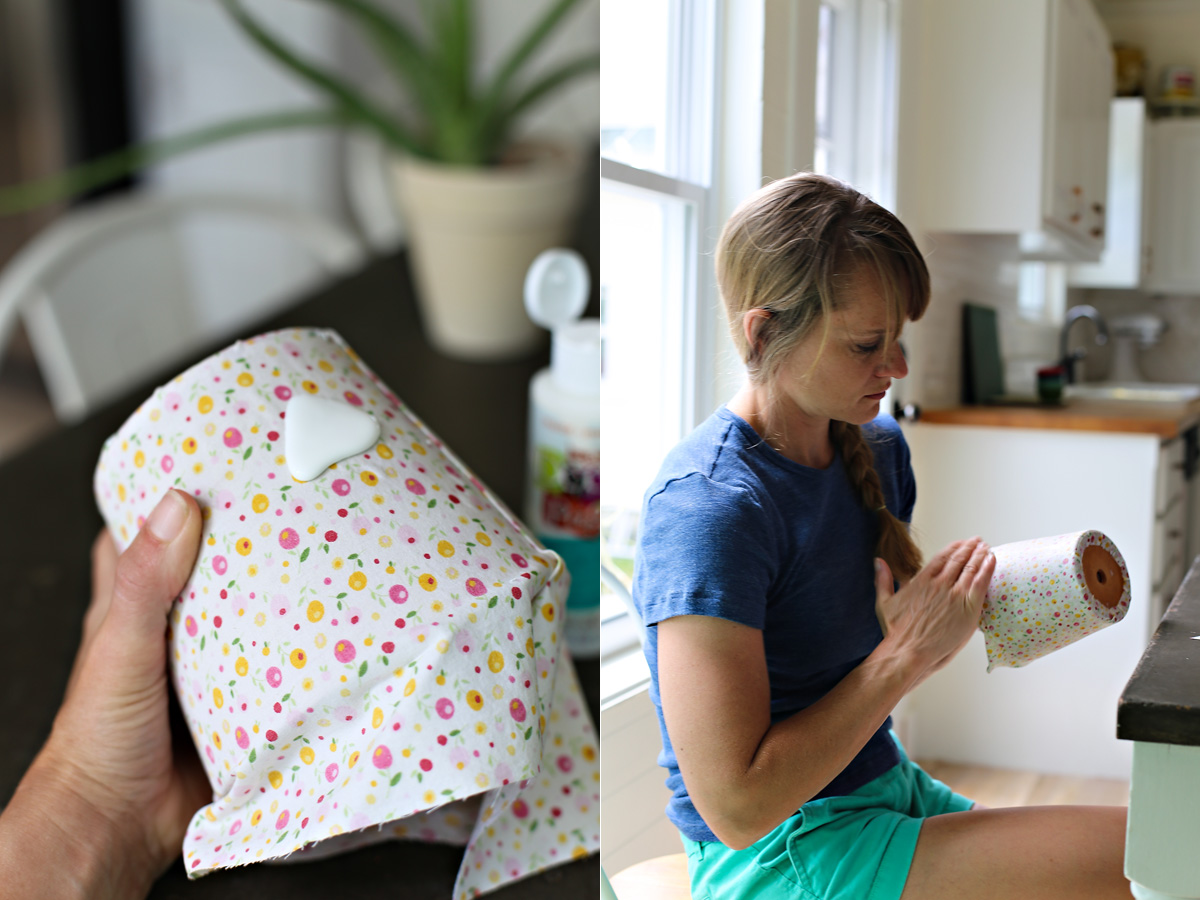
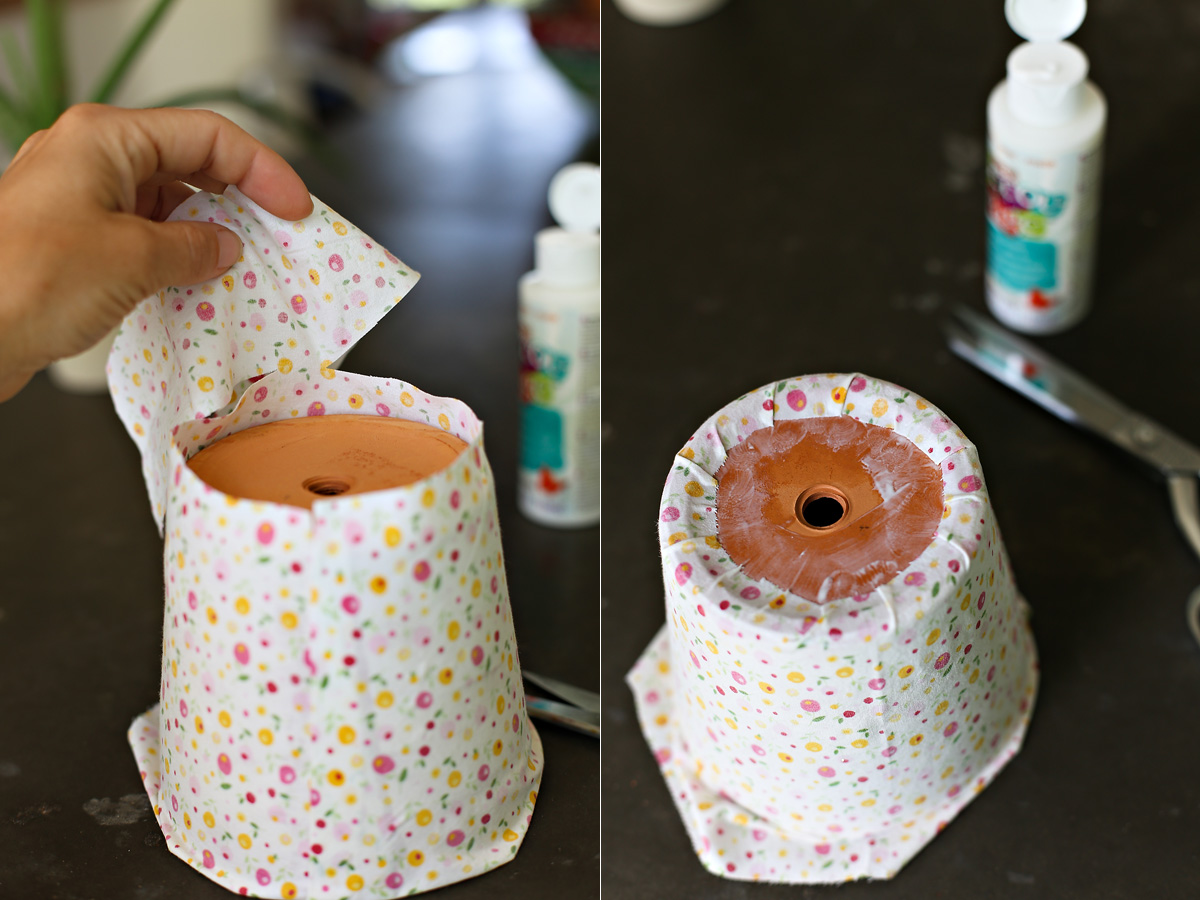 Step 6: Cover the fabric with decoupage. You want to evenly SOAK all the fabric. I brushed the decoupage on, but then I smoothed the fabric with my hand. Using my hand allows me to press out any air bubbles and really coat the fabric. If the fabric is not coated evenly, you will get air bubbles and it will dry unevenly.
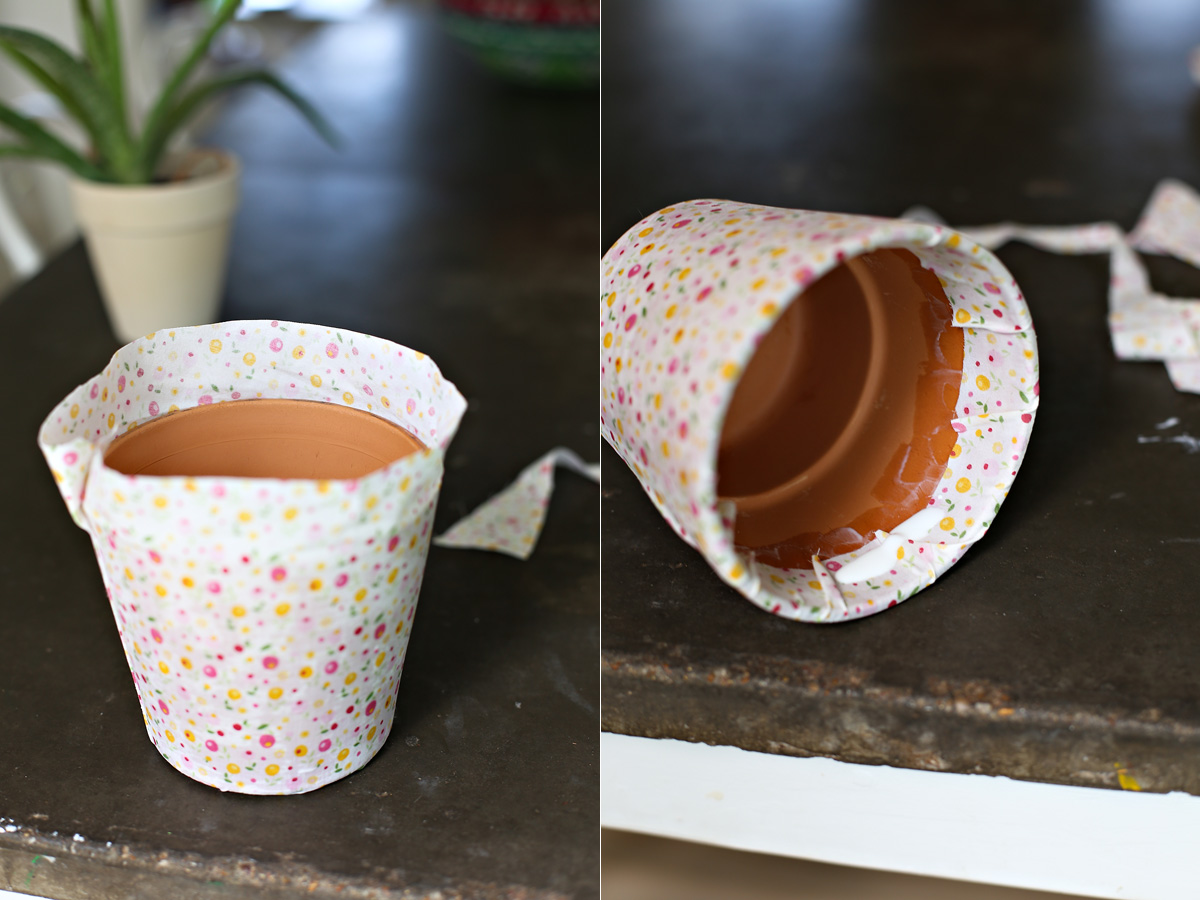
 Step 7: After the bottom and sides dry, trim and glue down the top. I don’t want too much fabric on the inside of the pot, but I also want enough that the bottom of the fabric is just barely covered by dirt.
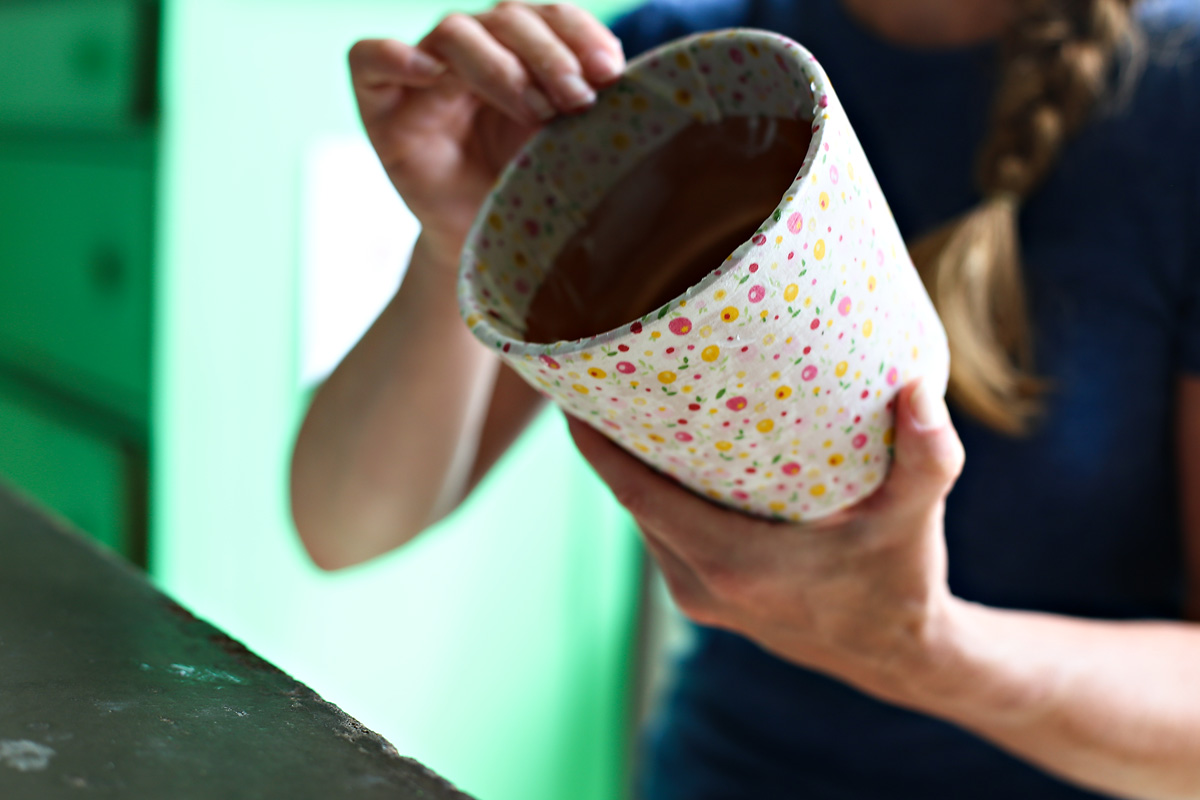 I recommend keeping these pots inside. The decoupage is not waterproof. However, I did use my last set outside and they lasted for several years. Eventually, they faded and just got too dirty. If you decide to use them outside, just know they won’t last as long.