pom pom making
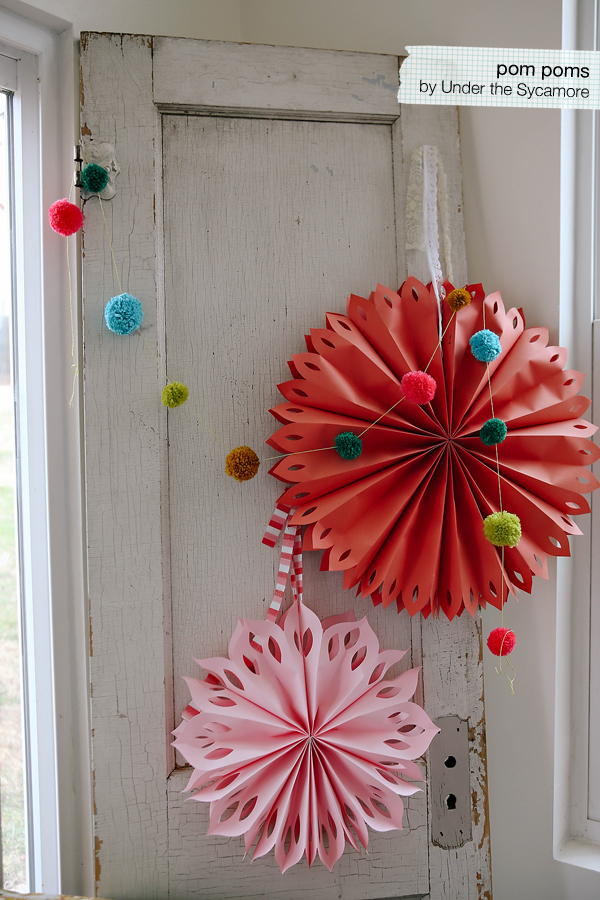
I’ve posted a few peeks at pom poms here and on Instagram. I didn’t do a tutorial because there are about a million tutorials for pom poms online and they are all basically the same. However, I keep getting requests to post more info on how I make pom poms. You won’t find anything in this post that is new or unique to me, but for those that asked – here is how I make yarn pom poms:
Supplies
- Yarn – I just get the cheap kind whenever it goes on sale
- Scissors – a small SHARP pair make this project so much easier
- Pom Pom maker – you can use anything from cardboard to a fork, I’ll share my favorite below
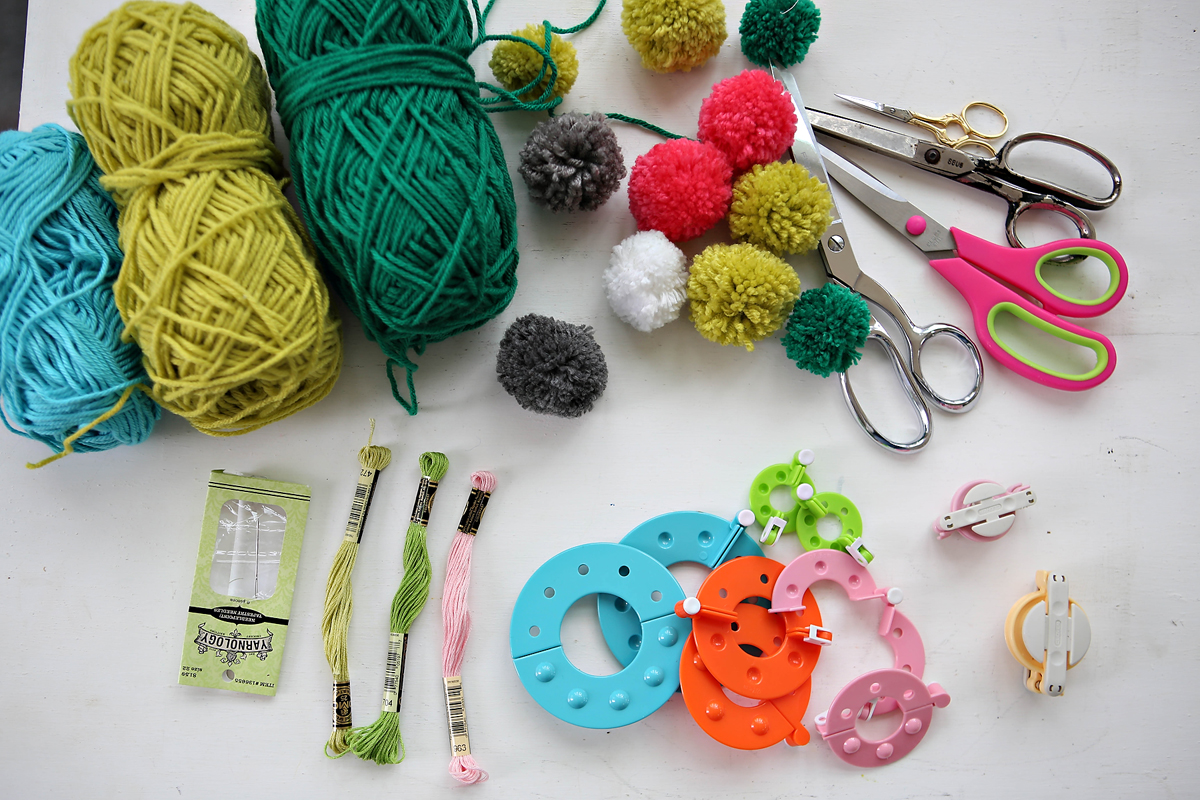
In the picture above, there are two kinds of pom pom makers. I’ve had the ones in the middle for a few years. I got mine at Hobby Lobby. Basically, you hold the two pieces together and start wrapping yarn around them. Here is my biggest tip with pom poms – WRAP TIGHT AND USE LOTS OF YARN. If you want a full pom pom, you need lots of yarn. I wrap both sides tightly and as thickly as possible.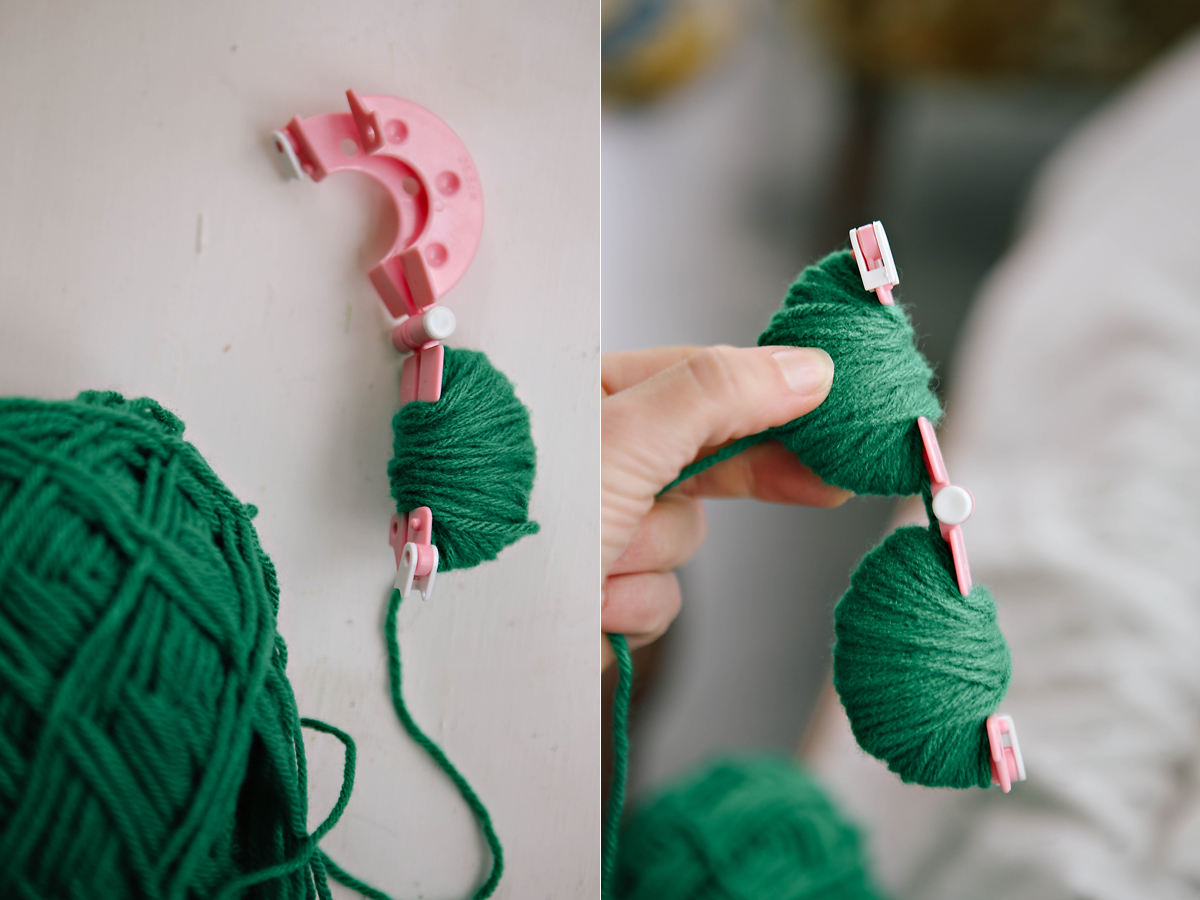 After both sides are wrapped, you push the two sides together. Next, follow the center line and cut all the strings. Make sure you cut ALL the strings.
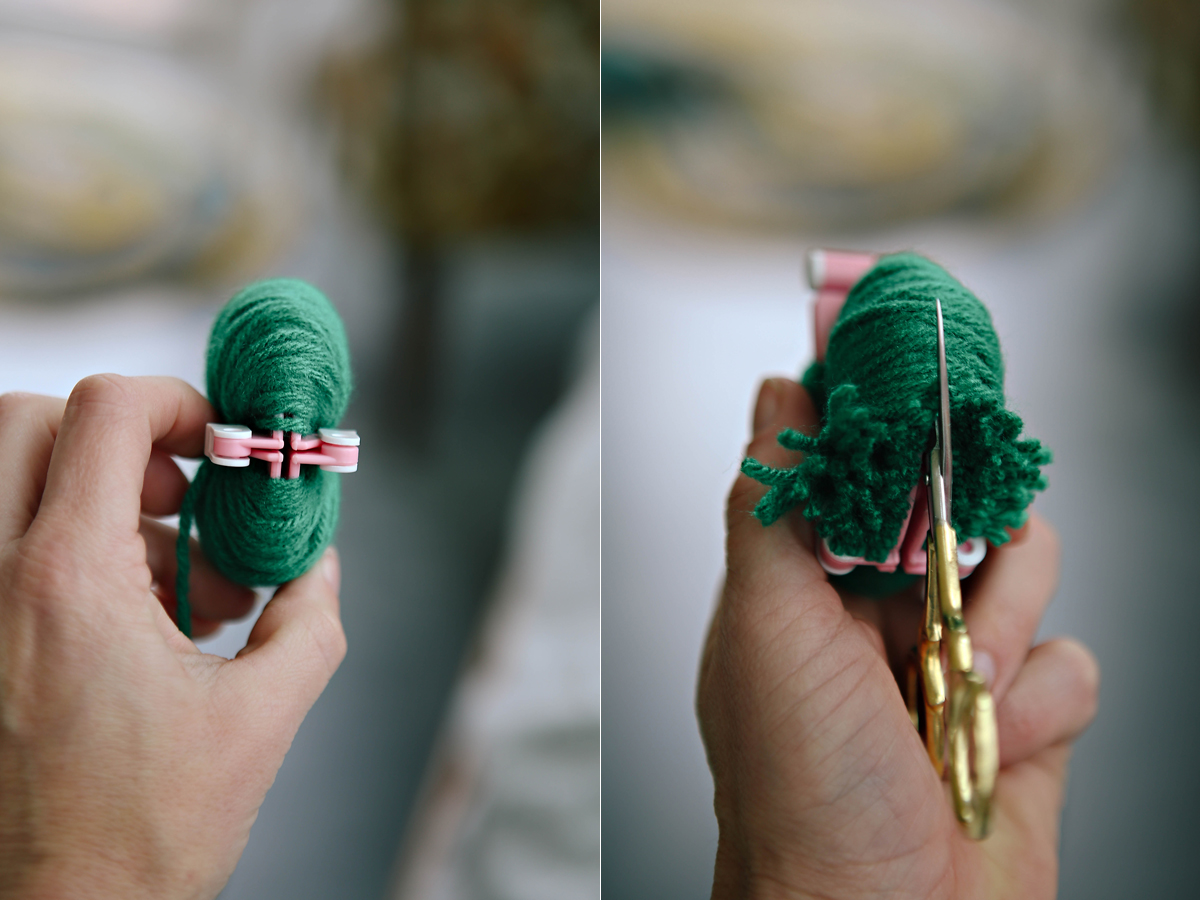
See the picture on the left – if you look closely you will see some strings going between the hinge part. Make sure you cut those strings. Next, using another piece of yarn, wrap it around the center and pull TIGHTLY. Tie it in a knot then remove the pom pom maker.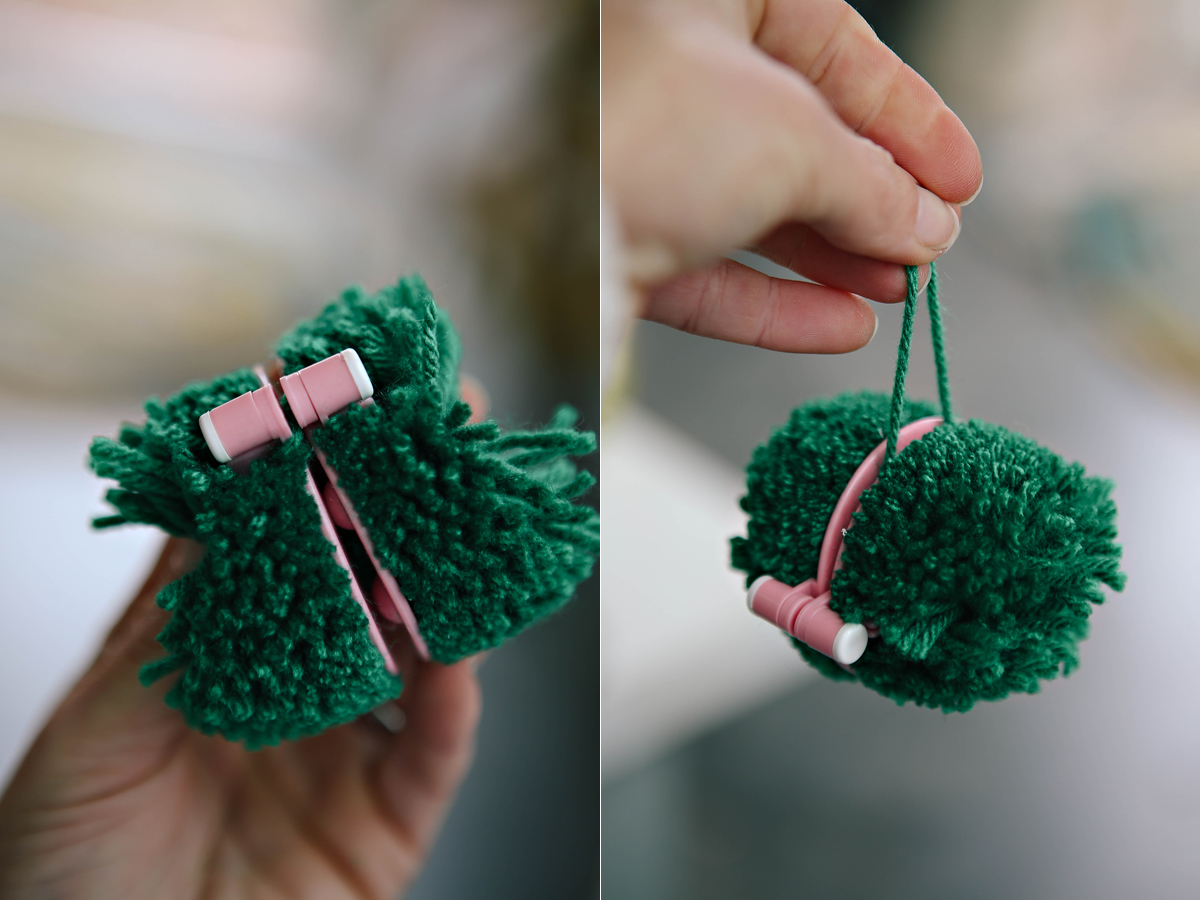
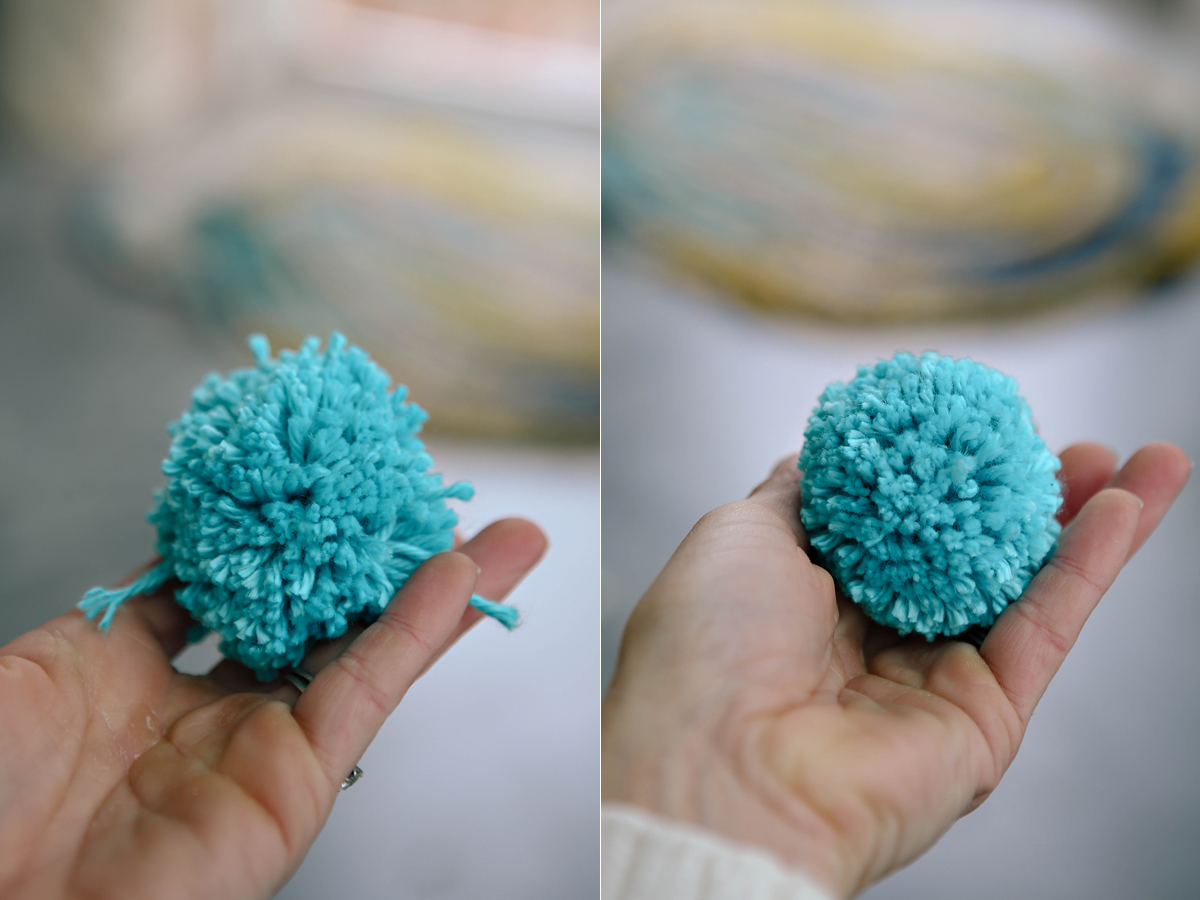
The pom pom will look all wonky at first. Take a good pair of scissors and trim it up. The only part I liked about Barbies growing up was getting to cut their hair. Trimming pom poms is kind of like that.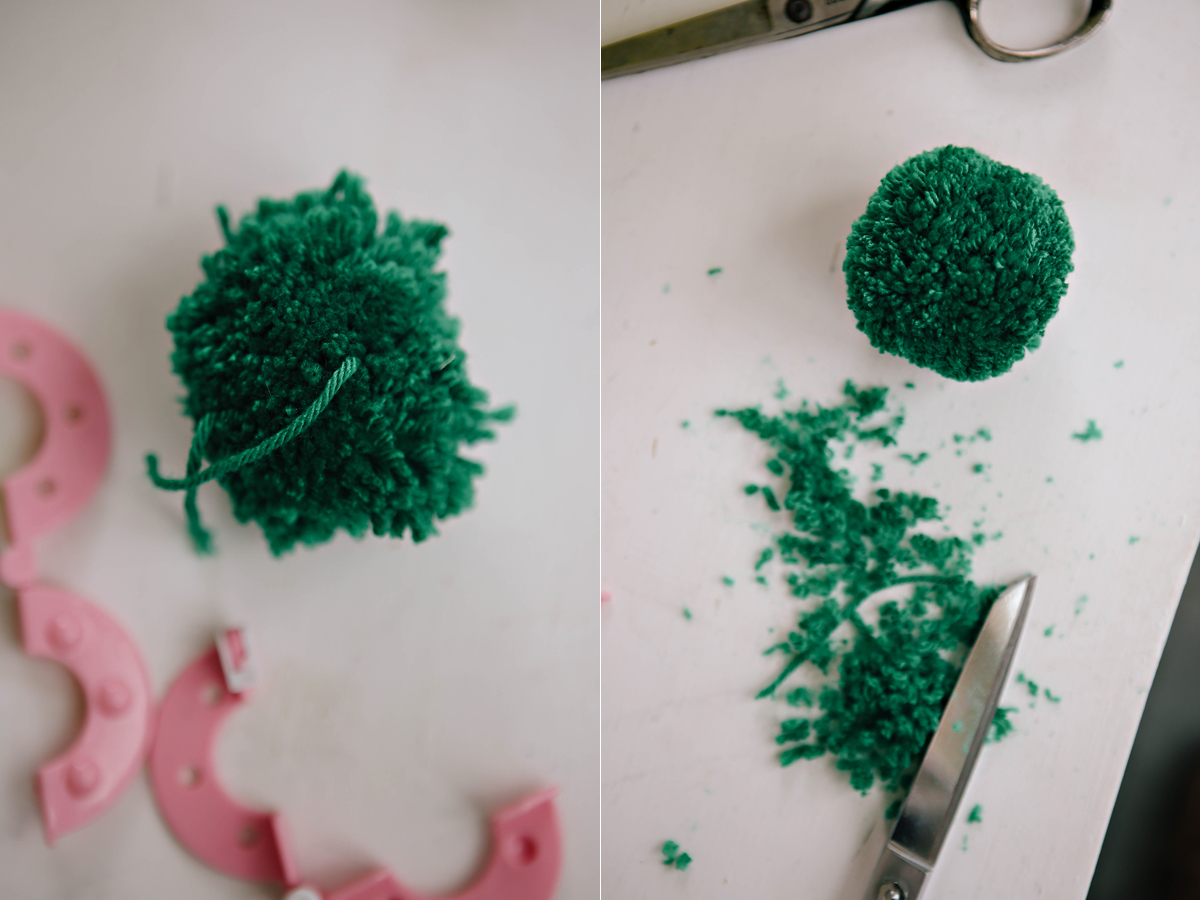
Below are some pictures using the other pom pom maker. Meg introduced me to these. They are easier to work with in my opinion. I picked mine up at Michaels using the 40% off coupon. You can make your own pom pom maker or use a fork, but for a couple of dollars I think these are so worth it.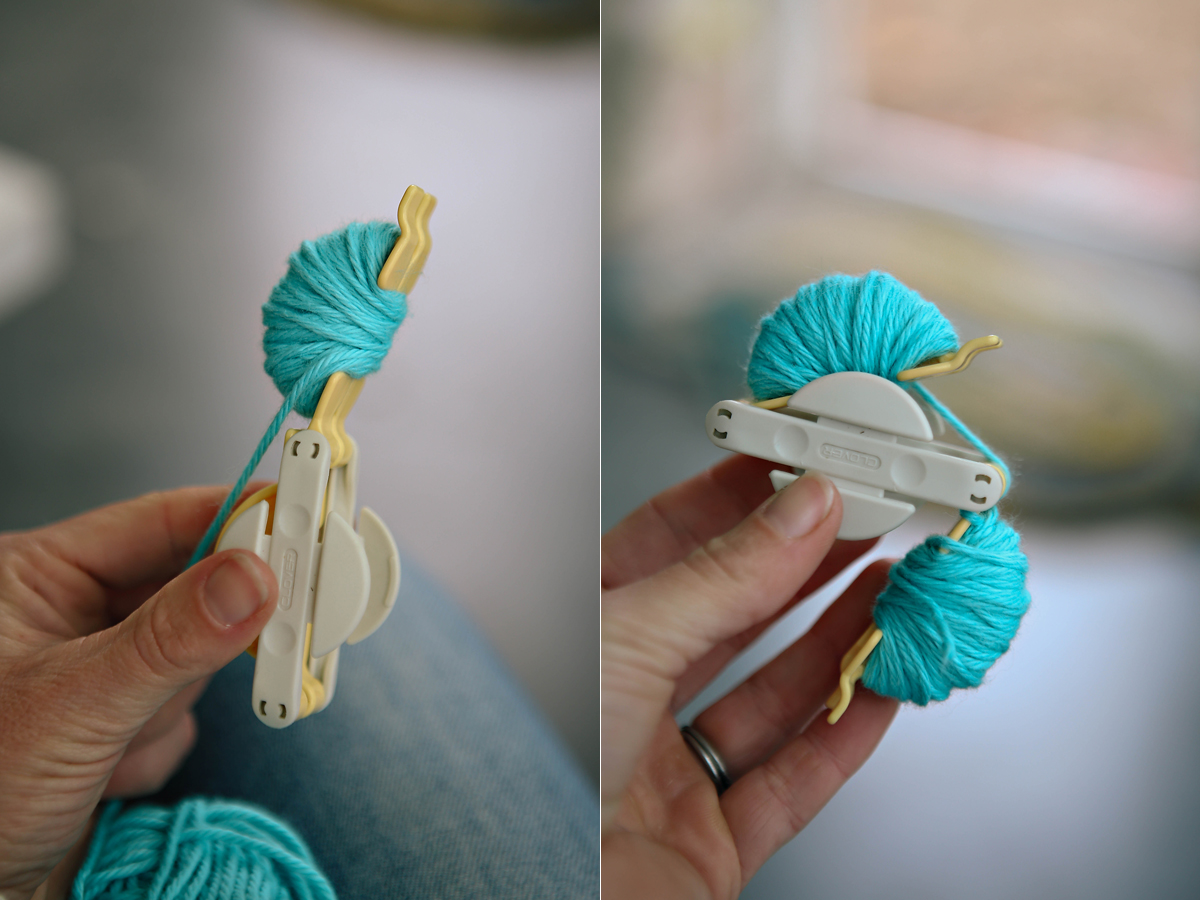
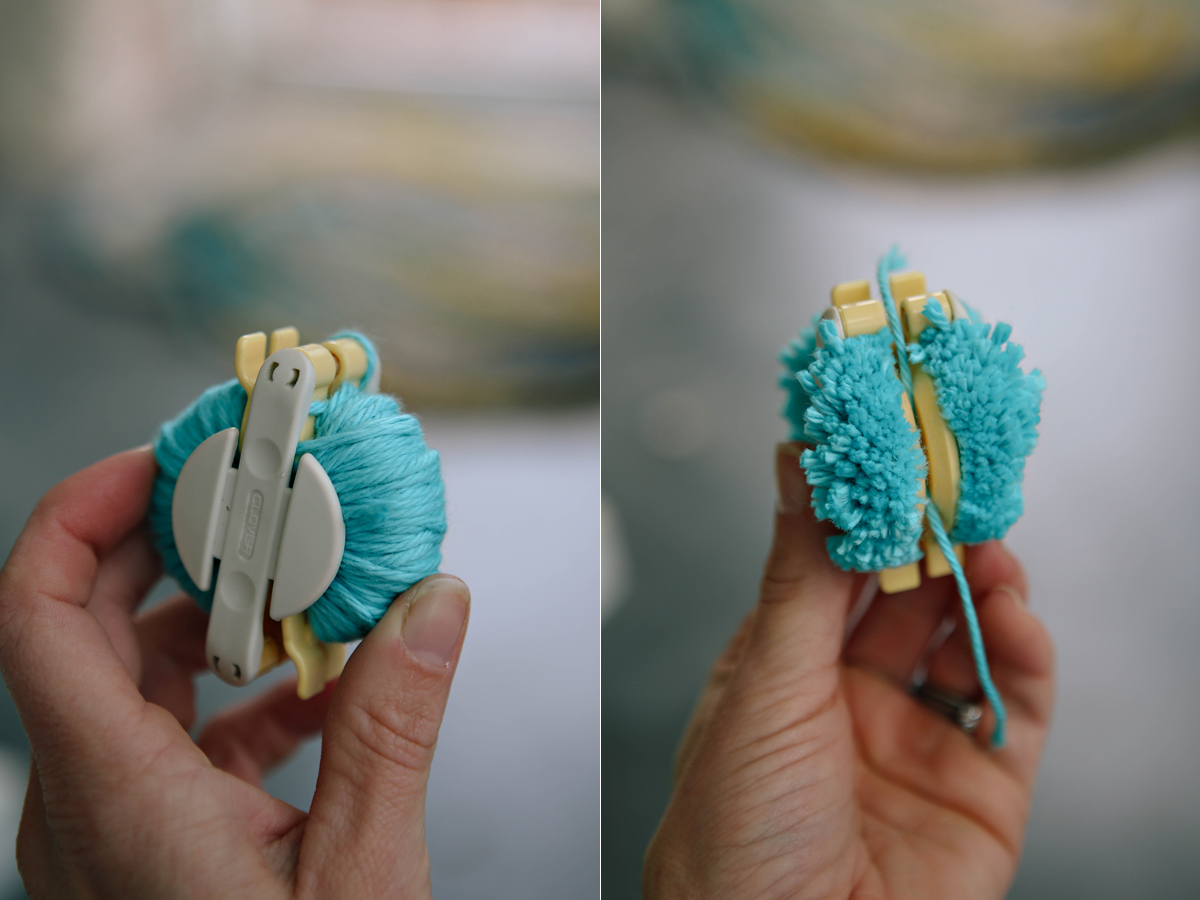
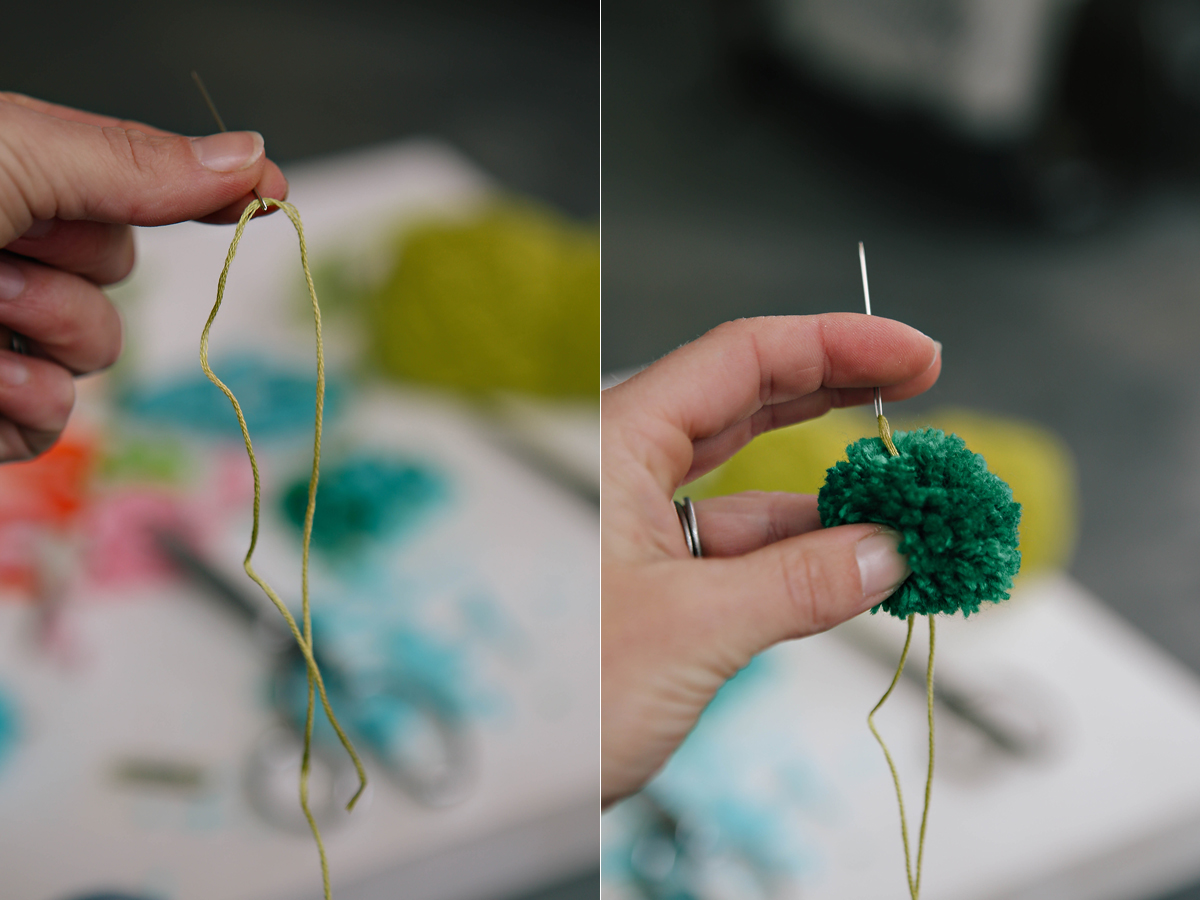
 When I make a garland, I use embroidery thread and just string the pom poms through the center.
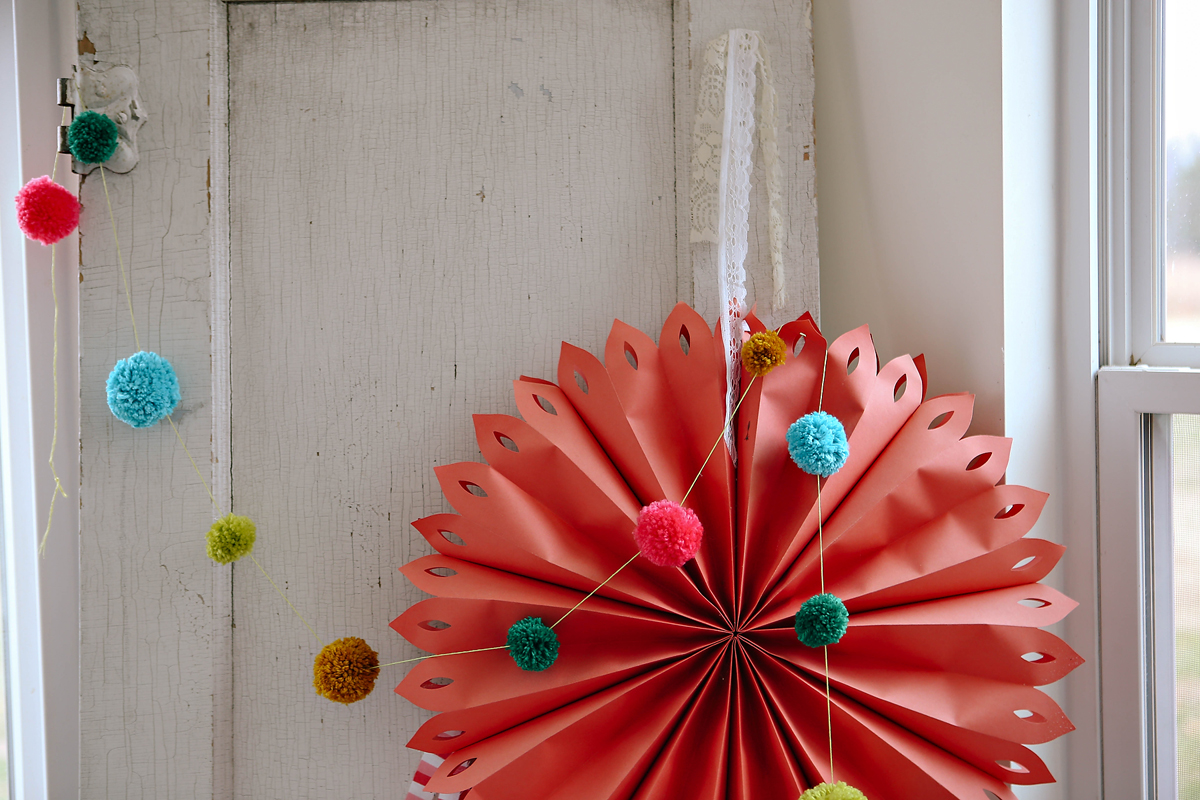
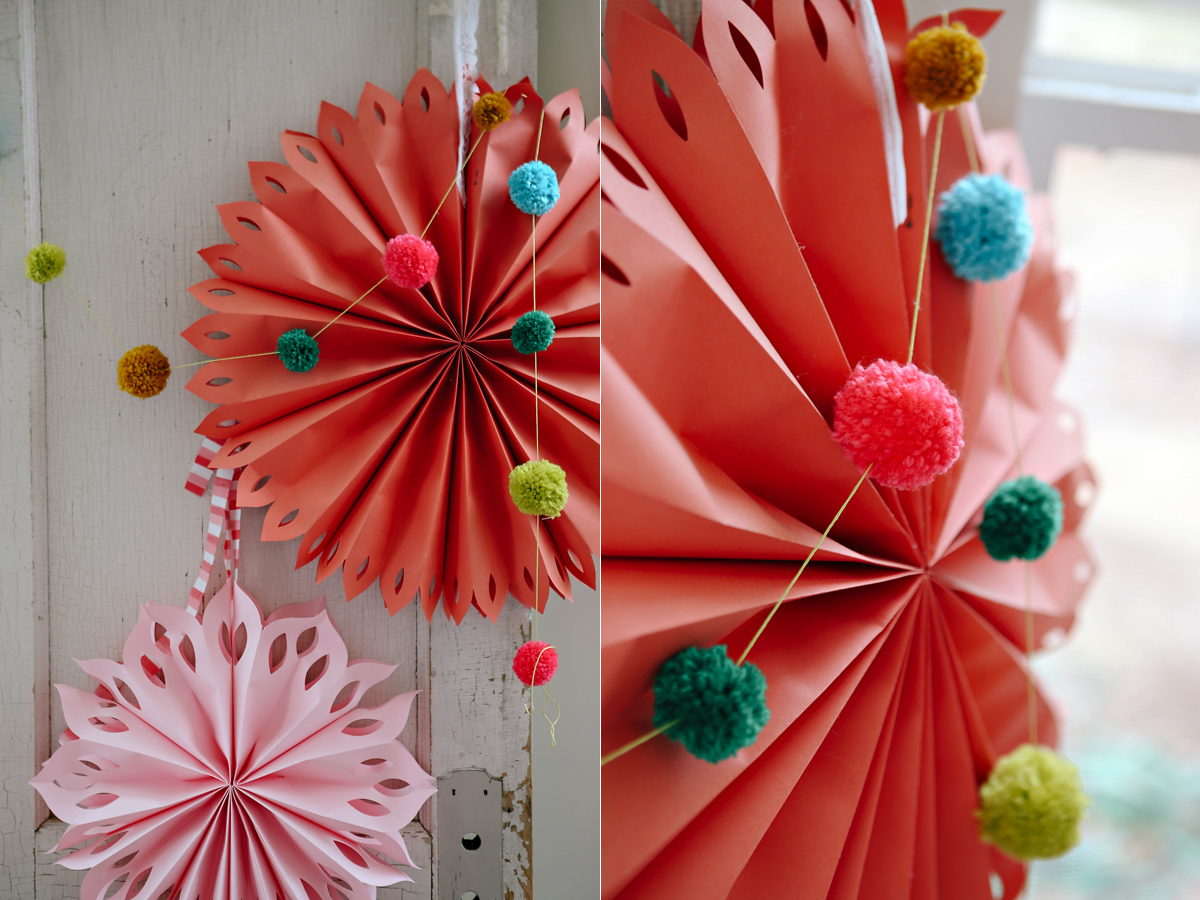
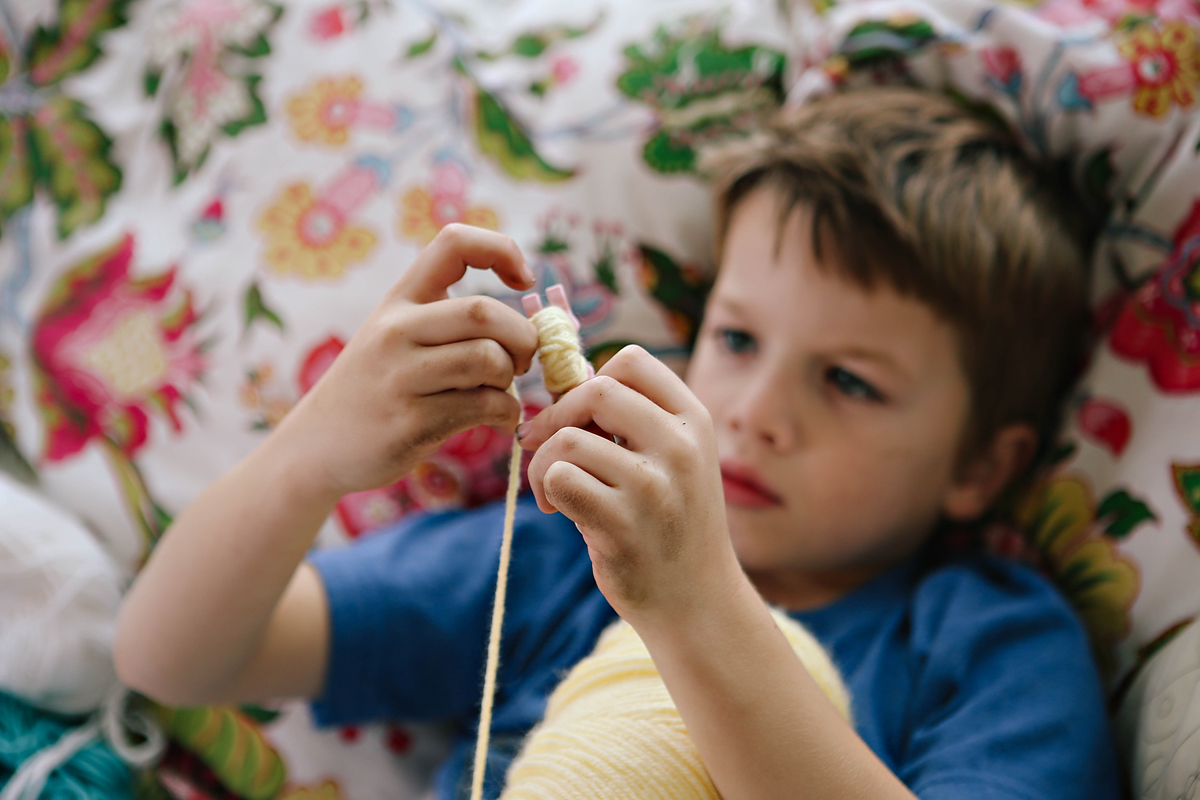
I leave a basket of yarn out with the pom pom makers. I often find kids making them during random times of the day. It is something a bit challenging for them, but fun at the same time. It is a great activity when someone needs a little time alone or wants some quiet space.
 He came inside from digging in the dirt….dirty hands and pom pom making boy. He is well rounded 🙂
And a few ideas I found online of ways you can use those big and small pom poms!
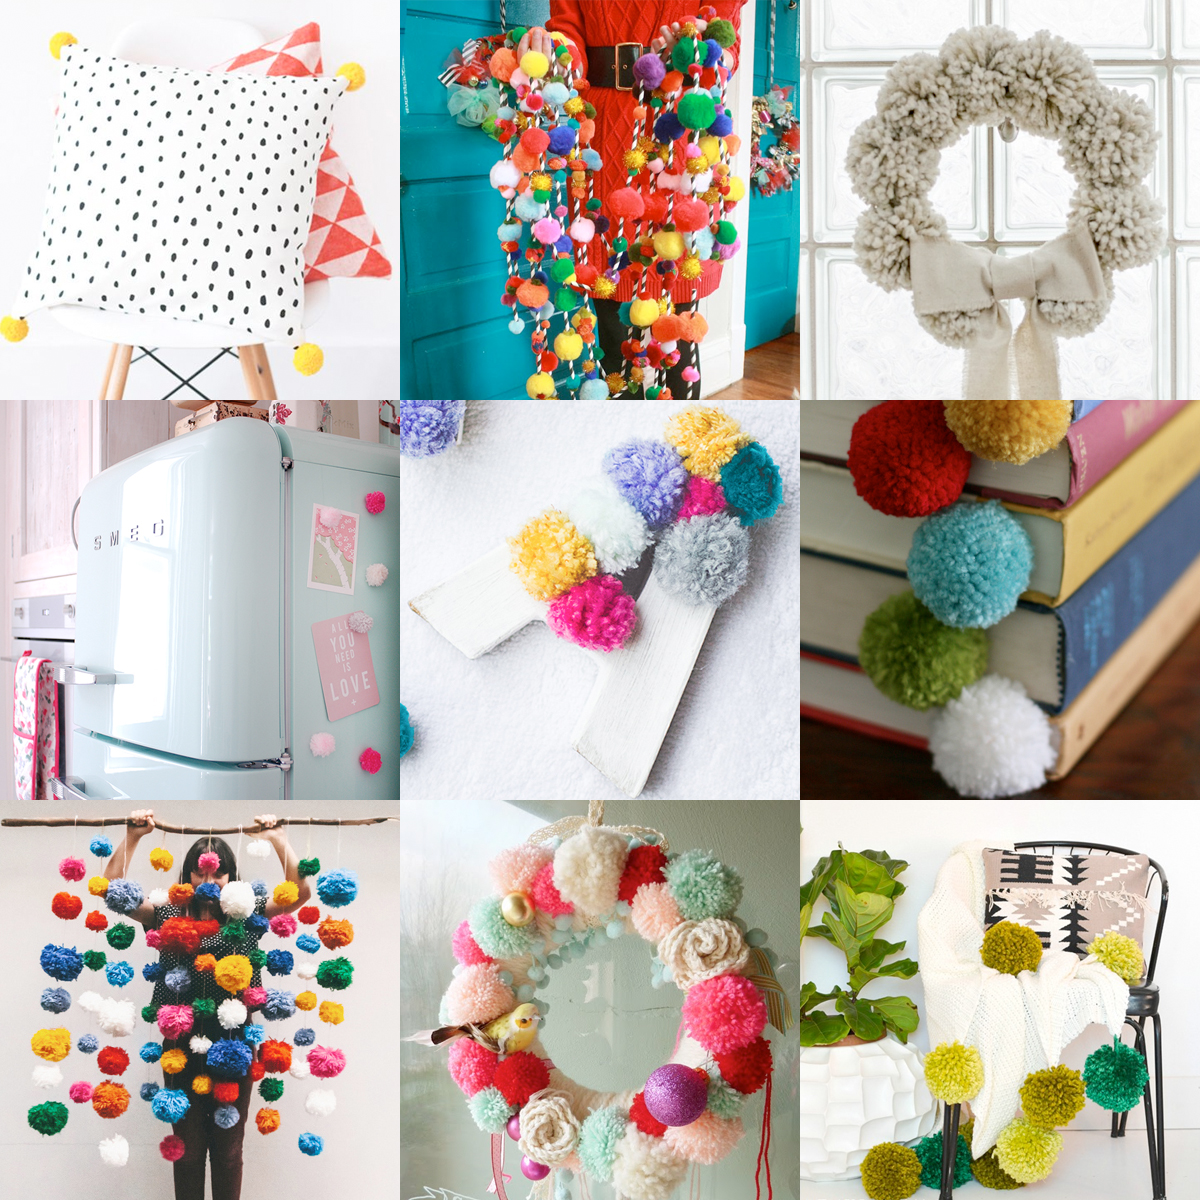
The Lovely Drawer || Aunt Peaches || It All Started With Paint


