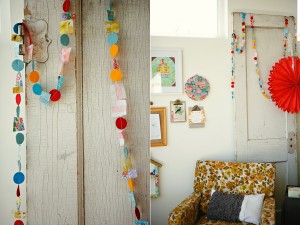
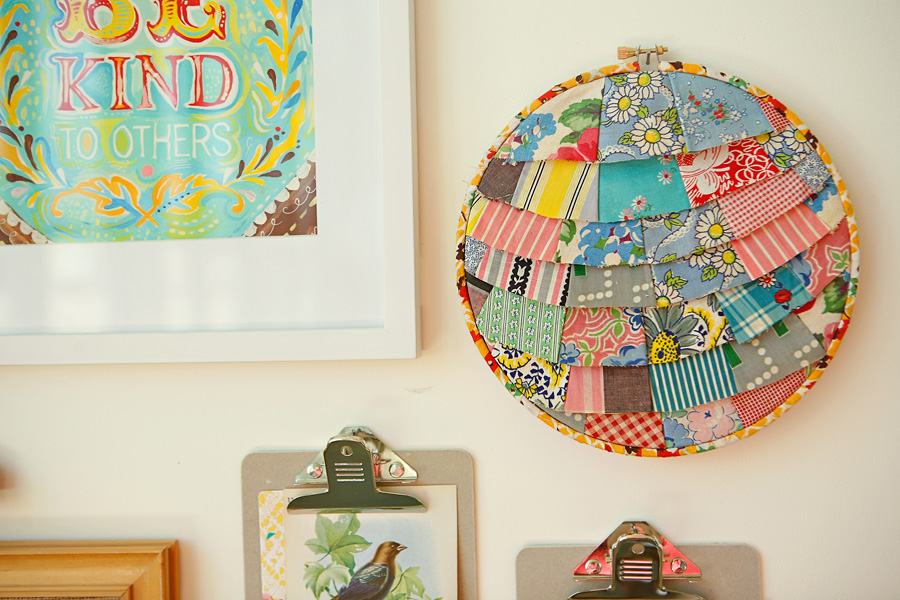
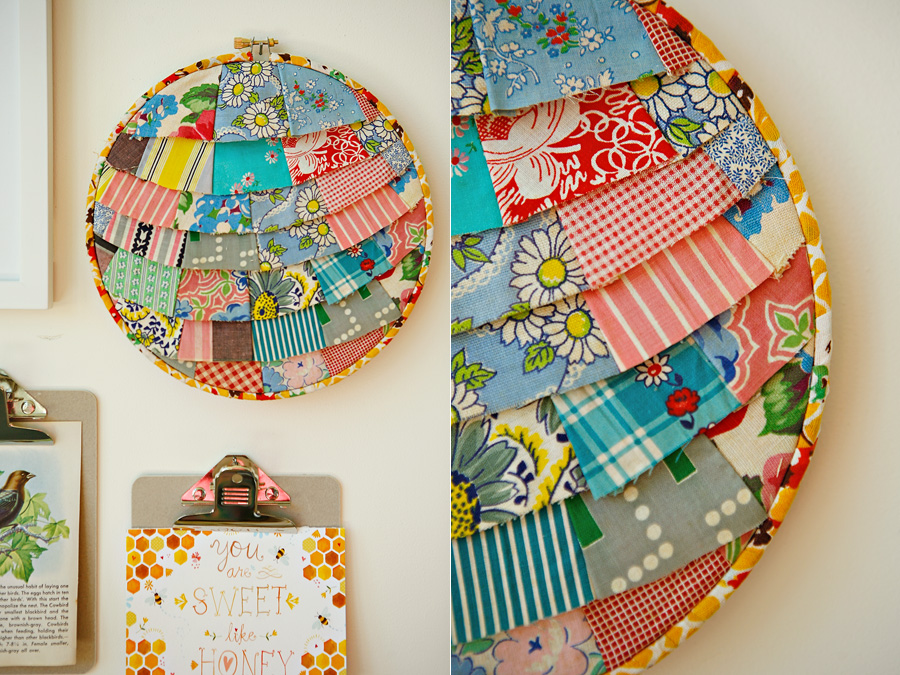
diy {layered fabric hoop}
Well, since several of you requested a tutorial on my fabric hoop from yesterday…here you go:
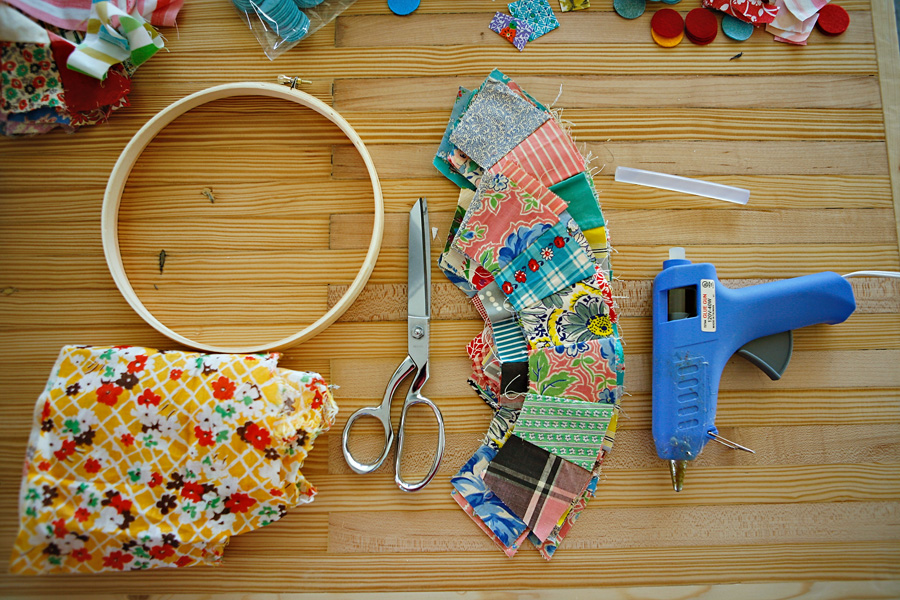
Supplies:
- Embroidery Hoop
- Quilt pieces – I got these from an estate sale. I am guessing you could make your own.
- Scissors & hot glue gun
You know I like crafts with just a few supplies and steps, this would be another one of those. I really liked the fabric used on the quilt pieces when I saw them at an estate sale, but had no intention of ever trying to make them into a quilt. I use them for random projects all the time. When I was hanging things on that wall in the studio, I had a blank spot to fill. So I just looked around at what I had on hand…and thus this hoop was born.
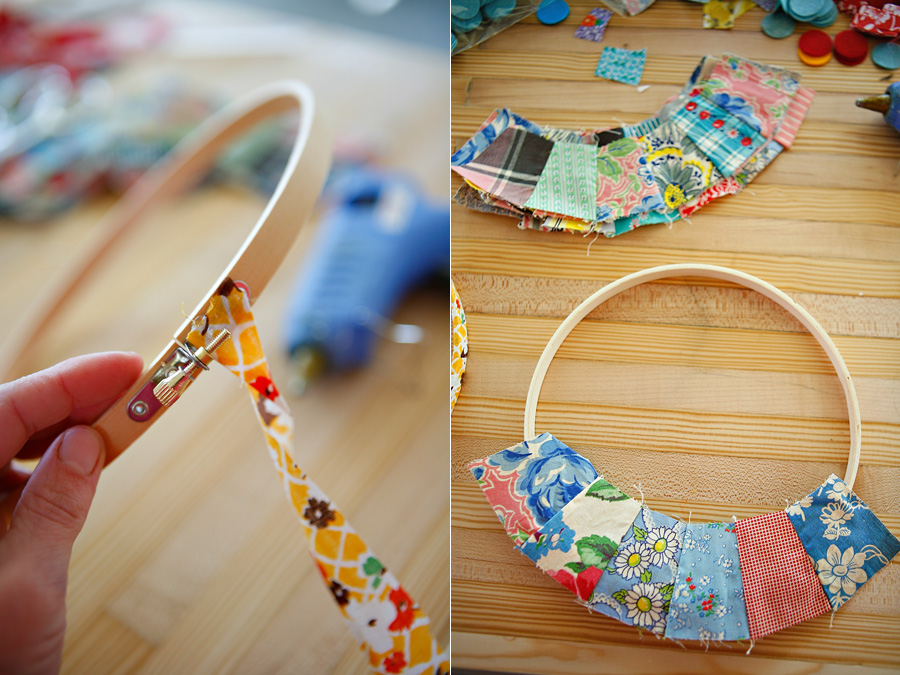
Step 1: Cut a one inch wide strip of fabric to wrap the hoop
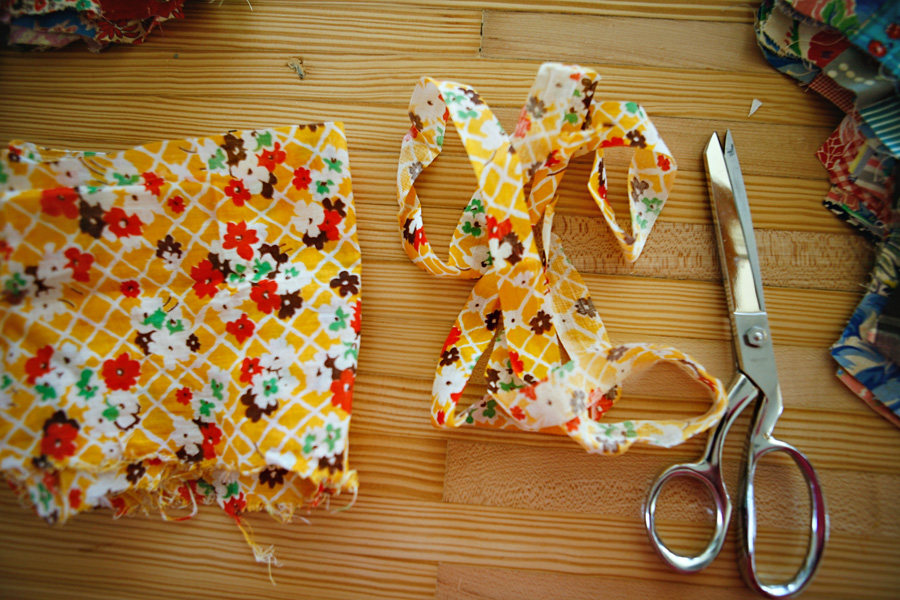
Step 2: Wrap the outside hoop in your fabric, hot glue it at the start and end to hold in place.
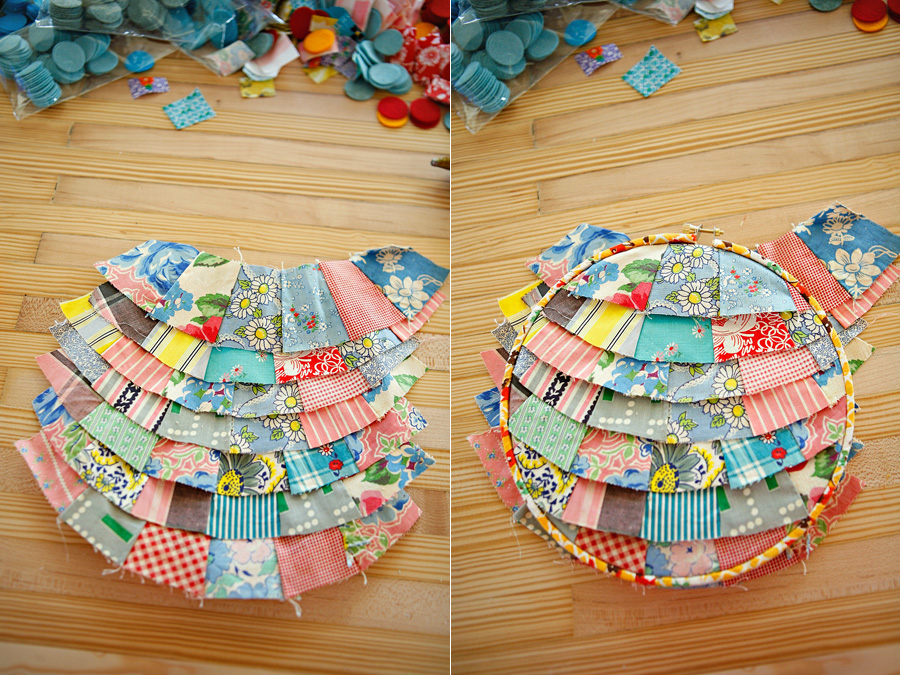
Step 3: Place the inner hoop on your work surface. Begin at the bottom, layer the fabric up to the top
Step 4: Place the outer hoop on top and secure it tightly
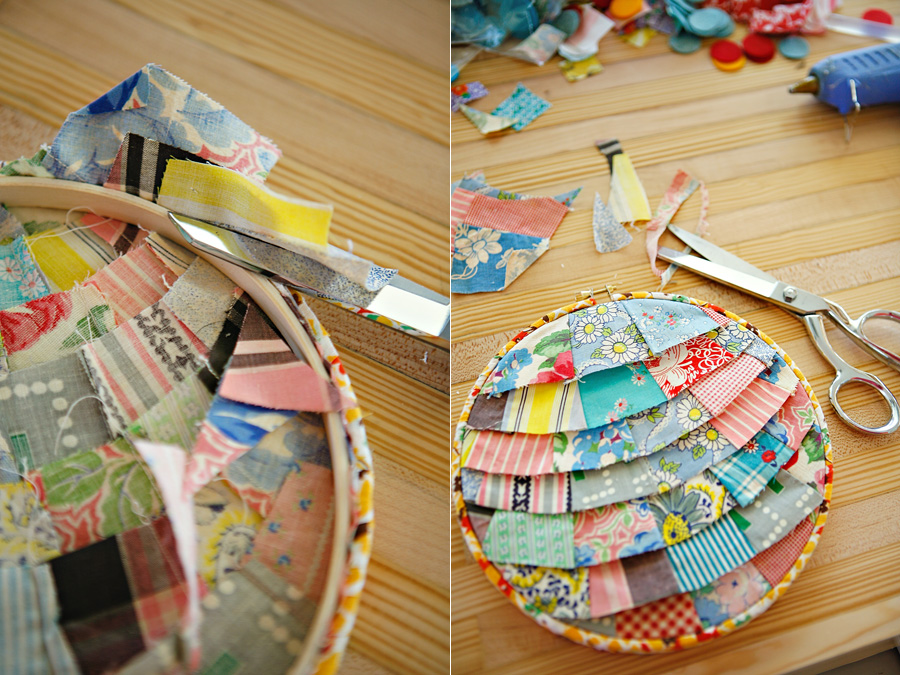
Step 5: Turn it over and trim off the edges
This was ridiculously easy for me, but I didn’t do the hard part of sewing all those pieces together!
Random side note: while I made this the boys were playing Oregon Trail. Anyone remember that game? We had a long conversation along the lines of, “back when I was a kid we….”
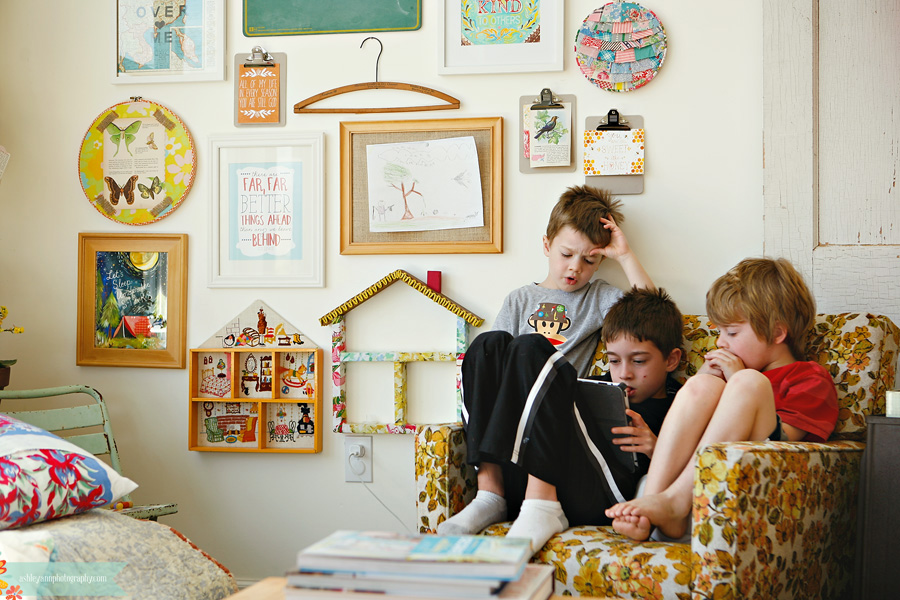
On days he doesn’t go to school, his hair looks like this. Who am I kidding…his hair looks like this most days. Summer buzz cut coming soon.


Happy Crafting to You.