diy {quilt piece bunting}

I have a few rules when going to thrift stores, estate sales & flea markets.
1. I set a spending limit and don’t go over unless it is the deal of the decade. This helps me walk away from things I’m not 100% on.
2. If I love it and it is a great price…I buy and then figure out what to do with it later (unless it is really big).
3. I try to stick to certain themes that work together (beachy colors, primitive items, turquoise anything)
**********************
With that being said months ago I found a bag of cut quilting pieces for $1.00. I loved the fabric, but had no plan on how I’d use them. Previously, I made garden flags out of some of them. Next I thought I would make a quilt with them, but after talking to my grandma I realized the pieces were cut for a Double Wedding Ring quilt which is far beyond my sewing abilities. So…they’ve been stuck in a bag waiting for a new life. Now they are nearly 4 yards of cute bunting 🙂
Supplies:
Fabric pieces in a mix of patterns and colors
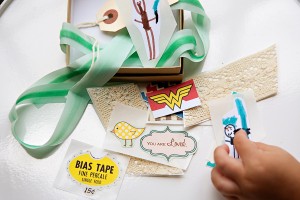
1/2 inch bias tape

I didn’t cut my pieces, but if you need to they are about 1 1/4 inch at the bottom and 2 inches at the top.
Step 1: Place two pieces together facing each other
Step 2: Sew 3 sides. I just kept going instead of cutting between each one

After you’ve got them all stitched, trim the edges and cut a little slit in the bottom corners. This helps the corners not get bunched when you turn it right side out.

Turn right side out and iron.

Space them side by side as you sew them to the bias tape. I folded my bias tape as I stitched. There are probably better ways to do this, but I often try to sew in the least amount of steps. If your fabric is bigger you’d probably want wider bias tape.

So festive and fun. I know bunting is a big trend right now, but I really like the practical aspects of the trend. Once made it can be reused over and over. You can take a plain room and make it look like a party just by putting up your bunting. I think I will keep mine up all winter when I am depressed it is cold outside.


How about a little peek at her 2 year old pictures? This picture makes me happy (there are so many more…to be posted next week)

If you don’t want to make your own bunting (or you need a better pattern) here are some fun versions I found on etsy:

Candy Kirby Designs, The Ruffly Owl, Freyadays, SparklePower, A Cottage Life
(I quite obviously got the idea to wrap my bunting around a wooden spool from A Cottage Life’s mini bunting and mini spools)