diy {chicken wire wall; antiqued frame}

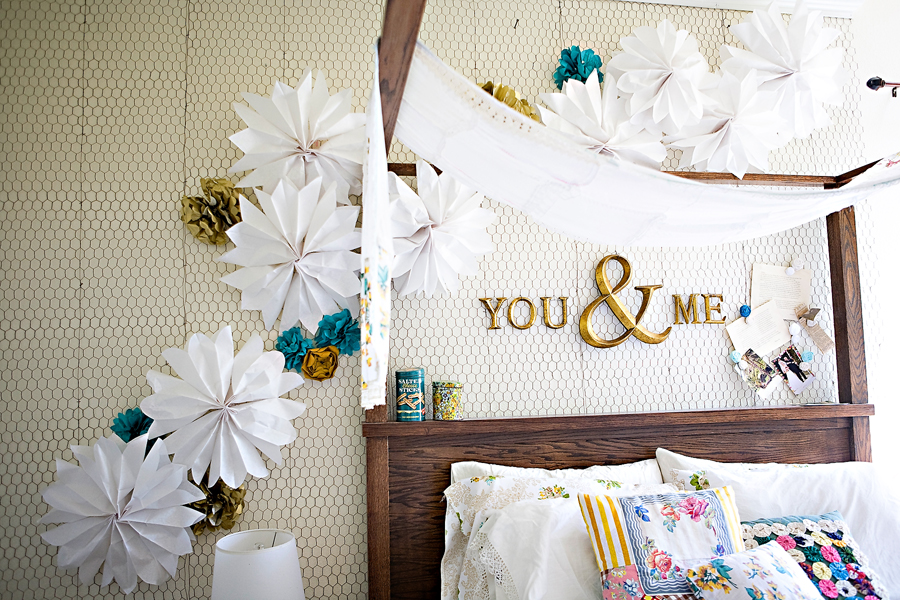
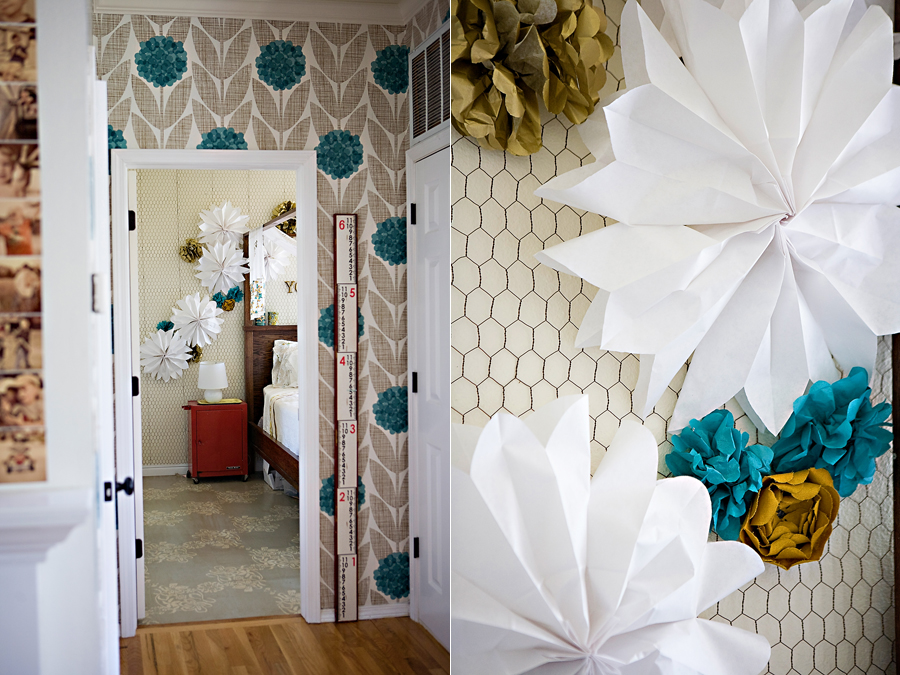
I’ve gotten a few emails requesting more details on how I did my chicken wire wall, so I thought I’d just do a post on it.
Step 1: I started with a few rolls of chicken wire from Atwoods (love that place). I cut out strips about 6 inches longer than the wall (to give me some extra to work with).
Step 2: I spray painted the wire and some staples (used to attach the wire to the wall)

Step 3: I started in the corner and began stapling the wire to the wall. I pulled tightly to get it as flush to the wall as possible.


I plan on changing out what is hanging on the wire pretty regularly.
The whole point of doing the wire was to give me a “canvas” that I change as much as I want.


And just because I know some people have maybe never ‘antiqued’ something. I thought I’d also share some simple steps for giving painted items an aged look.
My grandpa built me a frame for a mirror my old neighbors were throwing away. I painted it with one coat of teal paint.

After the first coat I used a sanding block over the whole frame. I talk to a lot of people that try painting wood and get frustrated because it doesn’t feel smooth. If you paint unfinished wood, the wood fibers will rise up. You really need to lightly sand it down after that first coat of paint to get a smooth finish in the end.

After adding another coat of teal, I rubbed on some wood stain with a rag. You can use a lot of stain of just a little. It totally depends on your taste. After the stain dried I added little latches to hold the mirror (grandpa already pre-drilled holes for them to go in).

Random old pictures stuck in the frame. Reminds me of something a high school girl does with pictures of her & her boyfriend.

While painting my frame it was blocking one side of my room. I told the kids they had to stay out since there was wet paint. I was on the inaccessible side of the room working and told FireCracker she couldn’t come in because the paint was wet. She decided to come on over to me her own way. I kind of like that she just does things her own way. She keeps me laughing…and active.


