diy {wooden spool photo holders}
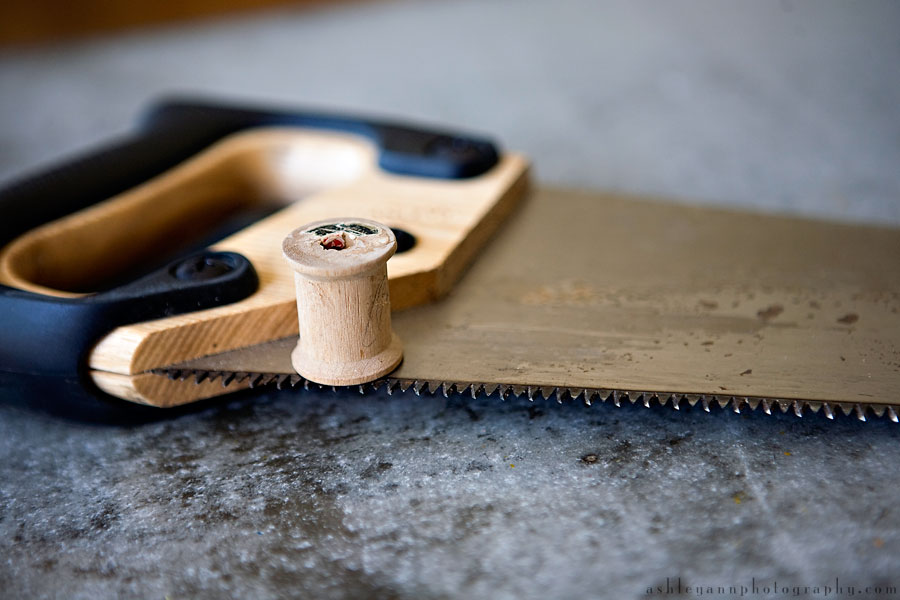
So I have come to the conclusion that most of my diy projects are born out of a desire not to go shopping with my kids. We recently replaced the shelves in our living room and I was having trouble figuring out a way to display my mounted photos. I didn’t like them just leaning against the wall. I propped a couple up in front of a jar of vintage wooden spools….then it dawned on me I can saw a slit down the side and stick the mounted photos in! So that is what I did….I am super random, I know.
Supplies: Hand saw, wooden spools, sandpaper 
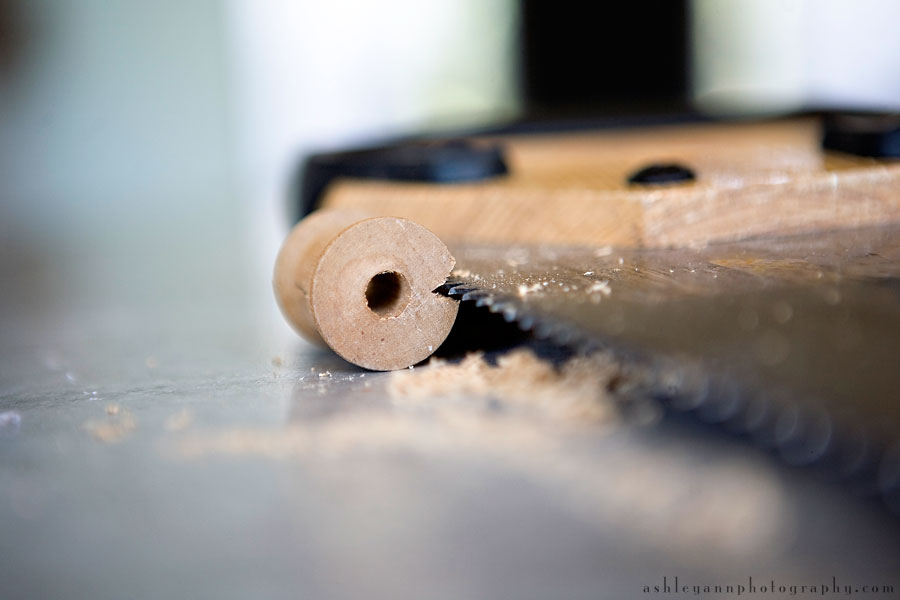
Step 1: Slowly saw a slit in the spool. Getting it started is the hardest part, go slow. Once you get past the edges it cuts very easily. There is probably a way to do this on a power saw, but I was too worried about cutting off my finger….and a hand saw fits in the house where it is air conditioned.


Step 2: Saw all the way to the middle and make the opening large enough to fit the mounted photos. Sand the wood down.

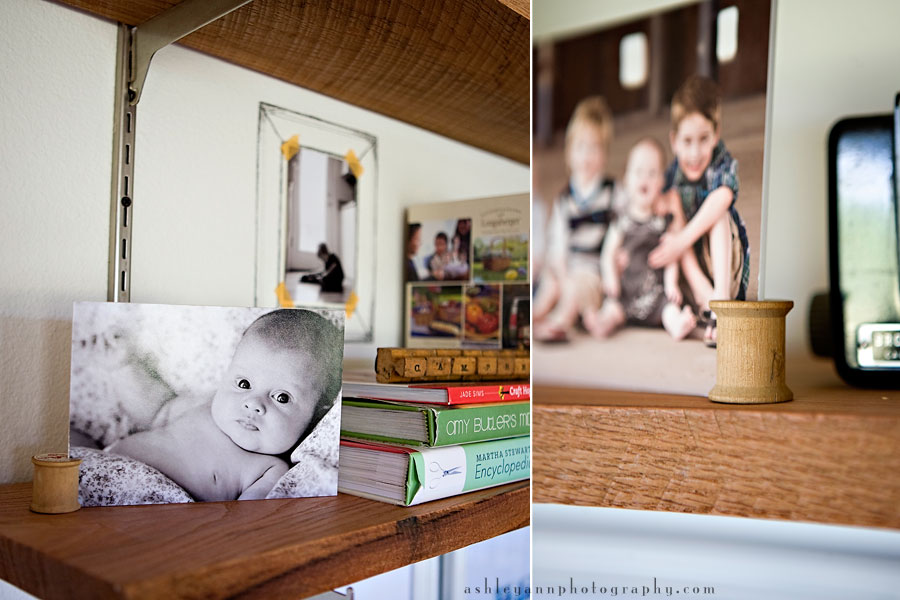
Vintage Wooden Spool Photo holders….one more way to avoid shopping with your kids when you need to display a photo! Of course you have to have wooden spools on hand!


Chris came home and didn’t notice the spools, but when I put a sweet potato on display he noticed that. I grow potatoes inside better than houseplants. I got the paperback book display from my grandpa’s neighbor. She was using it to hold books for a garage sale and told me she wouldn’t sell it. I mentioned my grandpa was her next door neighbor. The next time I was at my grandpa’s he said, “My neighbor left a piece of junk by the garage for you. Take it or I am throwing it away.” Score. My aunt made me a lap quilt…I love it.

And just because it is annoying to me to see glimpses of things and not the whole area….our new shelves (inspired by Anne-Claire Rohe’s). I am not done filling them…someday.

