diy week {vinyl chalkboard}
UPDATE: The giveaway is now closed, Kaylene has the last counting comment.
.
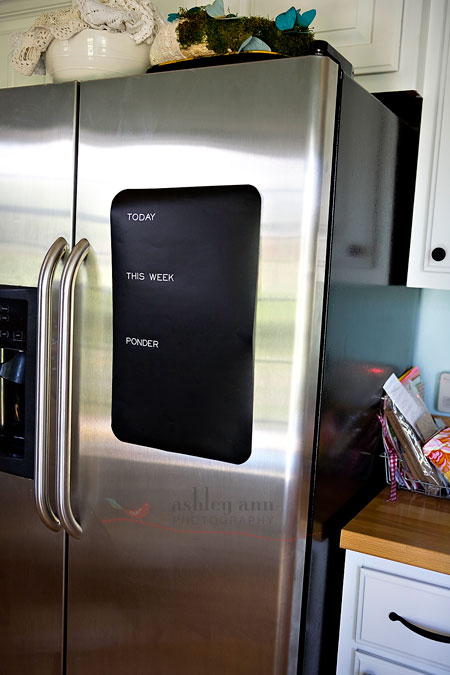
I know chalkboards are a bit of a craze right now, but I couldn’t help myself with this. If you are unlike me and can’t imagine painting your walls with chalkboard paint, you might fancy a vinyl chalkboard. I am sure most of you have seen the vinyl companies out there that provide all kids of custom graphics and text for your walls and other surfaces. Did you know you can buy sheets of vinyl? Did you know you can buy sheets of chalkboard vinyl? I had a sheet of it and it was OVERWHELMING trying to decide on something to make. I settled for a simple chalkboard for the kitchen fridge.
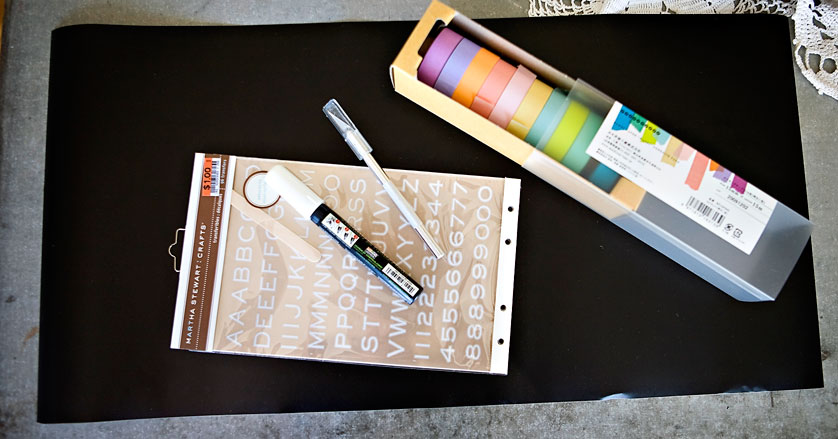
Supplies:
1 sheet of chalkboard vinyl
Exacto Knife
Letter decals
scissors
cup (if you want rounded edges)
Cute masking tape (to tape it if you aren’t ready to apply it to the surface)
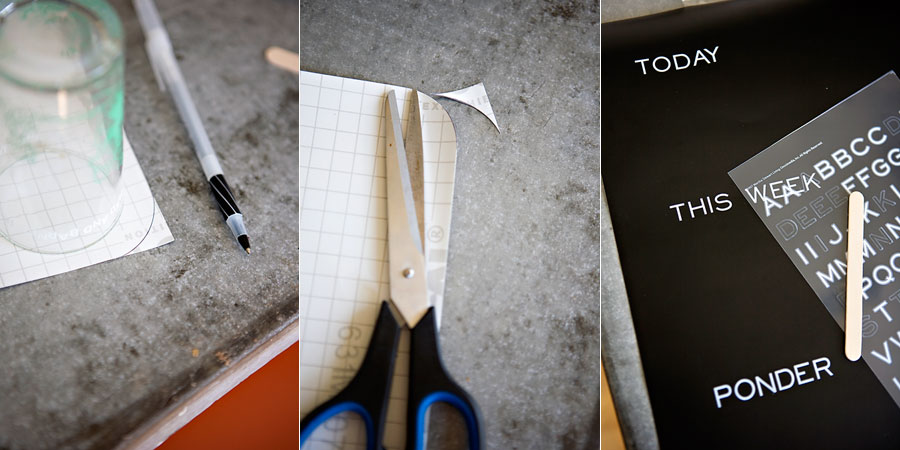
Step 1: Use a cup to trace rounded corners
Step 2: Cut the rounded corners
Step 3: Apply letter decals to create the words you want permanently on your chalkboard
Now you can apply it to your surface for a very simple, clean chalkboard. You can quit at this point if you want….or you could customize it a bit more.
Optional Steps:
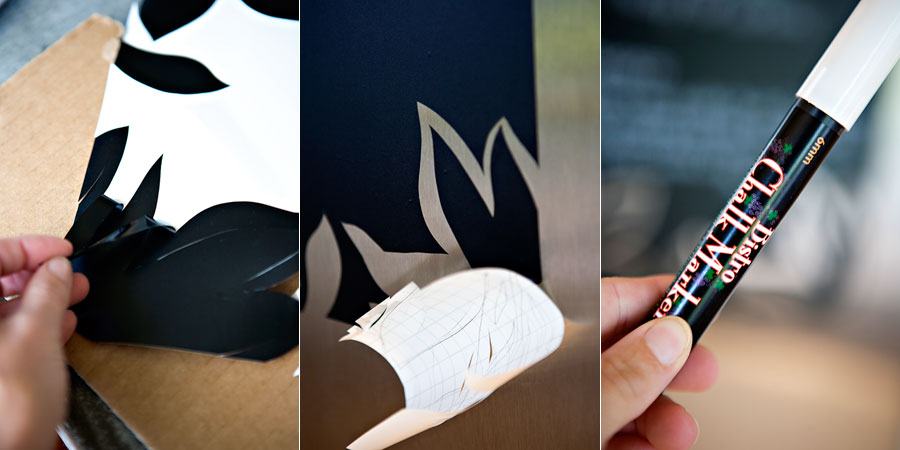
Step 4: Using an Exacto Knife (that is very sharp) cut out the design of your choice. I just cut as I went. If you wanted to you could draw out a design first, probably a better idea to do that!
Step 5: Adhere the vinyl to your surface. This can be tricky as you don’t want a bunch of air bubbles. I used a pad of index cards (because it was rigid and nearby) to help SLOWLY smooth the surface as I applied the vinyl to the fridge. Remember I cut out shapes at the bottom, so part of my chalkboard is now missing. Don’t rub the rigid surface over your letter decals, it will mess them up.
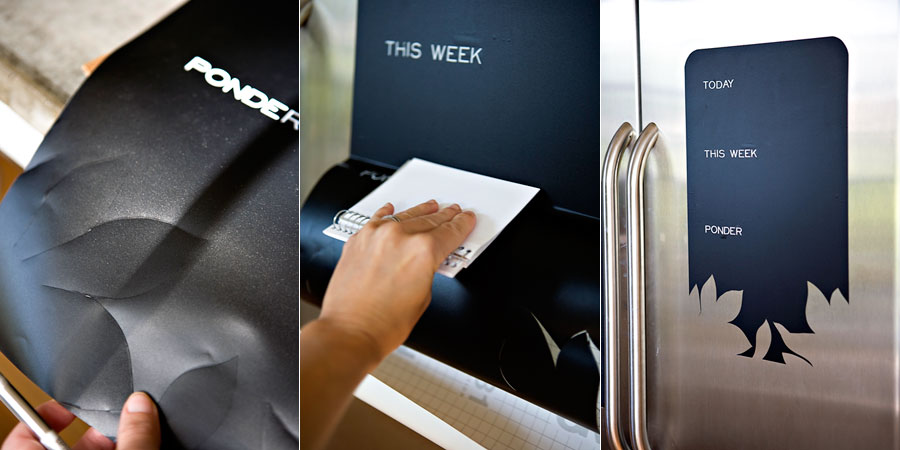
Step 6: Continue to trim out your design, throwing away excess pieces of vinyl.
Step 7: SLOWLY apply the rest of your design to your surface
Step 8: Write away with a Chalk Marker
Ta Da

Vinyl can be used on just about anything. There is even heat transfer vinyl you can use on fabric. If you have a CriCut machine (which I don’t, but wish I did) you can use vinyl sheets on it to create all kinds of perfectly cut letters and graphics. So my second giveaway for DIY Week is a gift certificate for you get some vinyl of your own!
Giveaway Details:
Prize is one $25.00 gift certificate to Expressions Vinyl
One winner chosen at random
One entry per person
Contest ends Friday, July 23 9:30pm US Central
To enter: In the comment section tell me an expression that you like, love, hate or are confused by (keep it PG rated or your comment will be deleted!)
(For example: “Oh Tay”…how my 2 year old says “Okay”…I love to hear it.)
.
Expressions Vinyl is also offering a 10% off coupon for all my readers. Use the code SYCAMORE when you check out.


