diy week {paper brownie boxes}
UPDATE: The giveaway is now closed, Heather has the last counting comment.
So this week is going to be a simple diy project everyday! For those of you that don’t like diy projects, I’ll include some other photos too and maybe a photo tip or two. This first project is related to my attempt at another recipe from The Pioneer Woman’s cookbook. Yes, it is another sweet one. You’d think I’d try a main course, but no…I go for whatever has the best looking picture. Honestly..that is how I pick what to try. So I made the Mocha Icing Brownies….and they were good, but a bit too sweet for me. I had to scrape off most of the icing. Now, had I followed her suggestion to eat it with coffee ice cream…that would probably have been perfection. Here is what my kitchen looks like when I try to cook…which is why I do not enjoy cooking.
Littlest Brother drawing. FireCracker emptying the bottom drawers. The older brothers in my business helping me cook.

When did it become acceptable to climb on the counters? Probably when I gave up the fight. He’s pretty cute sitting next to the mixer watching in awe though.

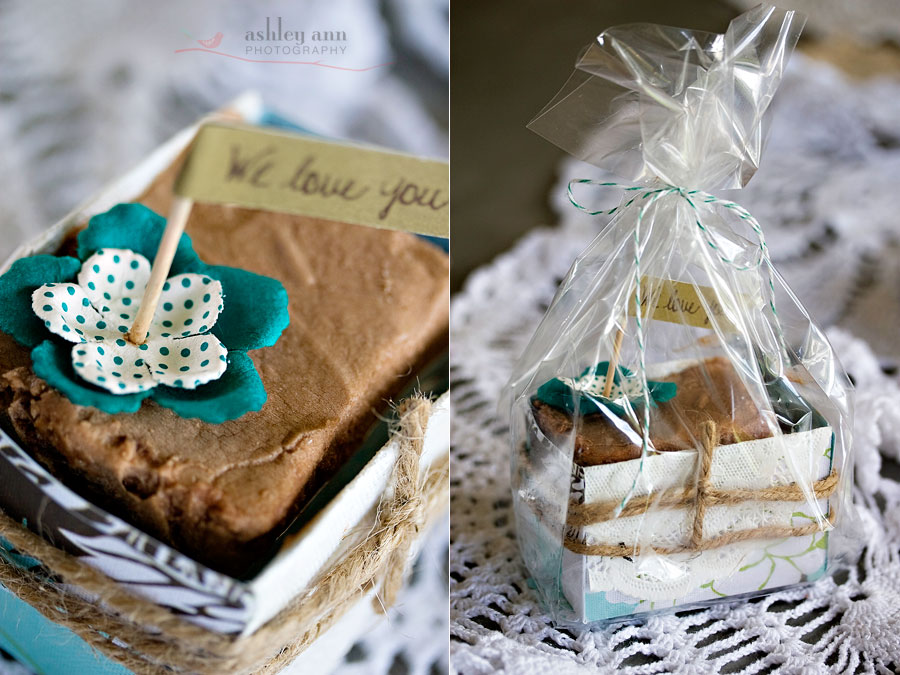
Now the real point of this post. I don’t really do cooking tutorials, but I will do a tutorial on how to make what you cooked look cute. Here is a simple way to present single brownies (or whatever other kind of bar dessert you like). This would be a super cute gift for teachers or surprise treats for anyone…like Nana.
Step 1: Pick out scrapbooking paper, tri-fold in 1 1/2 inch sections. Use a bone folder to make the folds crisp. Years ago I heard Martha Stewart say every crafter should own a bone folder. I bought one the next day. They are a handy tool.
Step 2: Cut into a rectangle and cut 4 slots the same length as the height of the sides…you are making a box. This step will make more sense after you see the final product.
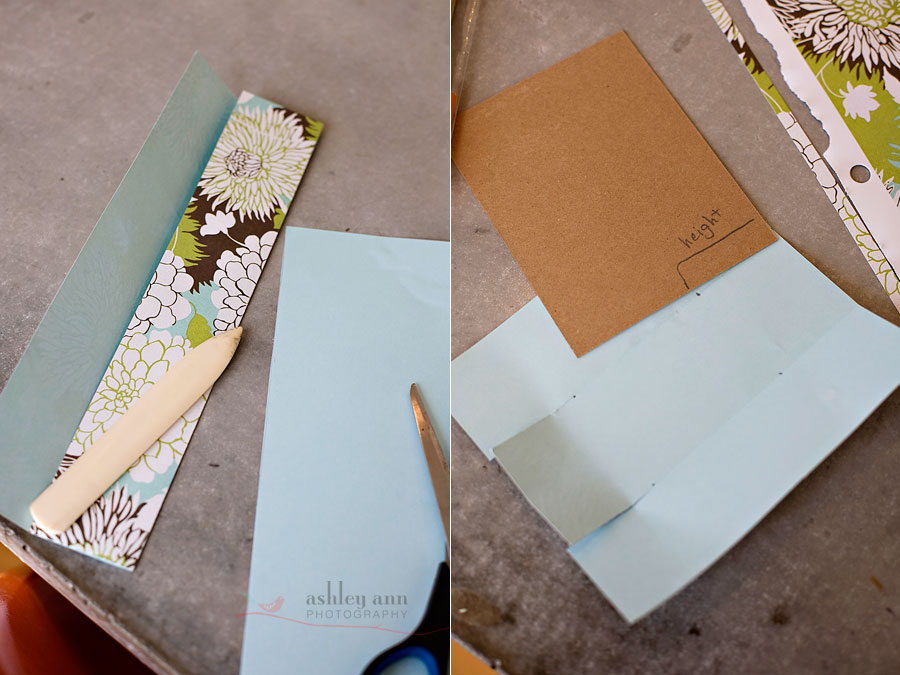
Step 3: Fold all the sides, using your handy dandy bone folder
Step 4: Find your double sided tape
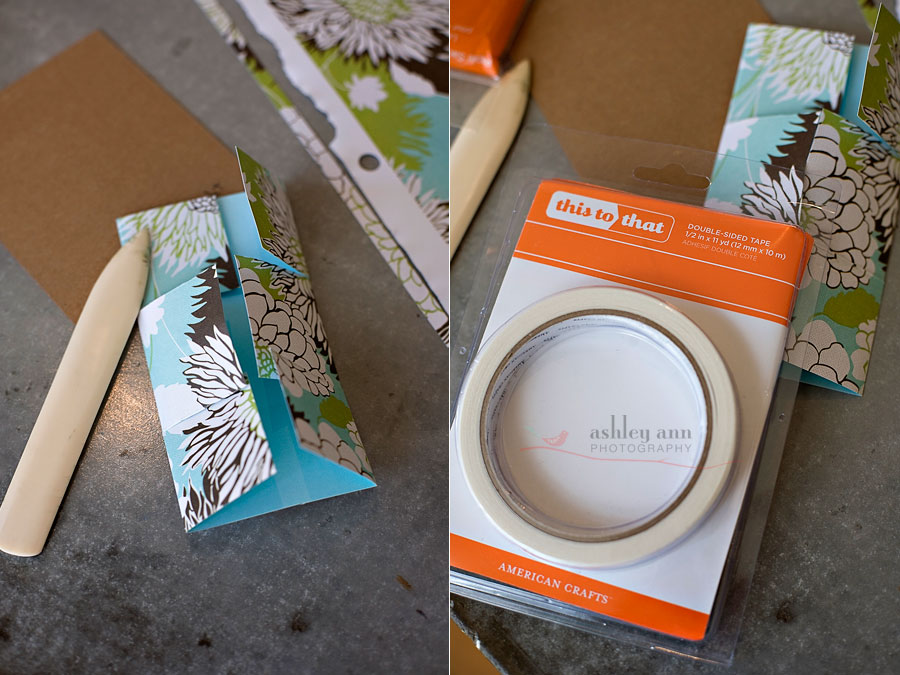
Step 5: Tape the sides of the box together using the double sided tape. I also added a paper doily and twine to dress it up…and cover the not so perfect corners.
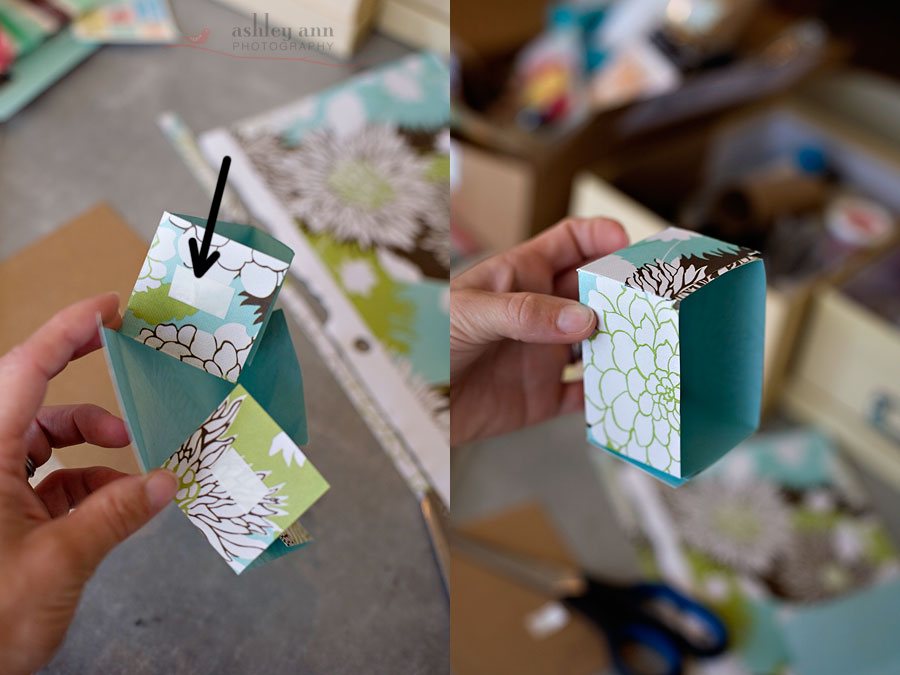
Step 6: Use a bit of aluminum foil to protect the box from the brownie bottom and sides
Step 7: Punch some holes out of matching scrapbooking paper…save the holes
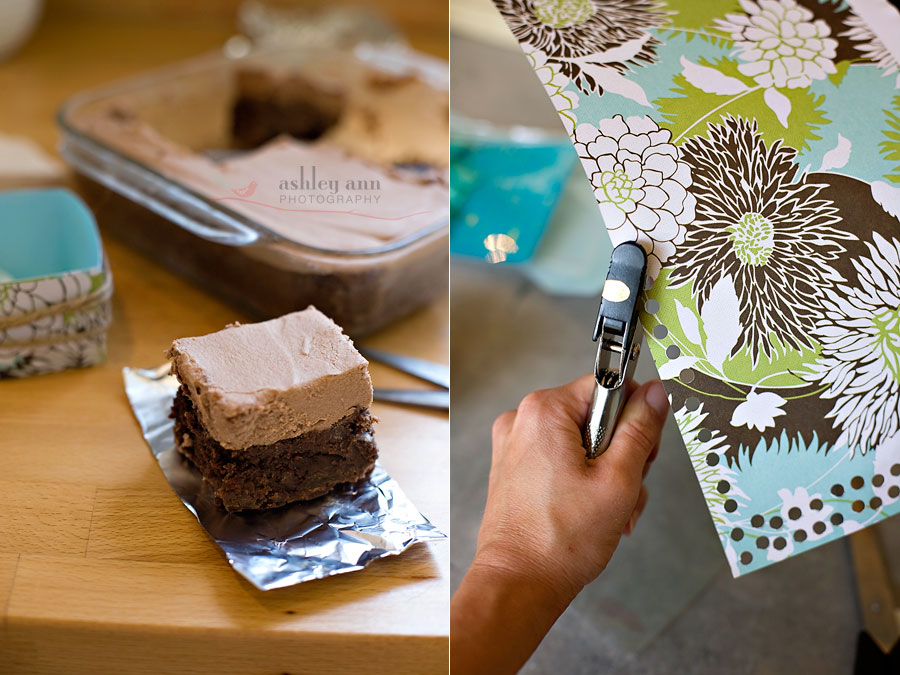
Step 8: Pour your hole punch outs in a clear bag
Step 9: Make a little decorative tag for the top of the brownie. I used tags I found at Big Lots (Big Lots carries Martha Stewart craft items…majorly good deals), a toothpick and paper flowers

Ta Da…a cute little gift for someone special. Or you could wrap it for yourself and go to a park to eat it with other people around watching.
They would all look over at you and think, “Wow someone must really love them.” And you could smile back.
So here is the extra fun part of DIY week for you…two super sweet giveaways. One I will announce today, one tomorrow. Have you heard of Lemon Poppy Shoppe? It is an online store for all kinds of scrapbooking goodies. I am not a scrapbooker, but I have a very soft spot for scrapbooking supplies. They make for easy crafts – which you know I like. Well this week I am going to be using a lot of different scrapbooking supplies for my projects, many you can find at Lemon Poppy Shoppe. Today’s craft used paper flowers and double sided tape from Lemon Poppy Shoppe. So don’t you think a $25.00 gift certificate sounds like a pretty sweet deal?! One thing I really like about scrapbooking supplies is $25.00 can go a LONG way. Woo Hoo for great deals!
Giveaway Details:
Prize is one $25.00 gift certificate to Lemon Poppy Shoppe
One winner chosen at random
One entry per person
Contest ends Friday, July 23 9:30pm US Central
To enter: In the comment section tell me about one event in the last week that if you were a scrapbooker you would have made a scrapbook page for.
(For example: Biggest Brother and FireCracker have been playing peek-a-boo together…I’d make a scrapbook page dedicated to their sweet relationship)
.
Lemon Poppy Shoppe is also offering a 10% off coupon for all my readers. Use the code SYCAMORE when you check out.
.
The Jig giveaway ends tonight…if you didn’t enter last week, scroll down a few posts to enter.
