diy {spring wreath & candle}
UPDATE: CONTEST IS NOW CLOSED. The last counting comment is Ashley’s, “This time two years ago, I learned that we had been blessed with our fifth baby…growing in my womb!”
Yesterday I posted my prize from The Gilded Bee…and mentioned some DIY tutorials I had in store for today.
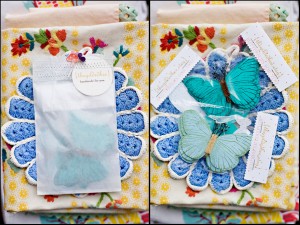
Tutorial One: Spring Wreath
When my butterflies arrived I contemplated what all I could do with them. I’m aching for spring, so I thought something with a warm sunny feel would brighten my day. I remembered seeing this wreath on A Beautiful Mess…which was inspiration for my own version.
Supplies: Straw Wreath, oatmeal colored yarn, Gilded Bee butterflies, doily, lace trim, paper doily, sheet moss
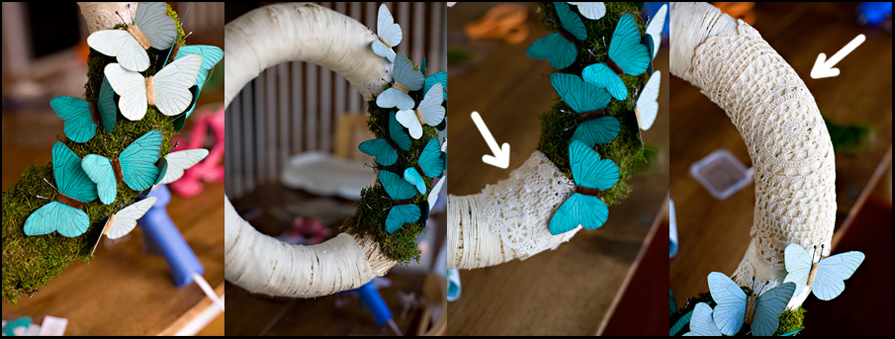
Step 1: Remove plastic on wreath and lay out your supplies to get an idea of where you want to place everything
Step 2: Wrap wreath in yarn. I wanted a rough, textured look so I chose a straw wreath. If you want it smooth and more perfect, go with a foam wreath.

Step 3: Cut a paper doily in half. Wrap the doily around the wreath where your yarn stopped. Wrap around a string to tie it in place.
Step 4: Hot glue your moss on….covering the edge of the paper doily. It isn’t necessary to go all the way around the wreath.
Step 5: The moss might leave some holes…fill in with extra moss.
Step 6: Hot glue your butterflies on randomly

Step 7: Once the moss and butterflies are glued down, add some lace trim (I used vintage trim from a flea market) to one side of the moss. Use a pushpin on back to hold in place.
Step 8: On the other side add an oatmeal colored doily. I wrapped it around and used pushpins on the back to hold it in place.
I used an old hankie to hang my wreath from the mantle.
Just fyi…the sticky note with the pink guy….that is a picture my son drew of him giving me a hug. It is proudly displayed on my mantle at all times.


Biggest Brother was building a western corral with balsa wood and asked me to make a bull out of the wood. I’ve seen some cute wreaths with little vintage deer on them…
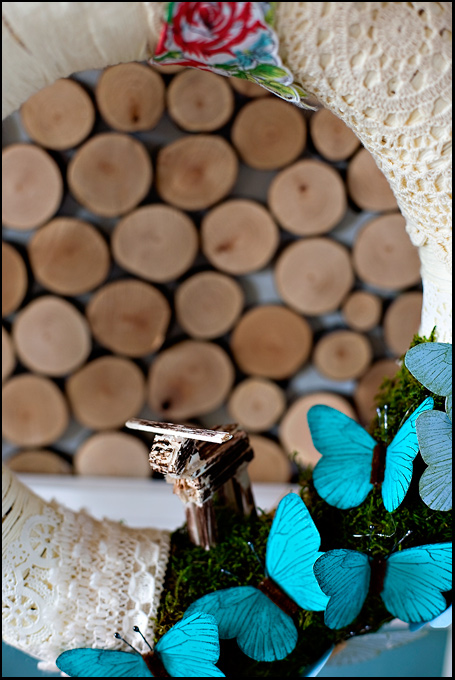 I think the bull belongs in the corral, not the wreath. He told me, “Mommy, there are two things you are pretty good at. Photography and making bulls.”
Tutorial Two: Spring Candle
Supplies: Glass jar candle, yarn, fabric strips (I used vintage linens), Gilded Bee butterfly
Step 1: Wrap top of jar with yarn
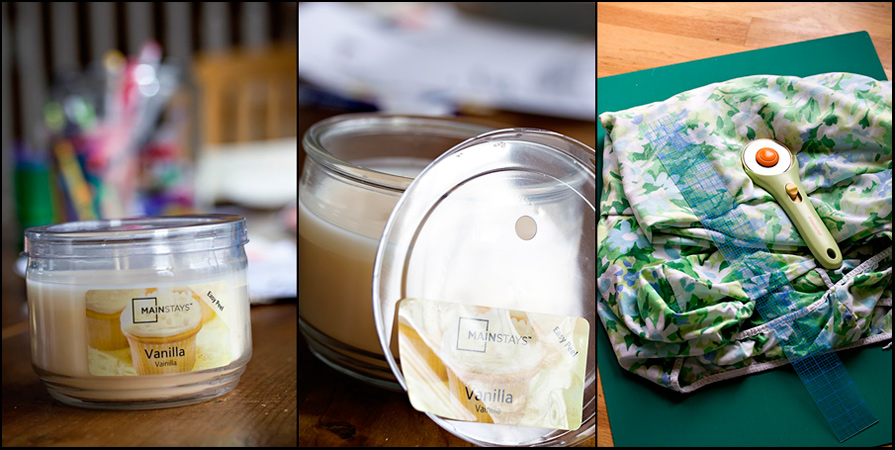
Step 2: Cut fabric into 2.5 inch strips…about 4 feet long
Step 3: Braid fabric
Step 4: Wrap top half of jar with yarn
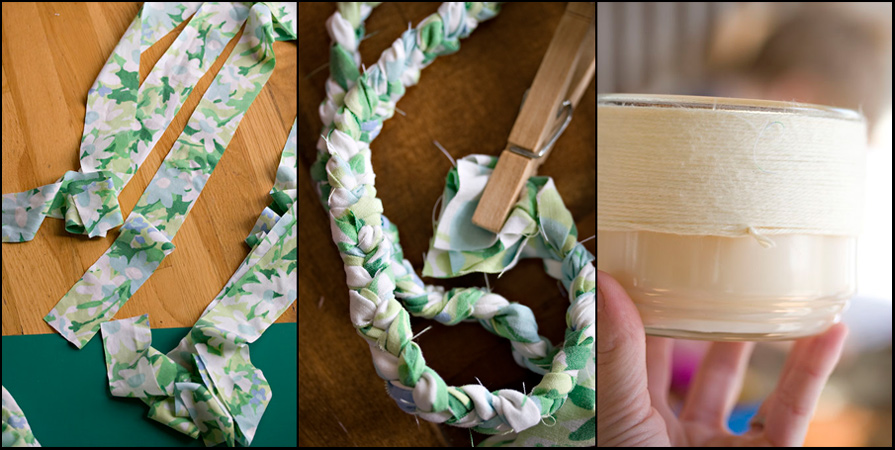
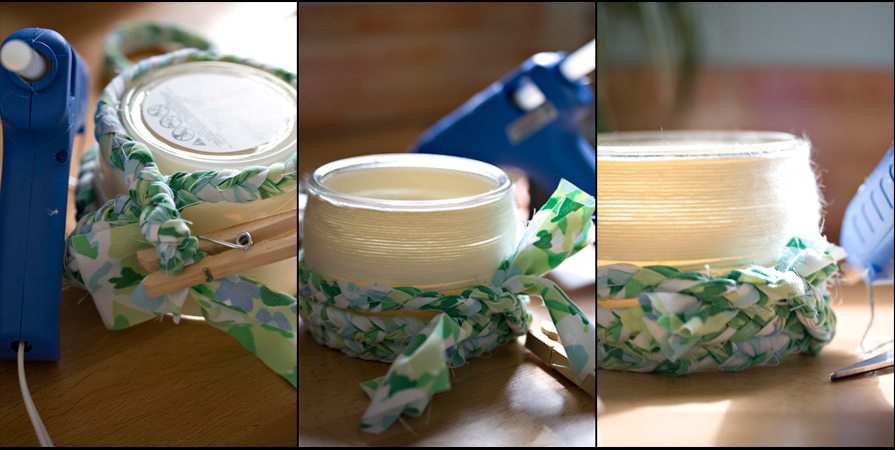
Step 5: Wrap bottom half of jar with braided fabric…holding it in place with hot glue
Step 6: Tie the two ends of the fabric together. Secure with hot glue.
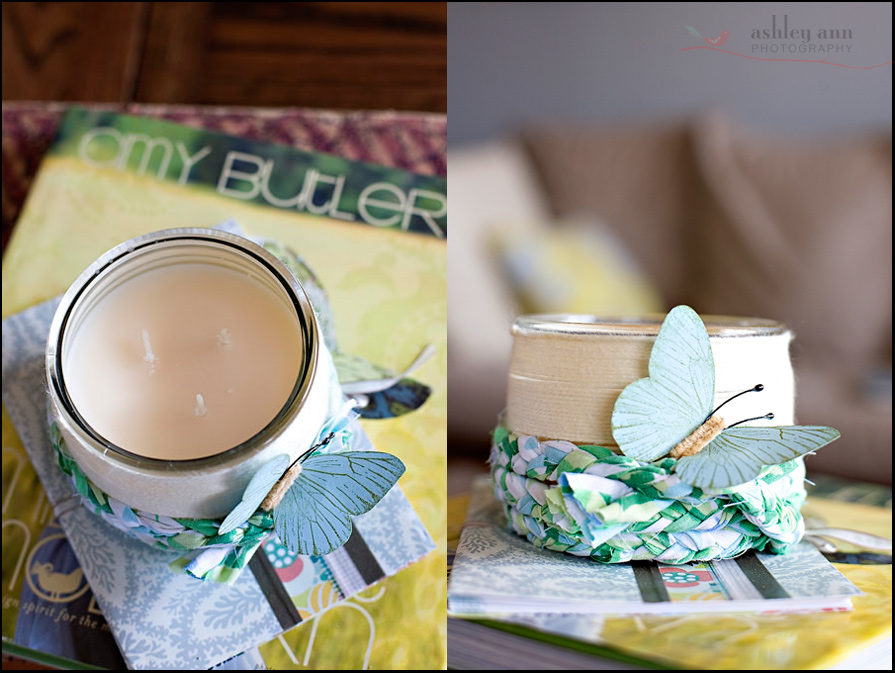
Step 7: Cut remaining ends off. Hot glue a butterfly near knot (fold the wings so that they don’t hang over the edge and create a fire hazard).
Now for the SUPER FUN news. Guess what….The Gilded Bee is helping 3 of you start your spring projects!
Contest Details:
Winners chosen at random
1st winner – 4 sets of butterflies (6 per set)
2nd winner – 1 set of butterflies
3rd winner – 1 set of butterflies
Contest ends Monday, March 22 9:00pm US Central (a bit longer due to Spring Break)
Only one entry per person please
How to enter? – Two years ago this weekend I was in the hospital anxiously waiting to find out if the doctor would place a son or daughter in my arms. I am so thankful it was a boy!
In the comment section, tell me what you were doing around this time 2 years ago!
