diy {paper bird painting}
After yesterday’s comments on how unique you thought my craft ideas are, I was a bit hesitant to post this! Not so unique, but easy enough for anyone to do!
Last week I gave you a glimpse of a little craft project I had in the works. I wasn’t going to post pictures because this is part of a surprise for a dear friend, but she needs a little pick me up right now. If you have read this blog for very long you know that adoption and orphan care are very important to me. My sweet friend (and her 3 young kids) are in Africa diligently trying to adopt an older sibling set of 3. She has been there since Nov. and had hoped to return home to her husband this week. Plans have changed and we are still all waiting for a super sweet homecoming. While she is away some of us are working on a few surprises. She knows we are decorating the kid’s rooms, but she doesn’t know what all we have up our sleeves. So, sweet friend, here is a peek at some artwork for the girl’s room!
I was inspired by this DwellStudio painting (thanks Bryn!)
Step 1: Draw the basic design on the canvas (I messed with this picture in Photoshop to make the pencil marks show up…it isn’t really a big gray bubble)
Step 2: Cut out random scrapbooking papers for leaves and the bird (I used Amy Butler paper)
Step 3: Glue down the paper. I applied Mod Podge to the back of the paper and then stuck them on the canvas. Just do a thin layer of glue to prevent bubbling. I also did a thin layer of Mod Podge on top of the paper and around the edges.

Step 4: When gluing the paper down some of my paper bled, so I lightly went over the white areas of the canvas with white craft paint.
Step 5: Paint on your branches
Step 6: Seal the canvas. I just used Mod Podge since it was already on hand.
In the girls’ room these will not be hanging this close together….
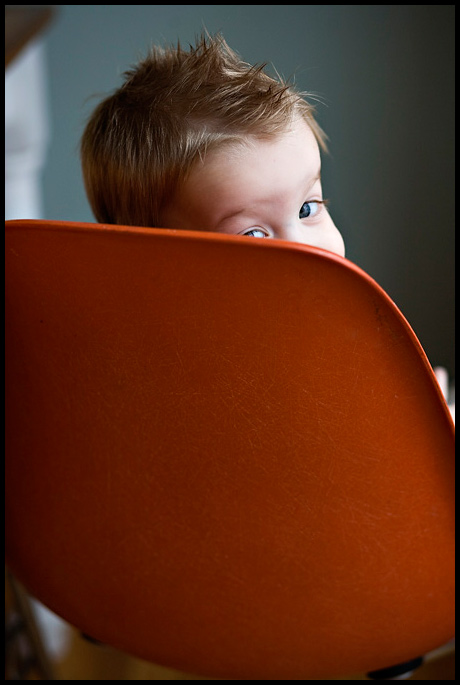
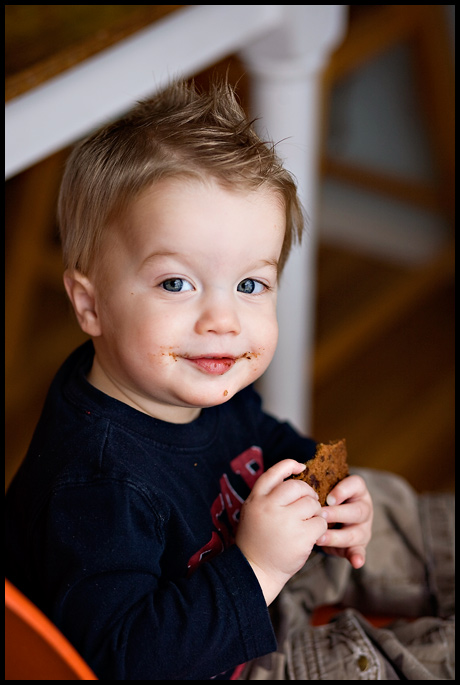
While I was working on these, Littlest Brother joined me in the kitchen. At one point he tried to quietly push the chair over to the countertops. He returned, with the chair and turned it where it was facing the opposite direction of where I was. He thought he was being sneaky, but I knew what was on those countertops.

Handful. Can I say it again? HANDFUL!!!!
