DIY {doily table runner}
After posting pictures of the kitchen remodel, I had several emails about the doily table runner I made. So here is a little tutorial on that.
I was inspired by this picture on the Country Living website:

I liked that it looked fresh, but a bit vintage at the same time. I had a few big doilies and my mom had several more she passed along to me. I still needed some small ones though. I visited a local flea market and found a box full of them with a 50% off sign. So the $4.00 doilies were now $2.00. As I was rummaging through them the seller arrived and started hanging signs that said “50% off everything”. I asked if that applied to already marked down items and she said “yes”. So I got a good pile of doiles for $.25, $.75 and $1.00 each. SCORE!
Step 1: Lay out your largest doilies first
Step 2: Fill in with smaller doilies. I used all different shapes and stuck with white and cream colors.
Step 3: Overlap the edges of the big and small doiles so that the small ones aren’t always on top.

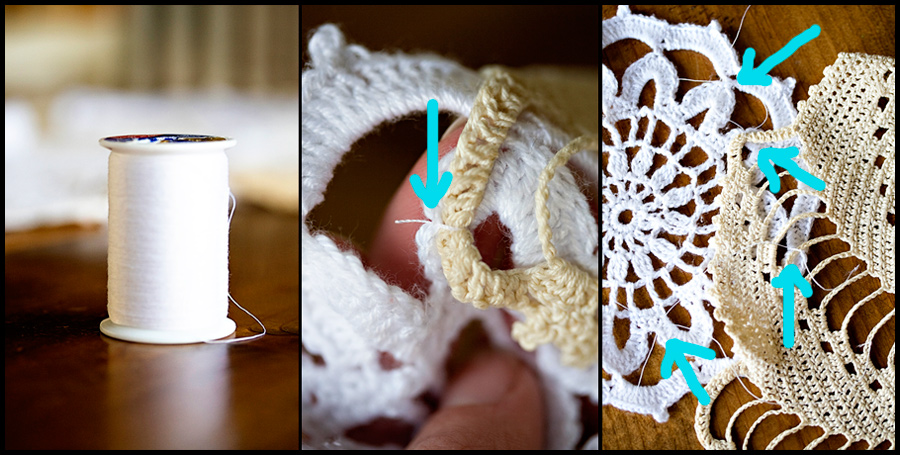
Step 4: Tack the doilies together using string on the UNDERSIDE. I tied a double knot in several spots using thread and a needle. Knowing me it won’t take long before I decide I am ready to do something different, so I wanted to be able to take the runner apart easily without hurting the doilies.

Ta Da


